
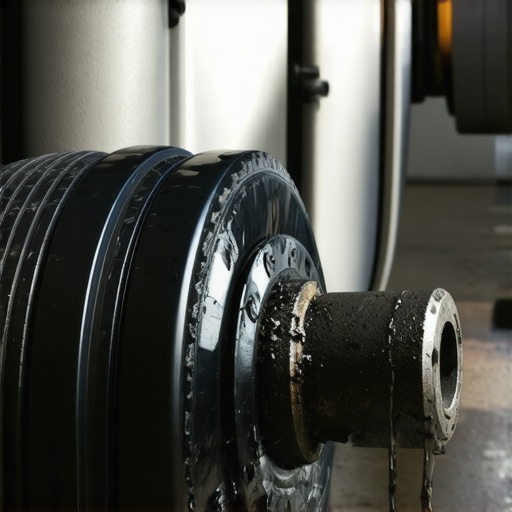
I was pulling into a tight parking spot at the grocery store last summer when I first heard it. Click. Click. Click. It was rhythmic, metallic, and honestly, a bit haunting. I did what most of us do when we hear a new noise—I turned up the radio and told myself it was just a pebble stuck in my tire tread. That was a big mistake. I kept driving for two more weeks until that subtle click turned into a violent shudder every time I accelerated from a stoplight. By the time I finally crawled under the car, the damage was done.
That Rhythmic Popping Means Trouble is Coming
When you hear that specific sound while making a sharp turn, your car isn’t just being moody. It is telling you that a Constant Velocity (CV) joint is starving for grease and grinding itself into oblivion. The CV axle is the workhorse of your front-end; it transfers power from the transmission to the wheels while allowing them to bounce and turn simultaneously. I learned the hard way that spotting a bad CV axle early is the difference between a simple boot replacement and being stranded on the shoulder of the highway. Early in my DIY days, I once replaced a perfectly good wheel bearing because I misdiagnosed the noise. If you are unsure, you can actually learn how to diagnose a failing wheel bearing using only your ears to make sure you aren’t throwing money at the wrong part. But let me tell you, that clicking during a turn is almost always the CV joint.
Can I just ignore the noise for a few more weeks?
I get it. Life is busy, and car repairs are expensive. You might be wondering if you can squeeze another month out of that clicking axle. According to experts at Car and Driver, while a CV joint won’t usually fail instantly, once that protective rubber boot is torn, road salt and grime act like liquid sandpaper on the internal bearings. It is a ticking clock. If that joint finally snaps while you are moving, you lose all power to that wheel, and in some cases, it can even cause the wheel to lock up. This isn’t just about a noisy ride; it’s about the dangerous truth of ignoring wheel noises that compromise your steering. You really need to check if your CV boot is torn before the grease all flings out. Have you ever felt that sinking feeling in your stomach when a ‘small’ noise suddenly turned into a major vibration? Let’s talk about how to fix this before it gets to that point.First things first: you need to see the damage for yourself. Think of your CV axle like a human shoulder joint, but instead of ligaments, it’s held together by heavy-duty steel and a balloon full of specialized grease. When that rubber balloon (the boot) pops, it’s a mess. I remember my first time looking under a Honda Civic with a failed axle; it looked like a black-grease-filled hand grenade had gone off inside the wheel well. There was thick, sticky gunk everywhere—on the brake calipers, the suspension struts, and even the inner rim. That is the first sign your clock has run out.
Get Under There and Look for the Grease Crime Scene
Pop your hood or, better yet, turn your steering wheel all the way to one side and peek behind the front tires. You are looking for the accordion-shaped rubber boots. If you see a fresh tear or if the area looks like it was sprayed with industrial molasses, your joint is already exposed to the elements. This is why top auto repair tips to extend your vehicles lifespan always emphasize early inspection. Once that grease is gone, the metal starts eating itself.
Check for the Death Slings on Your Wheel
If you don’t want to get dirty yet, just look at the inside of your front wheels. When a boot tears, centrifugal force flings the grease out in a perfect circle. It’s a literal ‘death sling’ for your axle. If you spot a dark ring of grime on the inner barrel of your rim, stop wondering and start planning a repair. This kind of vehicle diagnostics explained can save you from a massive headache on a long drive. 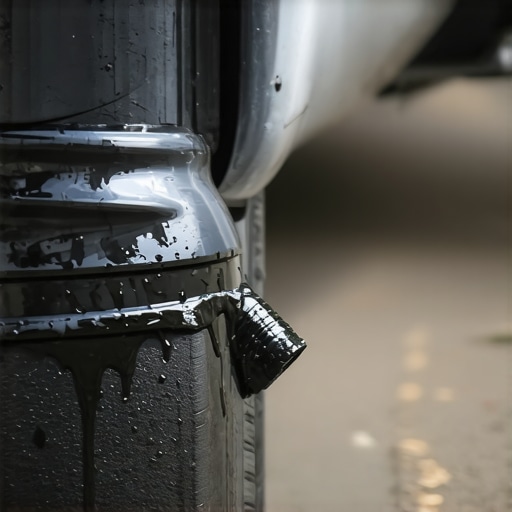
Give the Axle a Good Old-Fashioned Shake
Sometimes the boot looks okay, but the internal ‘tripod’ or ‘ball’ bearings are already toast. With the car securely on jack stands (never trust just a jack!), grab the axle shaft and give it a firm tug up and down. There should be almost zero vertical movement. If it clunks or feels loose, the internal tolerances are gone. It’s similar to how the tie rod test you can perform in your own driveway identifies steering play; any ‘wiggle’ in a component meant to be solid is a red flag.
Listen for the Click During a Parking Lot Test
If you are still doubting your ears, find an empty parking lot. Roll down your windows, put the car in reverse, and turn the wheel to the full lock position. Drive in a slow circle. Now do it in forward. If you hear a rapid-fire clack-clack-clack, that’s the sound of metal balls skipping over a worn-out race inside the joint. It is a much more distinct, mechanical sound than the high pitched squeal that disappears as soon as you touch the brakes, which usually points to a simple wear indicator.
Decide Between a Quick Fix or a Total Swap
If you catch a torn boot within days and there is no noise yet, you might get away with a reboot kit. But honestly? In my experience, by the time most DIYers notice the problem, the joint is already contaminated. Replacing the entire axle is often easier and cheaper than cleaning out grit and grease from an old joint. It’s the same logic as why auto repair hacks save money without sacrificing quality; sometimes the ‘hack’ is simply replacing the whole unit to ensure a long-term fix. Plus, a new axle often comes with a lifetime warranty, which is a lot of peace of mind for an afternoon’s work.Now, let’s dig deeper into the mechanical weeds. Most people assume that if the rubber boot is intact, the axle must be fine. In my experience, that is one of the most expensive assumptions you can make. While a torn boot is the most common cause of failure, I’ve diagnosed dozens of ‘dry’ joints where the boot looked pristine, but the grease inside had thermally broken down or ‘cooked’ until it provided zero lubrication. This is where how advanced vehicle diagnostics prevent costly breakdowns comes into play; it’s about understanding the physics of the part, not just looking for a mess.
Don’t Fall for the New Is Always Better Trap
There is a common belief that a ‘brand new’ aftermarket axle is always superior to a remanufactured OEM unit. This is often false. Many cheap, new ‘white box’ axles use thinner shafts and inferior steel alloys that can cause harmonic vibrations at highway speeds. I’ve seen DIYers pull their hair out trying to solve a steering shimmy, not realizing their new part was out of balance from the factory. Sometimes, choosing auto repair hacks to save money without sacrificing quality means sourcing a high-quality remanufactured axle that retains the original heavy-duty housing. 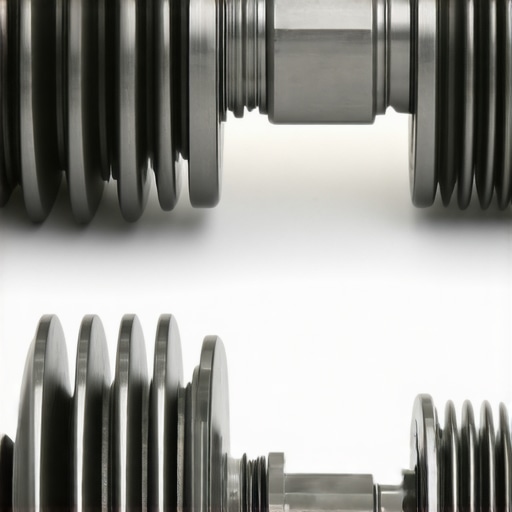
The Torque Wrench Mistake That Ruins Wheel Bearings
The biggest ‘oops’ factor I see involves the axle nut. Many people think they can just tighten it with an impact wrench until it stops spinning. This is a massive mistake. The axle nut provides the clamping force for your wheel bearing. If you over-torque it, you crush the bearing races; if it’s too loose, the bearing will wobble and fail prematurely. According to technical standards from the Society of Automotive Engineers (SAE), following specific torque-to-yield procedures is non-negotiable for drivetrain longevity. This isn’t just about the axle; it’s about essential auto repair strategies for frequent drivers who want to avoid doing the same job twice.
Should you replace axles in pairs even if only one is clicking?
This is a question I get from more sophisticated readers all the time. Unlike brake pads or struts, axles are not inherently ‘pair’ items. If your passenger side boot tore because of road debris but the driver’s side is supple and dry, there is no technical reason to swap both. However, if your car has 150,000 miles and one side has failed due to internal wear, the other side likely isn’t far behind. Using proper vehicle diagnostics to feel for play in the ‘good’ side can save you a second trip to the shop. Have you ever fallen into the trap of buying the cheapest part only to have it fail a month later? Let me know in the comments below.Choosing quality over convenience is the first step, but the second is having the right gear on your workbench. I’ve learned that relying on a ‘calibrated elbow’ to tighten an axle nut is a recipe for a $400 bearing failure. This is why I always recommend the $20 tool every driver needs for basic electrical and mechanical spot-checks. If you’re dealing with modern sensor-heavy drivetrains, you’ll also want a basic multimeter to track down issues that might be sending ghost signals to your traction control system. Precision isn’t just for pros; it’s the only way a DIYer stays out of the breakdown lane.
Use Professional Tools to End the Guesswork
My personal go-to for front-end work is a half-inch drive digital torque wrench. When you’re dealing with the massive torque required for an axle nut—often exceeding 180 foot-pounds—accuracy is everything. A fraction of an inch of play can lead to heat buildup that destroys the CV joint’s internal lubrication. 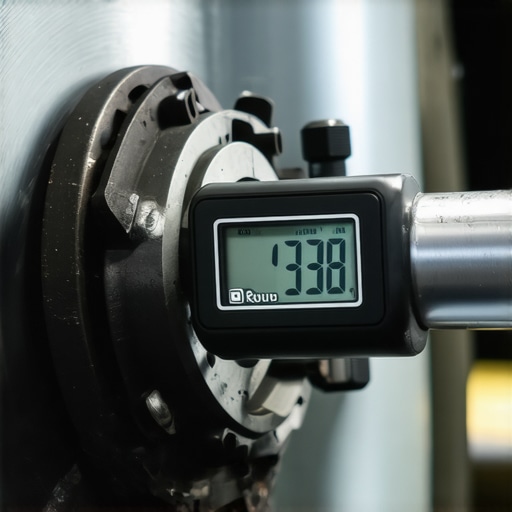
How do I keep my drive axle healthy for the long haul?
Maintenance is a holistic game. You can’t just look at the axle and ignore the rest of the wheel well. During my routine checks, I look for oil change innovations that keep the engine smooth, but I also peek at the braking system. If your caliper slide pins are bone dry, the dragging brake will radiate extreme heat through the hub and directly into the outer CV joint. This cooks the grease into a hard, useless crust. Applying these top auto repair tips to extend your vehicles lifespan is what separates a car that lasts 300,000 miles from one that ends up in a scrap yard at 100,000. As noted in the Timken TechSeries Bulletin, the precision of the hub-to-axle interface is the primary factor in preventing premature fatigue of the bearing steel.
Prepare for the High-Torque Future of Electric Vehicles
We are entering a new era of drivetrain stress. Electric vehicles deliver 100% of their torque instantly, which puts a massive strain on CV joints and splines compared to traditional internal combustion engines. In the coming years, understanding how advanced vehicle diagnostics prevent costly breakdowns will be even more critical as we monitor the health of these high-output shafts. The trend is moving toward ‘sealed-for-life’ units that aren’t actually meant to last forever, so being proactive is your only defense. Try this: Next time you’re rotating your tires, take thirty seconds to wipe down your CV boots with a damp cloth and inspect for tiny cracks near the accordion ribs. Catching a dry-rot crack today saves you from an axle snap tomorrow.
The Hardest Lesson I Learned About Drivetrain Shortcuts
Over years of wrenching, I’ve realized that the most expensive part you’ll ever buy is the one you have to replace twice. When I first started, I thought I could save fifty bucks by grabbing the cheapest ‘no-name’ axle at the local parts store. Within six months, the vibration returned. I learned that utilizing auto repair hacks to save money without sacrificing quality really means investing in heavy-duty components from the start. Another lightbulb moment? Always check the ABS ring on your new axle before you install it. A tiny chip in those teeth during shipping will trip your dashboard lights immediately. It is these small details in decoding vehicle diagnostics that separate the weekend warriors from the pros. Finally, never reuse an axle nut; they are often designed as ‘one-time-use’ items that stretch to provide the correct tension. Cutting corners here isn’t just risky; it is a guaranteed way to land back in your driveway with a wrench in hand next weekend.
My Pro-Level Toolbox for Driveline Repairs
If you are serious about taking on this job, you need more than a standard socket set. I personally trust a high-quality half-inch digital torque wrench above all else. Because drivetrain longevity depends on precision clamping, guessing the tightness of a hub nut is a gamble you should not take. #IMAGE_PLACE_HOLDER_E# I also recommend a set of long-reach pry bars—they make popping the old axle out of the transmission housing effortless rather than a struggle. For those who want to go further, I suggest picking up a factory service manual or a digital subscription to professional repair databases. These guides provide the exact specs that comprise essential auto repair strategies for frequent drivers. Combining these tools with how advanced vehicle diagnostics prevent costly breakdowns ensures you are not just swapping parts, but actually maintaining a high-performance machine.
Take the Reins on Your Vehicle Health
There is a profound sense of pride that comes from silencing a mechanical gremlin yourself. When you finally torque that last bolt and the rhythmic clicking vanishes, you are not just saving money—you are gaining a deeper connection to the machine that carries your family every day. Do not let a grease mess or a loud noise intimidate you; with the right approach and these top auto repair tips to extend your vehicles lifespan, you are more than capable of keeping your car on the road for the long haul. Your vehicle is constantly communicating with you, and now you have the skills to listen and respond correctly. Have you ever attempted a CV axle swap and run into a stuck bolt or a stubborn splined shaft? Let me know your struggle in the comments below!