
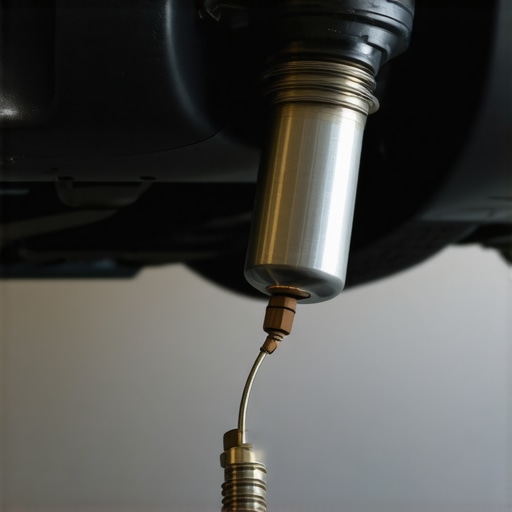
I’ll never forget the cold sweat I broke into when that little orange engine silhouette flickered to life on my dashboard just two days before a cross-country trip. I had just finished what I thought was a routine oil change and was feeling pretty proud of myself. Then I plugged in my cheap OBD-II reader, and there it was: P0420. In the mechanic world, that code is basically the Grim Reaper for your wallet. I felt sick to my stomach. I was ready to shell out nearly a thousand bucks for a new catalytic converter because I assumed the computer never lied. Boy, was I wrong. I spent hours under that car, eventually realizing I was about to replace a perfectly healthy part because of a tiny, fifteen-dollar vacuum leak. Today, I’m going to show you exactly how to avoid that same expensive mistake.
Your Scanner is Smart, But It’s Not a Psychic
Look, I’ve been there—staring at a screen that tells you exactly what part to buy, only to find out later that the real culprit was hiding in plain sight. We often treat vehicle diagnostics like a definitive verdict from a judge, but it’s more like a lead from a detective. The P0420 code doesn’t actually say your converter is dead; it says the reading from the rear oxygen sensor is too similar to the front one. Early in my DIY journey, I made the amateur mistake of ignoring the why and jumping straight to the what. I replaced an entire exhaust manifold on a car once, only to find out a cracked exhaust manifold was letting air in and tricking the sensor. It was a $400 lesson I will never forget.
Is a new catalytic converter actually worth the investment?
It’s the question that keeps every car owner up at night when that code appears. You might think you’re doing your car a favor by throwing new parts at it, but if you don’t tell if your catalytic converter is actually clogged, you’re just burning money. According to the Environmental Protection Agency (EPA), modern catalytic converters are designed to last the lifetime of the vehicle, often upwards of 100,000 to 150,000 miles, provided the engine stays in tune. If your engine is misfiring because of a bad ignition coil, that raw fuel will melt a new converter just as fast as the old one. Have you ever felt like your car was intentionally trying to trick you into a massive repair bill? Before you give up and head to the shop, we need to talk about the ghost problems that trigger this code when the hardware is perfectly fine.
The Ghost Problems That Trick Your Sensors
Sometimes the real issue is something as simple as a vacuum leak that alters the air-to-fuel ratio just enough to throw off the catalyst efficiency math. Other times, it’s an exhaust leak upstream. If air is getting into the pipe before it hits the sensor, the computer gets a false lean reading and assumes the converter isn’t doing its job. I once helped a neighbor who was told he needed a $1,200 repair, only to find out his air filter was loose and causing turbulence in the intake. It sounds too simple to be true, but in the world of modern advanced vehicle diagnostics, the smallest variable can trigger the most expensive-looking codes. Have you ever replaced a part only to have the same check engine light come back on a week later? It is a gut-punch that I want to help you avoid.
Look for the Air That Shouldn’t Be There
The first thing I do now—before I even think about touching a wrench—is a smoke test or a soapy water spray. Think of your engine like a giant straw; if there is a tiny pinhole anywhere, you’re going to get more air than the computer expects. I remember working on a friend’s old sedan that was throwing a catalyst efficiency code every few hundred miles. We spent twenty minutes with a spray bottle and a hand pump, eventually finding a tiny crack in a vacuum line buried under the intake manifold. You can easily learn how to find a vacuum leak with soapy water and a hand pump to rule this out before you spend hundreds on parts. If your engine is sucking in unmetered air, it throws off the chemistry in the exhaust, making a perfectly good converter look like it’s failing. Check your exhaust manifold for cracks too, because a rhythmic ticking is a dead giveaway that oxygen is sneaking into the stream and fooling your sensors.
Read Between the Lines of Your Scan Tool
Stop looking at the ‘Red’ or ‘Green’ status on your scanner and start looking at the Live Data. This is where the real detective work happens. You want to look at your upstream and downstream oxygen sensors. In a healthy system, the upstream sensor should be bouncing rapidly between 0.1 and 0.9 volts, while the downstream sensor—the one after the converter—should be a relatively flat, steady line. If that rear sensor is mimicking the front one, then yes, the converter might be tired. But wait! Before you condemn it, check for a misfire. Even a slight hiccup that you can barely feel can dump raw fuel into the exhaust. I once chased a P0420 for weeks only to realize it was a failing ignition coil that hadn’t quite triggered its own code yet. Once I swapped the coil, the ‘converter’ miraculously fixed itself. 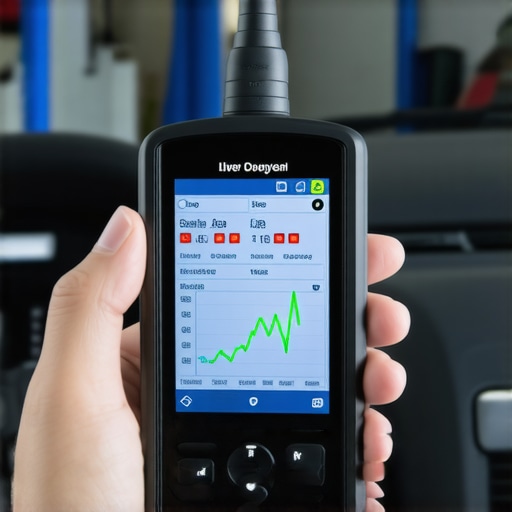
Grab an Infrared Thermometer to Verify the Heat
If you want to be 100% sure, you need to check the temperature. A catalytic converter is essentially a chemical oven; it needs to be hotter on the exit side than the entry side to prove it is actually ‘cooking’ those pollutants. Get the engine up to operating temperature and point an infrared thermometer at the inlet pipe and then the outlet pipe. If the outlet isn’t significantly hotter (usually by 100 degrees Fahrenheit or more), the catalyst isn’t lightened up. However, if the temperatures are right but the code persists, you might just have a lazy sensor. I’ve seen people spend a fortune on exhaust work when all they needed was to clean your mass air flow sensor to restore the proper air-to-fuel ratio. This kind of deep dive is why decoding vehicle diagnostics is more about logic than just reading a screen. I once had an O2 sensor that was just ‘slow’—it worked, but not fast enough for the computer’s liking. A quick swap of the sensor, which cost $60, saved a $900 converter replacement. Always verify the hardware before you pay for the metal.
Why Expensive Parts Can Actually Make Your Car Noisier
Everyone thinks that upgrading to high-end ceramic pads is an automatic win for performance and silence. But here is the nuance most DIYers miss: if you don’t properly “bed” those pads, you’ll never establish a uniform transfer layer on the rotor. Without that layer, you get uneven friction and a high-pitched squeal. According to data from the Society of Automotive Engineers (SAE) J2521 noise test standards, environmental variables and installation errors—like skipping the lubricant on the abutment clips—are more frequent causes of brake noise than the friction material itself. You might think your pads are bad, but the real culprit could be the specific reason your ceramic pads are louder—incomplete bedding or because you forgot to check if your caliper slide pins are bone dry. Lubrication is the most overlooked part of a brake job.
The Impact Wrench Trap That Snaps Studs
I see it in every shop: a “pro” zips on lug nuts with a high-torque impact wrench without a second thought. This is a massive trap. Over-torquing stretches the metal beyond its yield point, leading to the common mistake that snaps your wheel studs when you’re 50 miles away from home. Always use a torque wrench. It takes an extra two minutes but saves you from a wheel-off disaster. Have you ever fallen into this trap? Let me know in the comments. 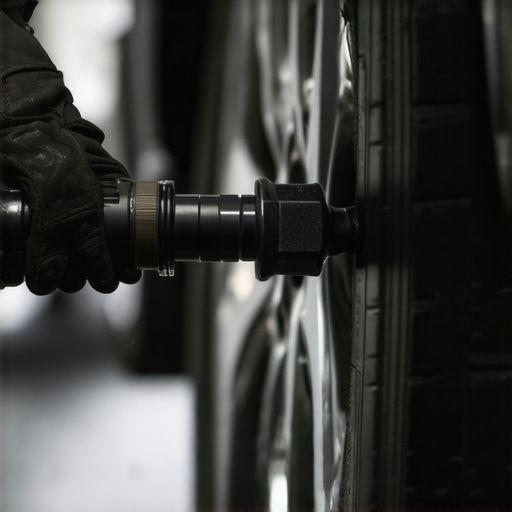
How can you tell if your engine misfire is mechanical or electrical?
This is the ultimate test of your diagnostic skills. If your scanner shows a random misfire, don’t just swap plugs. A mechanical issue—like a worn cam lobe or a leaking valve—will show a consistent rhythm under load, whereas an electrical ghost often disappears at higher RPMs. You have to tell if your engine misfire is mechanical or electrical by performing a compression test before you blame the coil. Sometimes, a “bad” transmission is actually just the sensor that ruins your shifting by sending garbage data to the ECU. Don’t be the guy who replaces a transmission when a $40 sensor was the ghost in the machine. This is exactly why your OBD-II scanner can’t find the real electrical ghost without some old-school physical testing. Dig deeper into how advanced vehicle diagnostics prevent costly breakdowns by looking at the signal, not just the code.
The Three Tools That Changed My DIY Life
If you’re serious about keeping your car out of the scrapyard, you need to graduate from the basic socket set. After a decade of skinned knuckles, I’ve realized that 80% of my success comes from just three specific tools. First is a reliable smoke machine for vacuum leaks; it’s the only way to find those microscopic cracks I mentioned earlier. Second is a high-quality digital multimeter. Most people think they are only for batteries, but it is actually the $20 tool every driver needs for basic electrical troubleshooting. I personally use mine to check for ground issues that mimic sensor failures. Third, and most importantly, is a scan tool with bi-directional control. Standard OBD-II readers only let you ‘read’ the data, but bi-directional tools let you talk back—you can command the fuel pump to turn on or the cooling fans to spin up to see if the hardware actually works.
Don’t Just Guess with Electrical Gremlins
I spent years chasing what I thought were bad sensors, only to realize the wiring was the real enemy. If you haven’t learned how to find a parasitic battery drain with a basic multimeter, you are essentially gambling with your alternator’s lifespan. According to the Auto Care Association’s 2024 Factbook, vehicle owners who invest in proactive diagnostic tools save an average of $400 annually by avoiding unnecessary ‘part-cannon’ repairs. I’ve seen this play out in my own garage—verifying a signal before buying a part is the difference between a $15 fix and a $500 mistake. 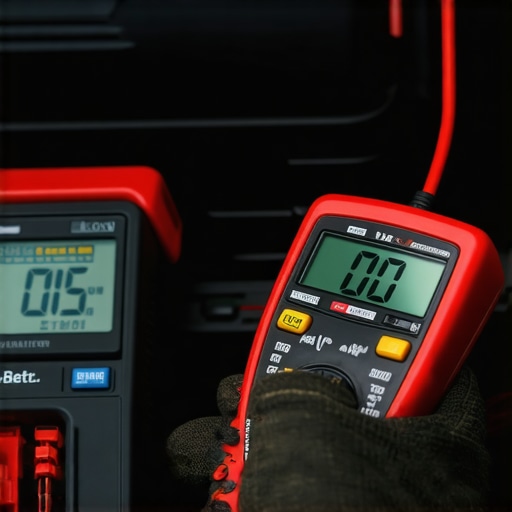
How can I keep my car running for 300,000 miles?
The secret isn’t just following the manual; it’s about going beyond the bare minimums. While the factory says you can go 10,000 miles on an oil change, I’ve seen the hidden sludge building up behind your clean dipstick when you push those limits in stop-and-go traffic. You need to leverage oil change innovations like high-efficiency synthetic filters and magnetic drain plugs to trap the metal shavings that standard filters miss. These are top auto repair tips to extend your vehicles lifespan that most shops won’t tell you because they thrive on major repairs. Consistency is your best friend.
Scanning is Evolving Faster Than the Hardware
Looking ahead, the DIY world is moving toward cloud-based diagnostics and CAN-bus sniffing. We are entering an era where how advanced vehicle diagnostics prevent costly breakdowns is no longer about the tool in your hand, but the software updates it receives. Cars are essentially rolling computers now, and essential auto repair strategies for frequent drivers must include a basic understanding of how these modules communicate. If you don’t keep up with the tech, you’ll be left stranded by a software glitch that you thought was a mechanical failure. I challenge you to grab a multimeter this weekend and perform a simple voltage drop test on your battery terminals—it’s the easiest way to see if your car’s electrical ‘heart’ is actually healthy before your next big trip.
The Hardest Lesson I Learned About Trusting the Computer
After a decade of turning wrenches, I’ve realized that the biggest enemy of a DIYer isn’t a rusted bolt, it’s a lack of patience. My biggest lightbulb moment happened when I stopped treating the check engine light as a shopping list. If I had just looked for some clever auto repair hacks instead of buying the first part the scanner suggested, I would have saved enough for a vacation by now.
- The 10% Rule: Only about 10% of diagnostic codes actually point to the hardware failure itself; the rest are symptoms of air leaks or electrical ghosts.
- Never Skip the Physical Inspection: I once replaced a fuel pump and thought I was a genius, only to realize I hadn’t fixed the root cause—a corroded wire—until the car stalled again.
- Clean Before You Replace: You would be shocked how many failed components are just covered in carbon. Learning how to clean your mass air flow sensor is a skill that pays for itself ten times over.
- Listen for the Clues: Before you even plug in a tool, roll down the windows and listen for those rhythmic ticking noises that your car’s computer might not even be programmed to recognize as a fault yet.
The Small Toolset That Lives in My Glovebox
I don’t go into any repair without these specific items. First, you absolutely need the $20 tool every driver needs for basic electrical troubleshooting—a simple digital multimeter. It helps you find ground issues that drive professional mechanics crazy. Second, invest in a dedicated torque wrench so you never repeat the common mistake that snaps your wheel studs during a simple tire rotation. Finally, I always keep a spray bottle of soapy water nearby; it is the most reliable way to learn how to find a vacuum leak without buying an expensive smoke machine. Knowing how to use advanced vehicle diagnostics starts with these basic, physical checks.
Take the Keys to Your Own Mechanical Freedom
Fixing your own car is about more than just saving a buck; it’s about the peace of mind that comes from knowing exactly what is happening under your hood. Whether you are debunking brake service myths or trying to get through a summer road trip without a breakdown, you have the power to solve these problems yourself. Don’t let a complex code or a glowing dash light intimidate you. Vehicle diagnostics is a skill you sharpen every time you choose to investigate rather than just swap parts. By following these top auto repair tips to extend your vehicles lifespan, you ensure your car stays on the road as long as you want it there. Have you ever had a check engine light that turned out to be a tiny, five-dollar fix? Let me know in the comments below!