
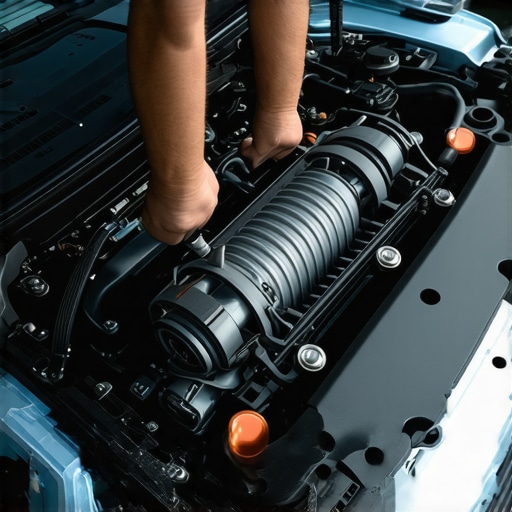
I will never forget that Tuesday morning. I was already ten minutes late for a job interview, sweating through my dress shirt, and when I turned the key, my trusty old sedan just groaned and refused to catch. The smell of raw gasoline was everywhere. I did what most folks do: I panicked. I kept grinding that starter motor until I thought the battery would give up the ghost. It is a gut-wrenching feeling when you realize you have literally drowned your engine in fuel. Back then, I thought my only choice was to sit on the curb for an hour and wait for it to evaporate, or worse, call a tow truck for some auto repair hacks that I could not afford. But here is the thing: you do not actually have to wait.
The Secret Technique Pro Mechanics Use
Most drivers think a car that will not start is a dead battery or a broken starter, but the simple reason your car wont start after a short trip is often just a flooded combustion chamber. Too much fuel, not enough air. I spent years making the mistake of pumping the gas pedal, which on modern fuel-injected cars actually makes the problem worse. It was not until a neighbor saw me struggling and showed me the clear-flood mode that I realized I could be back on the road in sixty seconds. Today, I am going to show you exactly how to bypass that hour-long wait and clear out that excess gasoline without damaging your hardware.
Is Floor-boarding the Pedal Actually Safe?
It sounds counterintuitive, right? If the engine is already drowning in gas, why would you push the pedal to the floor? This is the biggest fear I hear from people. They are afraid they will blow something up. However, holding the accelerator to the floor while cranking triggers a specific software command in most modern vehicles that shuts off the fuel injectors entirely. According to automotive safety standards outlined by organizations like AAA, over-cranking a flooded engine is one of the leading causes of premature starter failure. Sometimes the ground wire problem that mimics a bad starter motor can complicate things, but usually, it is just a matter of technique. Have you ever been stuck in a parking lot, smelling gas and wondering if your car was just done for the day? It is embarrassing and frustrating, but once you know the trick, you will never be stranded by a flooded engine again. We are going to dive into the step-by-step process of the clear-flood maneuver and how to tell if the issue is actually your ignition coil failing instead.
Trigger the Secret Clear-Flood Command
To get your car started when it is drowning in fuel, you need to understand that modern Engine Control Units (ECUs) are programmed with a specific ‘fail-safe’ for this exact scenario. Think of it like a computer reset. When the ECU sees the throttle position at 100% while the engine is at 0 RPM, it assumes the engine is flooded and enters ‘Clear-Flood Mode.’ In this state, the computer keeps the fuel injectors closed while you crank the engine, allowing only fresh air to sweep through the cylinders and dry out the spark plugs. This is a far cry from older carbureted cars where pumping the pedal helped; here, pumping just confuses the computer and leads to a longer delay in your trip.
Spot the Telltale Smell of Raw Fuel
Before you start cranking, you must be sure the issue isn’t a mechanical failure. I once spent twenty minutes trying to clear a flood at a busy gas station in Charlotte, only to realize I had a massive vacuum leak. If you smell heavy gasoline and your engine turns over quickly but won’t ‘catch,’ you are likely flooded. This often happens because of a common sensor that makes your engine idle rough in the morning, tricking the ECU into dumping too much fuel on startup. If you don’t smell gas, you might actually be dealing with an electrical issue, like the ground wire problem that mimics a bad starter motor. Always trust your nose first.
Push the Pedal to the Metal
Once you’ve confirmed the gas smell, sit in the driver’s seat and push the accelerator pedal all the way to the floor. Do not pump it. Do not wiggle it. You need to hold it dead against the floorboard. This tells the ECU to cut off the fuel supply entirely. I remember a particularly messy morning where I was trying to help a neighbor whose car had stalled after a two-block drive. He was terrified to floor it, thinking the engine would redline as soon as it started. I had to physically hold his foot down. The reality is that the ECU is smarter than we give it credit for; it won’t let the engine rev wildly until it actually registers a stable combustion. 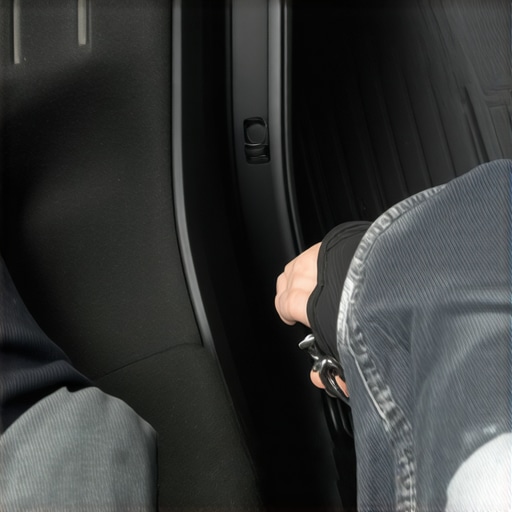
Let the Starter Do the Heavy Lifting
With your foot firmly on the floor, turn the key or press the start button. The engine will crank but likely won’t fire immediately. Keep cranking for about 5 to 10 seconds. You are essentially using the pistons as air pumps to blow the liquid gasoline out of the exhaust valves. You might hear the engine start to ‘chug’ or stumble—that is a good sign! It means the air-to-fuel ratio is finally returning to a combustible level. If you’ve been keeping up with oil change innovations, your internal components will handle this brief period of dry-cranking without much stress. However, don’t crank for more than 15 seconds at a time, or you risk overheating the starter motor.
Stabilize the Engine Once it Catches
As soon as the engine begins to run on its own, quickly lift your foot off the gas pedal. The engine will probably stumble and produce a cloud of grey or black smoke from the tailpipe—this is just the excess fuel burning off. It might sound like a tractor for a few seconds. This is often the point where people worry about their brake service or other maintenance, but just focus on the tachometer. Give it a few light revs to clear the throat of the intake manifold. Using how advanced vehicle diagnostics prevent costly breakdowns can help you later determine if a leaking fuel injector or a bad temperature sensor caused the flood in the first place, but for now, you are mobile again.Once you have mastered the clear-flood maneuver, you might feel like a pro, but the most dangerous mistake I see is assuming the car’s computer has all the answers. Most drivers think their OBD-II scanner is a truth-teller that points directly to a broken part. In reality, that tool is just a starting point. I have seen countless DIYers replace expensive sensors only to find the problem persists because why your OBD-II scanner cant find the real electrical ghost is often a wiring or grounding issue, not the sensor itself.
Your OBD-II Scanner is Not a Magic Wand
It is a common belief that if the scanner says ‘O2 Sensor,’ you should go buy an O2 sensor. This is the biggest ‘trap’ in modern auto repair. A code is merely a data point indicating that a specific circuit is reading outside of its expected parameters. According to studies by the National Institute for Automotive Service Excellence (ASE), a significant percentage of professional diagnostic time is spent proving that a code is actually being triggered by a completely unrelated mechanical failure.
Why Does My Scanner Say P0420 When the Converter is Perfect?
This is the quintessential advanced diagnostic nuance. A P0420 code technically means ‘Catalytic System Efficiency Below Threshold.’ Most people immediately order a thousand-dollar converter. However, why your scanner says P0420 but the converter is actually fine often boils down to a pinhole exhaust leak or a lazy oxygen sensor. This is exactly how people end up overpaying when brake service myths or diagnostic errors lead to unnecessary part replacements. 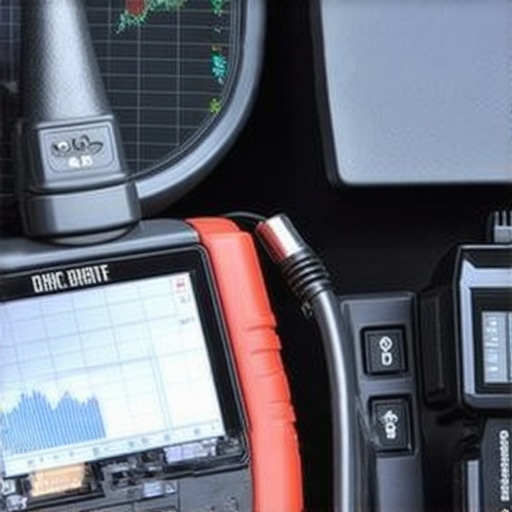
Stop Blindly Swapping Parts Based on Codes
The hidden danger in modern maintenance is the ‘clean dipstick’ illusion. You might be diligent with your oil changes, but there is often the hidden sludge building up behind your clean dipstick that can clog variable valve timing (VVT) solenoids, leading to misfires that look like electrical failures. When that happens, you need to know how to tell if your engine misfire is mechanical or electrical before you throw a set of spark plugs at it. I once spent an entire Saturday replacing coils only to realize I had a low oil pressure issue affecting the VVT. It was a humbling lesson in the ‘Oops’ factor of blind parts swapping. Have you ever fallen into this trap? Let me know in the comments.But comments only get you so far; eventually, you have to pick up the tools and get your hands dirty. If you want to stop being a ‘parts-changer’ and start being a true home technician, you need to invest in the right gear. I do not mean a five-thousand-dollar snap-on chest, either. I am talking about the 20 tool every driver needs for basic electrical troubleshooting: the digital multimeter. I carry mine in the glovebox because it is the only way to verify if a circuit is actually alive. When you learn to read voltage drops, you stop fearing those electrical ghosts that haunt older vehicles.
The One Tool That Actually Saves Your Sanity
Most folks rely on their dash lights to tell them when something is wrong, but by the time a light comes on, the damage is often already done. For example, understanding the specific reason your ceramic pads are louder than your old metallic ones requires more than a visual check; it requires knowing how heat cycles affect friction material and rotor resonance. In my experience, pairing a decent multimeter with how advanced vehicle diagnostics prevent costly breakdowns is the ultimate shortcut to a reliable car. You can actually see a sensor starting to drift or lose signal integrity before it ever triggers a hard fault code. 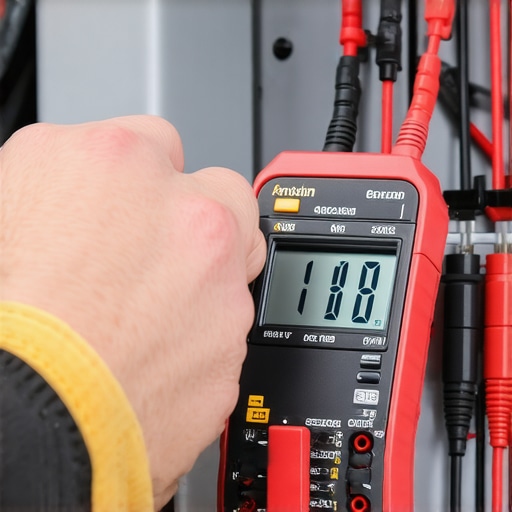
How do I keep my car running like new for decades?
The secret is not just changing the oil when the sticker tells you to; it is about a proactive stance on the small stuff that most people ignore until it causes a breakdown. I follow essential auto repair strategies for frequent drivers, which includes a monthly inspection of every fluid level and a quick check of the main ground wires for corrosion. According to the Bosch Automotive Handbook, signal interference in modern CAN-bus systems is often caused by micro-corrosion on connectors rather than component failure. If you ignore this maintenance, you will eventually be searching for how to remove a broken bolt without losing your mind because everything has seized up from years of neglect.
The Next Era of Home Garage Diagnostics
We are moving toward a world where your car will predict its own failures via cloud-based telematics and AI-driven internal health checks. However, that tech is still several years away from being affordable or accessible for the average DIYer. For now, following top auto repair tips to extend your vehicles lifespan is your best defense against the skyrocketing costs of dealership labor. I want you to try this specific step: the next time you have a weird electrical glitch or a slow crank, do not go buy a new sensor or battery. Grab a multimeter and check the voltage drop across your battery cables and chassis ground first. You might be surprised to find a simple dirty connection is your only problem.
Lessons Written in Oil and Rust
I’ve spent more hours than I care to admit staring at a check engine light, feeling like the car was winning. One thing I’ve learned is that the scanner is a compass, not a map. It points you in a direction, but you still have to walk the path. If you jump straight to buying parts, you’re just gambling with your paycheck. I’ve seen people replace entire fuel systems when the real culprit was simply the ground wire problem that mimics a bad starter motor.
Another hard truth? Your car is constantly talking to you through vibrations and smells long before a light ever hits the dash. Learning to listen to those subtle cues is the difference between a $20 fix and a $2,000 engine overhaul. Whether it’s a slight stumble at a red light or a faint whiff of coolant, your intuition is often faster than any computer software. Trusting that gut feeling while decoding vehicle diagnostics is how you truly master your machine.
The Gear I Actually Reach For
If you’re serious about avoiding the mechanic’s waiting room, you don’t need a professional garage. You just need these three essentials:
- The Trusted Multimeter: This is the 20 tool every driver needs for basic electrical troubleshooting. It’s the only way to stop guessing and start knowing if a circuit is alive.
- A Dedicated OBD-II Bluetooth Dongle: Having real-time data on your phone while you drive helps you spot intermittent issues that don’t stay in the car’s memory.
- A Reliable Test Light: Sometimes you just need to see a bulb glow to know you have power. It’s perfect for finding a parasitic battery drain without overcomplicating the process.
#IMAGE_PLACEHOLDER_E#
Own Your Car’s Future
Stepping up to handle your own repairs can feel intimidating, especially when modern cars feel more like rolling computers than mechanical tools. But remember, the physics hasn’t changed—an engine still needs air, fuel, and spark. By applying these top auto repair tips to extend your vehicles lifespan, you aren’t just saving money; you’re gaining the peace of mind that comes from knowing exactly how your vehicle works. Don’t let a flooded engine or a confusing code ruin your day. You have the tools, you have the knowledge, and now you have the strategy to handle vehicle diagnostics like a professional. Have you ever spent money on a new part only to realize the real issue was just a loose or dirty connection? Let me know in the comments below!