
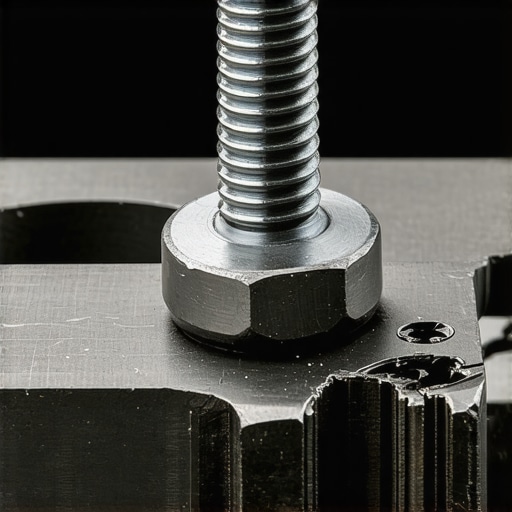
I remember the exact moment my heart sank into my work boots. It was a Saturday morning, the sun was barely up, and I was trying to replace a water pump. I gave the final bolt one last nudge with the ratchet, and then I heard it—the "clink-snap" that haunts every mechanic’s dreams. The head of the bolt came off clean in my socket, leaving the rest of the shank buried deep inside the engine block. I spent the next three hours making every mistake in the book. I tried to drill it out freehand, slipped, and gouged the aluminum housing. It was a disaster. I learned the hard way that brute force is the enemy of precision. If you’ve ever been tempted to just keep drilling until you hit daylight, stop right now. There is a better way to handle this without turning your vehicle into a giant paperweight. Today, I’m sharing the method I use to save those precious threads every single time.
Why You Should Put Down the Impact Wrench Immediately
When a bolt shears off, your first instinct is usually panic-driven action. You want to grab the biggest extractor you can find and twist. Don’t. I’ve snapped more "easy-outs" than I care to admit, and let me tell you, those things are made of hardened tool steel—they are nearly impossible to drill out once they break inside your broken bolt. Before you reach for the power tools, you need to understand why it broke. Usually, it’s a combination of galvanic corrosion and over-torque. Much like the secret to removing a rusted bolt without snapping the head, the trick isn’t more muscle; it’s smarter physics. I once ruined a perfectly good intake manifold because I didn’t respect the bond between the steel bolt and the aluminum head. It’s one of those auto repair hacks that isn’t really a hack—it’s just patience. I’m not talking about some high-end machine shop sorcery here. I’m talking about stuff you can do in your driveway with basic tools and a bit of focus.
Is a broken bolt really the end of your engine?
The fear of "ruining the threads" is what keeps most people from even trying to fix their own cars. But here is the truth: those threads are tougher than you think, as long as you don’t fight them. According to metallurgy research from organizations like ASM International, the key is managing the thermal expansion of the surrounding metal to break the tension. If you can get the surrounding material to expand slightly more than the bolt itself, that "frozen" bond will shatter. This is why decoding vehicle diagnostics often starts with understanding the physical limits of your hardware. Have you ever faced a snapped bolt that made you want to sell the car on the spot? Drop a comment and tell me about your worst mechanical "oops" moment—I promise I’ve done worse. We are going to get that bolt out together, one step at a time.
Prep the Metal Before You Touch a Drill
Before you even think about power tools, you need to address the chemistry of the situation. That bolt snapped because it was seized, and that seizure hasn’t gone away just because the head is missing. You need to soak the stubborn shank in a quality penetrating oil for at least an hour. This is one of those top auto repair tips to extend your vehicles lifespan because it prevents you from having to tap oversized holes or use Helicoils later. While the oil works its way into the threads, take a small hammer and a flat-face punch. Give the top of the broken bolt a few firm, sharp raps. This creates a shockwave that can help break the micro-bonds of rust without deforming the surrounding metal. Think of it as waking up the hardware before you try to move it.
Create a Dead-Center Target Every Time
The biggest mistake DIYers make is trying to drill into the bolt immediately. If your drill bit is even a hair off-center, you will eventually eat into the threads of the engine block or housing. I learned this lesson the hard way on a ’98 Civic engine swap. I was in a rush and didn’t use a center punch. The drill bit danced across the steel like a figure skater on ice and gouged the aluminum water pump housing so badly it could never hold a seal again. That $5 bolt cost me a $150 replacement part and an entire afternoon of frustration. To avoid my mistake, use a spring-loaded center punch to create a deep, perfectly centered dimple in the middle of the broken shank. This tiny crater ensures your drill stays exactly where it belongs.
Why Reverse Drill Bits Win Every Time
Most people reach for a standard drill bit and a tapered extractor, but there is a much more effective tool: the left-handed (reverse) drill bit. These are among the most essential auto repair strategies for frequent drivers who do their own maintenance. A standard bit spins clockwise, which actually tightens the broken bolt as you drill. A reverse bit spins counter-clockwise. As the bit bites into the metal, the combination of heat, vibration, and the biting force often catches the bolt and spins it right out of the hole. It is very similar to the simple trick to removing a stuck oil filter without a wrench—it is all about using the tool’s natural rotation to your advantage rather than fighting against it.
Keep the Speed Low and the Pressure High
When you start drilling, resist the urge to pull the trigger all the way. High speed is your enemy here. If you see smoke, you are spinning too fast and likely dulling your bit or hardening the bolt steel. You want to see small curls of metal coming out of the hole. Use a drop of motor oil on the tip of the bit to keep it cool. If the bolt is still being stubborn, apply heat to the surrounding casting with a propane torch. You want the hole to expand slightly while the bolt stays cooler. This breaks the tension bond, much like the secret to getting a stuck lug nut off without breaking the stud. Once that metal expands and you apply the reverse bit at a slow, steady pace, you will often feel the glorious ‘pop’ of the bolt finally letting go and threading itself out of the hole.The biggest myth in the garage is that spiral extractors are a miracle tool that works every time. In reality, they are often a trap. If you over-torque a tapered extractor, it expands the bolt shank, wedging it even tighter into the threads. It is like trying to open a door by pushing it harder against the frame. This is where most DIYers go wrong—they apply too much force too quickly. I have seen people try to use these tools on critical engine components without success, similar to how some might misdiagnose the reason your brake pads are squealing even though they are new. It is about the underlying physics of the seizure, not just the brute force of the removal.
Why do hardened extractors fail so spectacularly?
Engineering studies from organizations like the Fastener Training Institute often point to the Rockwell Hardness paradox. Tools like Easy-Outs are extremely hard so they can bite into steel, but that hardness makes them incredibly brittle. Once a hardened tool snaps, its crystalline structure makes it nearly impossible to penetrate with standard carbide or high-speed steel bits. You are essentially stuck with a piece of diamond-lite blocking your path. This is the ultimate oops factor: turning a $10 bolt problem into a $1,000 cylinder head replacement because you can no longer drill through the center. 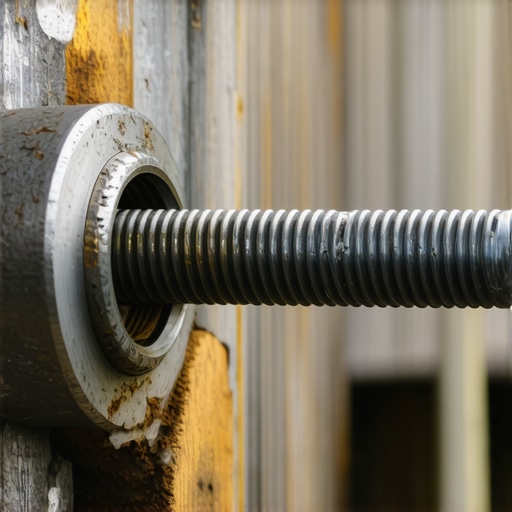 Instead of reaching for the extractor first, consider if the bolt is truly seized or just broken. If it is seized due to galvanic corrosion—common in aluminum-to-steel contacts—you need to address the chemical bond first. This level of detail is what separates a quick fix from a long-term solution, much like how oil change innovations technologies that save your engine focus on the molecular level of protection rather than just fresh oil. I have also noticed a lot of old school mechanics swear by miracle penetrants. While they help, they are not a substitute for proper technique. Some people think the truth about oil additives and if they actually save your engine is the same as using a chemical for a rusted bolt, but the science is vastly different. Have you ever fallen into the trap of snapping an extractor and realizing you just made the job ten times harder? Let me know in the comments. One final nuance: when you finally do get the bolt out, don’t just throw a new one in. You need to chase the threads with a tap to clear out the leftover oxidation. If you don’t, the new bolt will have a false torque reading. This is a common point of failure in high-stakes repairs, much like knowing how to tell if your mechanic actually changed the oil; the small details tell the real story of the repair quality.Once you’ve successfully extracted that nightmare bolt, you realize that the best repair is the one you never have to do again. I spent years relying on cheap chrome-vanadium sockets and prayer, but I’ve since learned that professional-grade equipment isn’t just about vanity—it’s about preventing mechanical failure.
Invest in an Induction Heater Before You Break Another Bolt
If you live in the rust belt or work on older vehicles, the single most important tool in my arsenal is now the Mini-Ductor induction heater. Instead of using an open flame that can melt plastic clips or burn wiring harnesses, this tool uses high-frequency magnetic fields to heat only the ferrous metal of the bolt. It turns a seized nut cherry-red in seconds without touching the surrounding aluminum. This is one of those essential auto repair strategies for frequent drivers who want to avoid the heartbreak of a snapped shank. I also recommend a high-quality digital torque wrench. Most people estimate tightness by ‘feel,’ but on modern engines with torque-to-yield fasteners, being off by five foot-pounds can be the difference between a sealed gasket and a stripped thread. 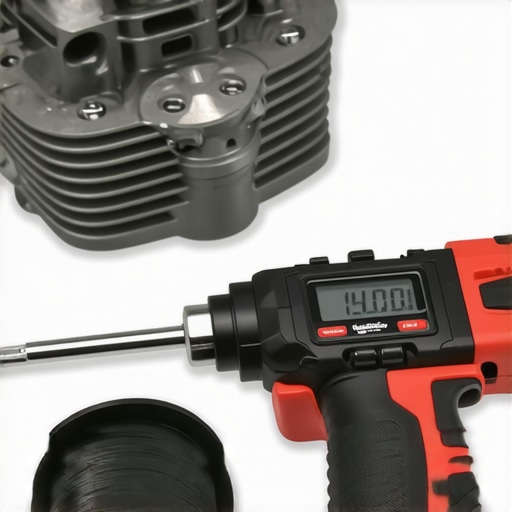
How do I maintain my engine components to prevent future seizures?
The secret is never putting a bolt back in ‘dry.’ I use a nickel-based anti-seize lubricant on almost every fastener that isn’t required to have a thread-locker. Nickel is rated for higher temperatures than the common silver/copper varieties, making it perfect for exhaust manifolds and spark plugs. This simple step is one of the top auto repair tips to extend your vehicles lifespan. Furthermore, keeping the exterior of the engine clean helps prevent the galvanic corrosion that locks steel and aluminum together. Just make sure you know the secret to keeping your engine bay clean without damaging electronics before you reach for the hose.
The Digital Shift in Modern Vehicle Care
We are entering an era where mechanical prowess isn’t enough; you need to be a part-time data scientist. I’ve started using bi-directional scan tools that do more than just read codes. They allow you to manually activate solenoids and test circuits from the palm of your hand. According to the Fluke Corporation’s technical guide on ‘Automotive Electrical Troubleshooting,’ even a voltage drop of 0.5V in a ground circuit can mimic a mechanical hardware failure. This is why decoding vehicle diagnostics is becoming the frontline of auto repair. In the next few years, I predict we will see even more integration between AI-driven diagnostic apps and home-mechanic hardware, making oil change innovations technologies that save your engine even more effective through predictive sensor data. I strongly encourage you to pick up a mid-range OBD-II scanner with live data capabilities this weekend—it will change how you ‘listen’ to your engine forever.
The Hardest Lesson I Learned While Fishing for Steel
Looking back at that Saturday morning disaster, I realize the ‘clink-snap’ wasn’t just a failure of the bolt; it was a failure of my process. Here is what I know now that I didn’t know then. First, patience is a measurable tool; if a bolt feels spongy, it isn’t loosening, it is stretching. Stop and apply heat or oil immediately. Second, never trust a dry thread. Reinstalling a bolt without cleaning the hole is just inviting the next seizure. I always use a thread chaser to ensure the torque readings are accurate. Third, follow the five-dollar rule: if a bolt looks even slightly pitted or corroded, throw it away. A five-dollar replacement is infinitely cheaper than a five-hour extraction. Finally, don’t skip the prep. Vibration and chemistry do 90% of the work. If you skip the hammer raps or the soaking time, you are working ten times harder for the same result. #IMAGE_PLACEHOLDER_E#
The Gear That Saved My Sanity More Than Once
You don’t need a professional machine shop, but you do need the right surgical instruments. These are the items I keep in my top drawer for every auto repair hack I attempt. I highly recommend a set of Cobalt Left-Handed Drill Bits. Don’t buy the cheap hardware store variety; get a dedicated cobalt set because they stay sharp against hardened steel and often spin the bolt out before you even need an extractor. A high-quality Thread Chaser Set is also non-negotiable. Unlike a tap which cuts new metal, a chaser cleans the existing threads and is a vital part of top auto repair tips to extend your vehicles lifespan. Lastly, move beyond the standard multi-purpose sprays and invest in a real penetrating catalyst specifically designed to break surface tension in rusted fasteners.
Turn Your Wrench with Confidence Again
Mechanical setbacks are just part of the journey. Every time you successfully extract a broken bolt, you gain a level of confidence that no video tutorial can provide. This hands-on experience is the backbone of essential auto repair strategies for frequent drivers. Whether you are dealing with a snapped manifold stud or just doing a routine brake service, remember that you are in control of the metal, not the other way around. Don’t let one bad bolt keep your car off the road. Grab your tools, take a deep breath, and get back to work. Have you ever had a bolt break in the worst possible spot? Let me know in the comments below—I want to hear your survival stories!