
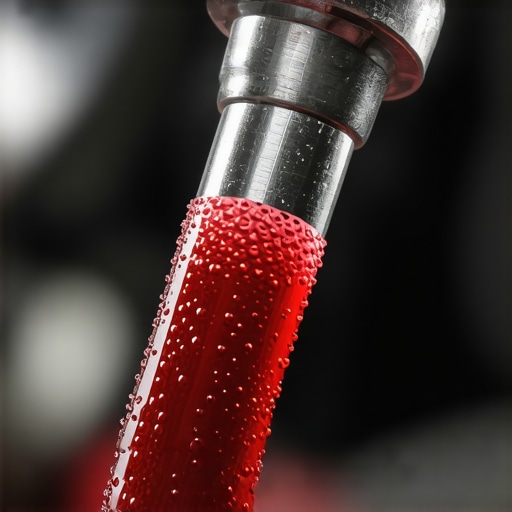
I was halfway to a weekend camping trip when my old truck started acting slightly confused. It was just a tiny slip between second and third gear, but it was enough to make my palms sweat. I pulled over to a dusty shoulder, popped the hood, and pulled the transmission dipstick. Instead of that clean, translucent red fluid I was hoping for, I saw what looked like strawberry-flavored soda foam. My heart sank. I immediately thought I had toasted the internal gears and was looking at a three-thousand-dollar rebuild. It turns out, I was actually the one who caused it by being a bit too generous with the fluid bottle the night before.
Stop Panicking When You See Foam on Your Dipstick
The sight of bubbling transmission fluid is enough to make any car owner reach for their wallet in despair. But here is the thing: those bubbles are usually a sign of aeration, not a mechanical explosion inside your gearbox. When air gets whipped into the fluid, it cannot do its job of lubricating or creating the hydraulic pressure needed for gear changes. I learned this the hard way during an early DIY project where I figured if a little fluid was good, a lot must be better. If you have noticed this froth, you might also find that your transmission shifts hard when the engine is cold or even slips when you are trying to merge onto the highway. Aeration generally happens for two simple reasons: either the fluid level is so low that the pump is sucking in air, or it is way too high and the rotating internal parts are churning it into a froth like a giant kitchen mixer. According to research from the Car Care Council, nearly 80 percent of vehicles on the road fail at least one component of a basic inspection, with improper fluid levels being a top offender.
Does a Few Tiny Bubbles Really Mean a Rebuild?
You might be skeptical and think that air shouldn’t be that big of a deal. However, air is compressible, while hydraulic fluid is not. When your transmission tries to shift, it relies on steady pressure to move internal valves. If that pressure is interrupted by air pockets, the shift simply will not happen correctly. It is a classic scenario where advanced vehicle diagnostics could save you thousands by identifying a simple overfill before you agree to a full transmission replacement. I will be honest, when I first started working on my own cars, I assumed more fluid meant more protection. I ended up having to drain nearly a quart just to get the level back to where the pump stopped making pink lattes. Have you ever pulled your dipstick only to find a bubbly mess staring back at you? It is a stressful moment, but it is often just a matter of precision. Even if your car is one of those modern models where you have to check your transmission fluid level without a dipstick, the symptoms of aeration remain exactly the same.
Fixing the Foam Before It Kills Your Transmission
The first step in resolving aerated fluid is to park the vehicle and let it sit. Think of it like a bottle of soda you’ve just shaken; if you open it or check the dipstick immediately, you won’t get an accurate representation of what’s happening inside the case. Let the car rest for at least thirty minutes to allow the air bubbles to rise and dissipate naturally. Once the fluid has settled, you can begin the actual diagnostic process. Using some auto repair hacks to save money, you can often handle this in your own driveway with nothing more than a clean, lint-free rag and a steady hand.
Find the Sweet Spot Between the Marks
Checking transmission fluid is not like checking engine oil. For most vehicles, the engine must be running and the fluid must be at operating temperature to get a true reading. I once made the rookie mistake of checking my fluid on a steep driveway while the engine was bone cold. The dipstick looked completely dry, so I dumped in two full quarts of ATF. Five miles down the road, thick white smoke was pouring out of my wheel wells because the fluid had expanded, hit the rotating gears, and frothed right out of the vent tube. Always find a perfectly level surface and shift through all the gears—from Park to Low and back—before pulling the stick. If you’re dealing with a modern car, you will need to know how to check your transmission fluid level without a dipstick, which often involves a specialized check-plug on the side of the transmission housing.
Suck Out the Excess to Stop the Churning
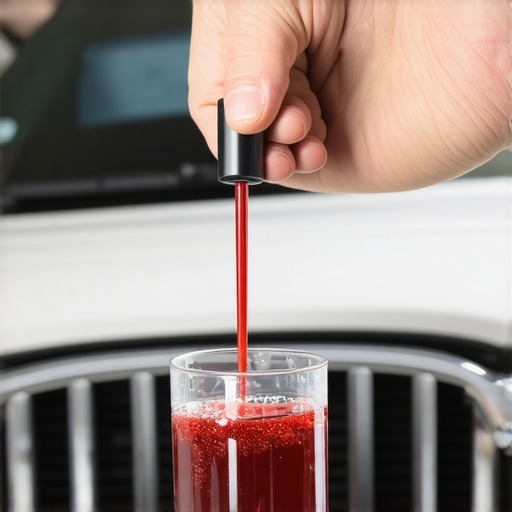
If you find that you have overfilled the system, do not continue driving the car. The rotating internal components will act like a giant kitchen whisk, beating air into the fluid and causing it to lose its ability to lubricate or hold hydraulic pressure. You do not necessarily have to crawl under the car and pull the drain plug, which is often messy and difficult to control. Instead, use a simple hand-operated fluid extraction pump to pull the excess out through the dipstick tube. It is one of those essential auto repair strategies that keeps a small mistake from turning into a burnt-out clutch pack. Aim to remove a half-quart at a time and re-check the level until it sits exactly in the middle of the ‘Hot’ crosshatch area. By maintaining precise fluid levels, you are following one of the top auto repair tips to extend your vehicle’s lifespan.
Hunt for the Air Leak in Your Lines
If your fluid level is perfect but you still see bubbles on the stick, air is likely being sucked into the system from the ‘suction side’ of the pump. A common culprit is a hardened or cracked O-ring on the internal transmission filter. When that seal fails, the pump pulls in air along with the fluid, creating a steady stream of foam that prevents the transmission from engaging properly. This is where vehicle diagnostics explained simply can help you narrow down the issue. Check the rubber lines leading to your transmission cooler for any signs of wetness or cracking; a tiny pinhole might not leak much fluid out, but it can definitely let air in when the pump is under load. If you notice the transmission shifts hard only when the engine is cold, it is a major red flag that air is entering the system before the fluid has a chance to expand and seal those small gaps.
New Brake Pads Do Not Guarantee Silence
Most DIY enthusiasts believe that simply buying the most expensive ceramic pads is a golden ticket to a quiet ride. In reality, the reason your brake pads are squealing even though they are new usually has nothing to do with the friction material itself. It is almost always the hardware. If you do not meticulously clean the caliper brackets and apply a high-quality silicone lubricant to the slide pins, those expensive pads will vibrate at a high frequency, creating that ear-piercing shriek. I have seen countless car owners return perfectly good parts because they skipped the five minutes of prep work. This is one of those brake service myths busted by professional technicians: parts alone do not fix a car; the procedure does.
The 3,000-Mile Oil Change Myth is Killing Your Wallet
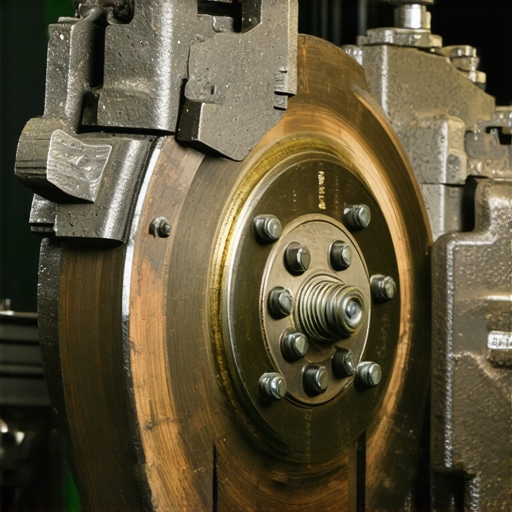
If you are still changing your oil every 3,000 miles because your grandfather told you to, you are likely throwing money down the drain. Modern oil change innovations have led to synthetic lubricants that can easily last 7,500 to 10,000 miles under normal driving conditions. A study by AAA found that Americans spend over $2 billion a year on premium oil changes that provide no measurable benefit over manufacturer-recommended intervals. However, the ‘oops’ factor here is critical: if you drive in ‘severe’ conditions, like constant stop-and-go city traffic or extreme heat, those intervals shrink back down. Ignoring the specific nuances of your local environment is a fast track to engine sludge, regardless of what the bottle says.
Why does my brake pedal feel different after a long drive?
This is a question I get from more advanced drivers who notice a slight change in brake pedal ‘squishiness’ after an hour on the highway. Often, it is a sign of moisture in the brake fluid. Brake fluid is hygroscopic, meaning it naturally absorbs water from the air. Under heavy use, that water turns to steam, which is compressible. If you have ever wondered why your brake pedal feels different after a long drive, it might be time for a full system flush rather than just a pad swap. By using advanced vehicle diagnostics, you can test the boiling point of your fluid before it fails you on a mountain pass. Have you ever fallen into this trap of over-maintaining or under-diagnosing? Let me know in the comments.
If you are serious about moving beyond basic fluid checks, you need to stop relying on those twenty-dollar code readers that only give you generic P-codes. I personally use a bidirectional diagnostic tablet because it does not just read the problem—it lets me talk back to the car. I can manually trigger the fuel pump or cycle the ABS solenoids, which is a game-changer when you are trying to figure out how advanced vehicle diagnostics prevent costly breakdowns. According to the Bosch Automotive Handbook, modern electronic control units manage over one hundred parameters simultaneously, and a basic reader only sees about five of them. This is why I always tell people that investing in a mid-range scanner is one of the best auto repair hacks to save money in the long run. 
How can I make my transmission and engine last forever?
The secret is not a magic additive; it is consistency and high-quality data. I follow a strict schedule that combines essential auto repair strategies with a deep dive into my car health every six months. I do not just wait for a light to pop up on the dash. I look at fuel trims and misfire counts while the engine is running. This proactive approach is the core of the top auto repair tips to extend your vehicle’s lifespan. If you see your long-term fuel trim creeping above ten percent, you know you have a vacuum leak or a dirty sensor long before the check engine light ruins your weekend trip.
The Pro-Grade Kit That Actually Pays for Itself
When it comes to brakes, I have stopped using the C-clamp and a block of wood method for compressing calipers. Instead, I use a dedicated brake caliper press tool. It applies even pressure to the pistons, preventing the seals from binding—a small detail that avoids the headaches discussed in the ultimate guide to brake service for safety and performance. Also, keep an eye on oil change innovations, specifically the move toward ultra-low viscosity oils like 0W-8. These require specific filters that can handle higher flow rates without collapsing.
Your Car Is Turning Into a Computer on Wheels
Looking ahead, the era of the shade tree mechanic is shifting toward the digital technician. In the next five to ten years, I predict that over-the-air updates will handle forty percent of what we currently consider mechanical repairs. Your car will likely diagnose its own sensor failures and schedule its own service before you even feel a vibration. For now, take my advice and grab a decent multimeter to learn the basics of back-probing a connector. It is the single most powerful skill you can have today to stop a small sensor issue from turning into an expensive guess at the local shop.
The Hardest Lessons Learned in My Driveway
After years of turning wrenches, I’ve realized that the difference between a successful fix and a weekend-ruining disaster is often less than half a quart of fluid. One ‘lightbulb moment’ for me was discovering that a tiny air leak on the suction side of the pump creates the exact same foam as being two quarts overfilled. It taught me to always verify fluid levels before assuming a mechanical failure. Another hard-earned truth? Don’t trust your ears alone. Using decoding vehicle diagnostics is much more reliable than guessing which sensor is screaming. Finally, I’ve learned that skipping the cleaning step during a brake service is the number one reason for noise, no matter how much you paid for the parts.
Gear That Actually Belongs in Your Garage
If you want to stop being intimidated by your car, you need tools that provide clarity. I never start a job without a high-quality bidirectional scanner; it’s the only way to see what the car’s computer is actually thinking. I also recommend a dedicated fluid extractor—it makes correcting an overfilled transmission so much cleaner than pulling a drain plug. For anyone doing their own pads, a professional-grade caliper press tool is a must-have to avoid damaging piston seals, as detailed in the ultimate guide to brake service for safety and performance. Lastly, a simple bottle of brake parts cleaner and a wire brush are your best friends for preventing those annoying squeals.
#IMAGE_PLACEHOLDER_E#
Take Control of Your Commute
Maintaining a modern vehicle doesn’t have to feel like solving a mystery. By paying attention to the small signs—like a bit of foam on a dipstick or a slight change in pedal feel—you can master the art of auto repair and keep your car on the road for decades. Don’t be afraid to get your hands dirty, but always lead with data rather than guesswork. If you’re ever unsure if a service was done right, you can even learn how to tell if your mechanic actually changed the oil to stay one step ahead. Your car is an investment, and with a little patience, you’re the best person to protect it.
Have you ever accidentally overfilled a reservoir or found a ‘hidden’ fuse like the hidden fuse that controls your fuel pump? Let me know your most surprising DIY discovery in the comments below!