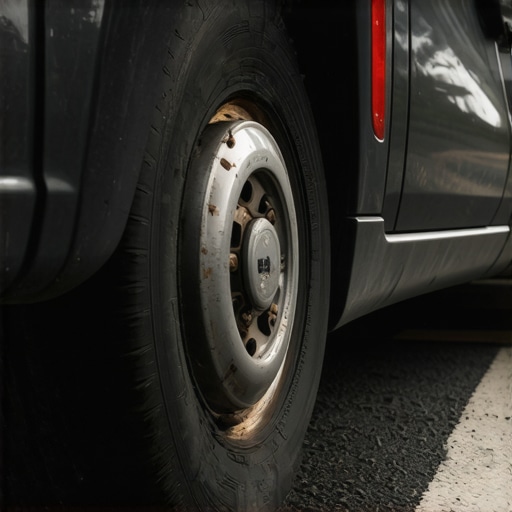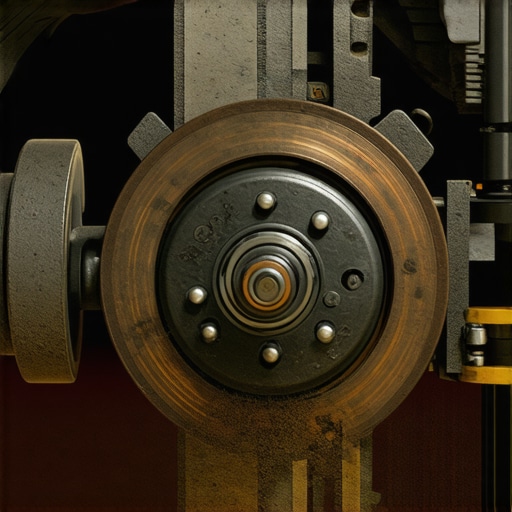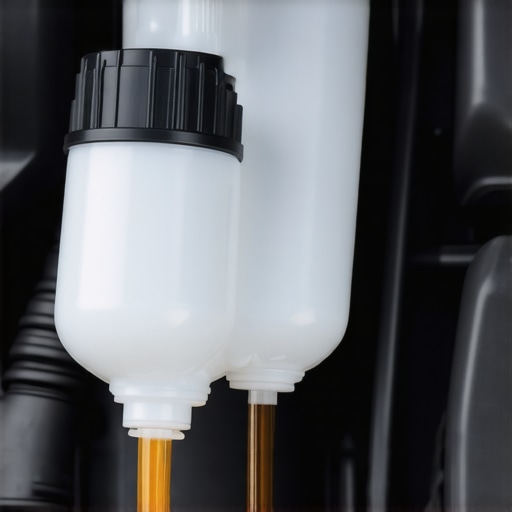
Why your brake fluid looks like coffee after a long road trip
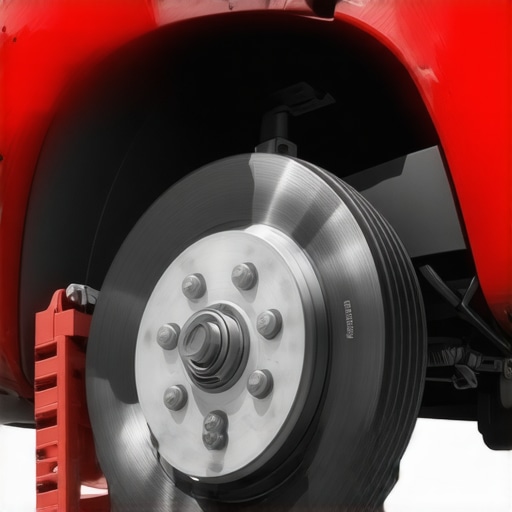
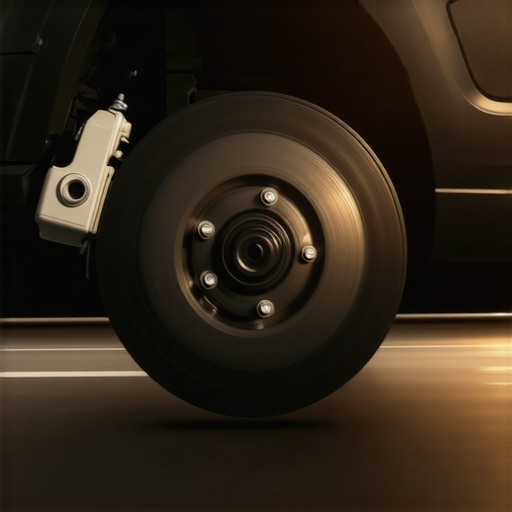
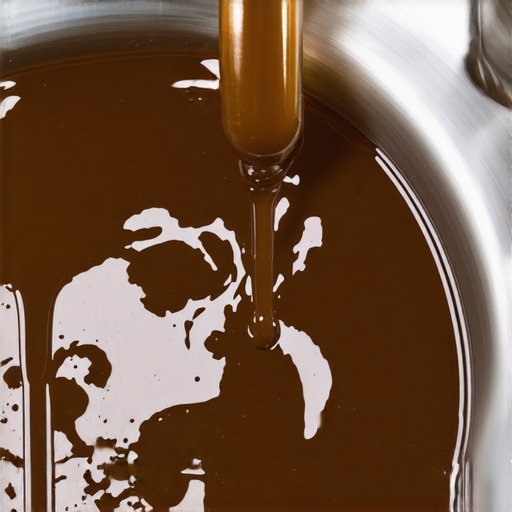
Imagine this: You’re cruising home after a weekend getaway, your car handling smoothly, the road unwinding beneath you. Suddenly, as you brake gently into your driveway, your eyes catch the reservoir—and gasp. The brake fluid inside has turned a murky, coffee-like color. It’s a jarring sight that left me scratching my head the first time […]