
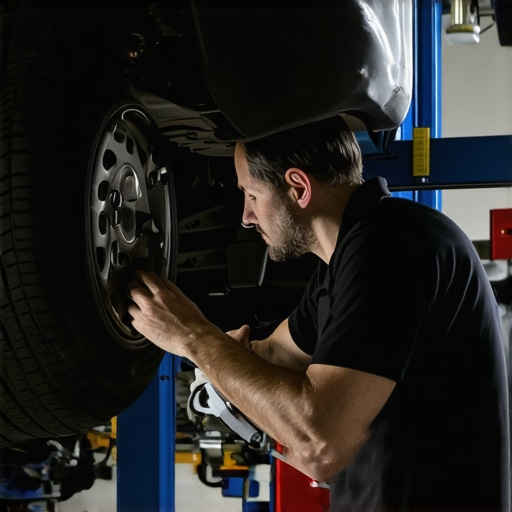
It was one of those mornings when I was already running late, and as I started my car, I was greeted by a relentless rattling that seemed to echo from under the vehicle. That annoying clatter turned what should have been a quick drive into a frustrating hunt for the source of the noise. I’ve been there—trying to ignore the sound, hoping it’d disappear, but it only got worse. That moment sparked my quest to find a free and effective fix for my rattling heat shield.
If your car has started to make that unmistakable rattling noise from underneath, you’re not alone. The heat shield, designed to protect your vehicle from intense engine heat, can become loose over time, especially with exposure to road vibrations and corrosion. Not only is this noise nerve-wracking, but if left unchecked, a loose heat shield could even cause damage to other components or fall off, posing a safety risk.
Today, I promise to share the exact steps I used to silence that rattling—without spending a dime. No need to fork over cash for a mechanic or struggle with complicated repairs. I’ll walk you through how you can identify a loose heat shield and secure it yourself using simple tools. Trust me, with a little patience and some basic supplies, you can fix this annoyance and get back to a peaceful drive.
Why Your Heat Shield Gets Loose and How to Recognize the Signs
Before jumping into the fix, it’s helpful to understand why this happens in the first place. Heat shields are usually held in place by clips, screws, or sometimes just corrosion. Over the years, exposure to moisture, salt, and the relentless pounding of potholes can weaken these fasteners, causing the shield to rattle or sag.
If you want to check whether your heat shield is the culprit, park your car on a flat surface and get underneath with a flashlight. Look for any loose or hanging pieces—if you can move it with your hand, that’s your problem. Sometimes, you might notice rust or broken clips. Identifying these signs will help you determine the best way to repair or secure the shield.
Have you experienced that persistent rattling yourself? If so, you’re probably aware of how disruptive it can be. The good news is, as I discovered through my own trial and error, fixing it for free is surprisingly straightforward. For more detailed insights into vehicle safety and repairs, check out [this comprehensive guide on brake service](https://repairmycarpro.com/the-ultimate-guide-to-brake-service-for-safety-and-performance), which covers some related maintenance tips.
Now that we’ve diagnosed the problem, let’s get into the step-by-step process to silence that annoying noise for good. Trust me, you won’t need to undo your whole exhaust system—just a few simple tools and a touch of patience.
Secure Loose Heat Shields with Basic Tools
When I discovered my heat shield was causing that rattling noise, I grabbed a pair of pliers, a flat-head screwdriver, and a hose clamp from my garage. Imagine fixing a loose piece of jewelry with just a few tools—you don’t need to be a mechanic to tighten up your heat shield. First, locate the loose panel underneath your car using a flashlight. Once identified, try moving it gently with your hand—if it swings, it’s your culprit.
Remove-Corroded Clips or Fasteners
Next, carefully unclip or unscrew any existing fasteners holding the shield. Often, rust or corrosion makes clips brittle or stuck. If the clips are rusted beyond saving, replace them or consider removing them altogether. Remember, safety is key—wear gloves to protect your hands from sharp edges.
Apply a Hose Clamp for an Instant Fix
In my case, the clips were too corroded to reuse. So, I wrapped a large, stainless steel hose clamp around the loose section of the heat shield. Tightening it with a screwdriver ensured the panel was snug against the underbody. This method is quick, inexpensive, and effective—similar to strapping a loose pipe in place.
Evaluate the Result and Make Adjustments
After tightening the hose clamp, I took the car for a test drive. The rattling disappeared instantly, and I felt relief knowing I didn’t need to replace expensive parts immediately. If you still hear noise, double-check your work—maybe tighten the clamp a bit more or reposition the shield for better contact.
Prevent Future Loosening with Additional Measures
To keep your heat shield secure over time, consider applying a high-temperature adhesive or sealant on the edges before reattaching it. This reduces vibrations that can loosen fasteners. Also, periodically inspect underneath your vehicle in line with typical maintenance routines—checking [vehicle diagnostics explained easy checks before your road trip](https://repairmycarpro.com/vehicle-diagnostics-explained-easy-checks-before-your-road-trip) can alert you to other issues before they escalate.
When to Seek Professional Help
If your DIY fix doesn’t hold or if you’re uncomfortable working under your car, don’t hesitate to consult a professional. Sometimes, a mechanic might suggest replacing clips or even the entire heat shield for a long-lasting solution. Remember, safety first—never compromise on thorough repairs if you’re unsure about the stability of the fix.
When it comes to automotive maintenance, there’s a wealth of misinformation circulating among car owners. While some beliefs are harmless, others can lead to costly or unsafe decisions. Let’s explore some of the most prevalent misconceptions and the nuanced truths behind them, so you can approach your vehicle care with confidence.
A widespread myth is that all brake pads are created equal—many think that any pad will do as long as it stops the car. In reality, different pads serve different purposes, such as ceramic for quiet operation or semi-metallic for better heat dissipation. Choosing the wrong type can compromise safety and lead to uneven wear, which is why understanding your specific driving needs and consulting a trusted mechanic is essential. For in-depth insights, review Brake Service Myths Busted.
Another common misconception is that oil changes are only necessary when the oil looks dirty or the light comes on. However, modern engine oils break down gradually, and frequent oil changes at recommended intervals—rather than waiting for the engine to show signs—are vital for optimal engine health. Technologies like synthetic oils can extend these intervals, but neglecting timely oil changes can accelerate engine wear. Discover more about Oil Change Innovations.
A trap many fall into is believing that resetting the check engine light resets the problem. While a quick reset might turn off the warning, it doesn’t fix underlying issues. Ignoring persistent indicators can lead to engine damage or decreased fuel efficiency. Advanced vehicle diagnostics can uncover hidden problems before they escalate—learning to decode these signals is part of becoming a more informed car owner. Check out Decoding Vehicle Diagnostics.
For the more experienced enthusiasts, understanding the importance of nuanced diagnostics can be the difference between an inexpensive fix and a major overhaul. Many auto repair shops rely heavily on advanced diagnostics tools, which read sensor data and system codes to pinpoint issues accurately. Over the years, I’ve learned that investing in understanding these diagnostics prevents unnecessary repairs and saves money—a topic I cover comprehensively in Advanced Diagnostics and Cost Savings.
In summary, breaking free from these misconceptions involves both knowledge and skepticism towards oversimplified advice. Car maintenance is inherently complex, and a nuanced approach ensures safety, efficiency, and longevity for your vehicle. Have you ever fallen into this trap? Let me know in the comments. For more detailed strategies, visit Top Auto Repair Tips to extend your vehicle’s lifespan.
Keeping It Working: Tools I Recommend for Auto Maintenance
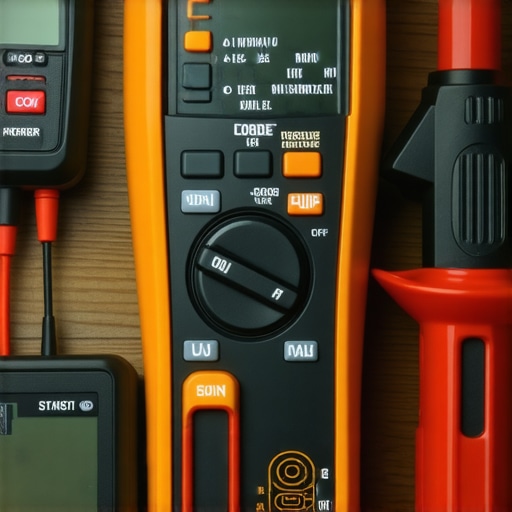
Maintaining your vehicle over time requires the right tools—not just for immediate repairs but for ensuring longevity and safety. Over the years, I’ve honed a toolkit that balances quality, affordability, and practicality. For example, I always invest in a high-grade digital multimeter because it allows me to troubleshoot electrical issues accurately without guesswork. A reliable code reader, such as the Innova 3040RS, has become indispensable for decoding diagnostic trouble codes swiftly, saving me time and money. When dealing with brakes, I prefer a torque wrench like the Tekton 1/2-inch Drive to ensure fasteners are tightened to manufacturer specifications, preventing both over-tightening and under-tightening issues.
While basic hand tools are great, I suggest going further with a control sander and a set of wire brushes for surface prep, especially when replacing clips or cleaning corrosion before applying new fasteners. For long-term diagnostics, I recommend an OBD-II scanner that connects to your smartphone via Bluetooth, providing real-time data and historical logs. These tools empower you to catch problems early, often before they trigger warning lights, aligning with concepts discussed in Decoding Vehicle Diagnostics.
How do I maintain tools and diagnostics equipment over time?
Proper maintenance of your tools extends their lifespan and reliability. Store electronic devices in anti-static cases, keep mechanical tools clean and lubricated, and perform regular calibration on diagnostic meters. For example, calibrating a multimeter annually ensures accurate voltage readings, which is critical when testing sensors. A well-maintained toolkit saves you from misdiagnosis and unnecessary repair costs—aligning with the advice found in Auto Repair Hacks. Going forward, the trend is moving toward smarter diagnostics with AI-powered apps and enhanced data analysis, making it even more vital to keep your equipment up to date.
If you’re serious about making vehicle maintenance more effective and less costly, start by upgrading your diagnostic tools today. For complex repairs or persistent issues, consulting professional diagnostics can be invaluable, and knowing how to interpret this data will become a crucial skill. Try integrating an advanced OBD-II scanner into your routine and watching how your ability to troubleshoot improves dramatically. Remember, ongoing learning and proper tool maintenance are your best investments for keeping your vehicle running smoothly over the years.
What I Wish I Knew About Vehicle Repairs Before It Was Too Late
One of the most profound lessons I’ve learned is that sometimes, addressing small issues like a rattling heat shield can prevent major, costly repairs down the line. Ignoring that annoying noise almost led to a part falling off, which could have been dangerous. I realized that paying attention to the little signs—not just the big warning lights—can save you money and keep you safe.
Why Tool Selection Can Make or Break Your DIY Repair Experience
Investing in the right tools, like a durable torque wrench or a reliable diagnostic scanner, transformed my approach to auto repair. Not only did it make the job easier, but it also ensured I did the repair correctly the first time. Trust me, skimping on tools can turn a simple fix into a frustrating ordeal, which is why I recommend tools I personally depend on, such as the [Innova 3040RS](https://repairmycarpro.com/decoding-vehicle-diagnostics-what-your-car-is-trying-to-tell-you).
Listening to Your Vehicle’s Silent Signals Can Save Your Day
Sometimes, the most subtle clues—like a faint vibration or a brief squeal—call for immediate attention. Learning to interpret these signals empowered me to fix issues early, preventing breakdowns and expensive repairs. Incorporating regular inspections, as explained in vehicle diagnostics basics, can make your driving smoother and safer.
Few Things Are More Rewarding Than Restoring Peace to Your Drive
There’s a genuine satisfaction in knowing you can troubleshoot and fix problems yourself—before heading to a mechanic. It boosts confidence and fosters a sense of independence. If you’re curious about more ways to keep your vehicle running at its best, visit top auto repair tips for more expert advice.
Keep Your Journey Smooth and Quiet
By mastering the art of simple repairs like silencing a rattling heat shield, you’re not just fixing a noise—you’re enhancing your safety, saving money, and gaining peace of mind. Remember, every fix brings you closer to understanding your vehicle better. What’s the smallest repair you’ve successfully tackled? Share your story below and keep learning!
,