
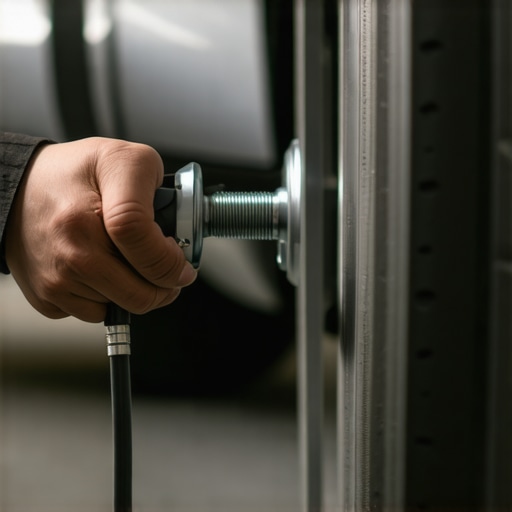
I was three hours into a drive to the mountains when I first heard it. A faint, low-pitched drone that sounded like I had accidentally mounted mud tires on my sedan. I turned down the radio. The hum got louder as I accelerated and changed pitch when I swept through a long curve. At first, I tried to convince myself it was just road texture or maybe noisy tires finally giving up the ghost. But deep down, in that place where every car owner stores their “repair bill anxiety,” I knew better. It was a wheel bearing, and it was screaming for help. I’ve spent enough time under jacks and over oily driveways to know that pinpointing the exact corner that’s failing is harder than it sounds. Sound travels through the chassis in weird ways. I once spent a whole Saturday replacing the front driver-side bearing because I was sure that’s where the vibration was coming from. I finished, took it for a spin, and the noise was still there, mocking me. I had misdiagnosed the whole thing. Today, I’m going to save you that frustration and show you how to use vehicle diagnostics techniques that actually work in a home driveway. Have you ever spent hours chasing a noise only to realize you were looking at the wrong end of the car?
Stop Guessing and Listen to Your Car’s Growl
The trick to finding a bad bearing isn’t just listening; it is about loading and unloading the suspension. When a bearing starts to pit or lose lubrication, it creates friction that translates into that classic “growl.” By safely swerving side-to-side on an empty road—what I like to call the slalom test—you can hear the noise change. If the noise gets louder when you turn left, you are putting more weight on the right side of the car, which usually means the right-side bearing is the culprit. This is one of those auto repair hacks that feels like a superpower once you master it. I used to rely on my ears alone, but the chassis is a giant tuning fork that likes to lie to you.
Is a hum worth the immediate repair bill?
You might be tempted to ignore it, thinking it is just a nuisance. However, the stakes are higher than a noisy cabin. According to data from the National Highway Traffic Safety Administration (NHTSA), mechanical failures involving tires and wheels are a primary factor in nearly 35% of all vehicle crashes caused by equipment failure. A bearing that seizes at highway speeds can literally lock a wheel or cause it to shear off entirely. I learned the hard way that a humming noise is your car’s final warning before something expensive—or dangerous—happens. In the next section, I will walk you through the physical tests you can do with a floor jack to confirm your suspicions before you buy a single part.
Lift the Corner and Shake the Tire
Once you have a suspicion from your road test, it is time to get the car in the air. This is where most DIYers get confused because they do not know what they are feeling for. Safely secure the vehicle on jack stands—never rely on the floor jack alone when you are yanking on the chassis. Grab the wheel at the 12 o’clock and 6 o’clock positions. Give it a firm, rhythmic shake. If you feel a ‘click’ or a distinct wobble, you are likely looking at a wheel bearing that has developed internal clearance. However, if you feel movement when your hands are at 3 and 9 o’clock, you might be looking at a steering issue instead. I always recommend performing the tie rod test you can perform in your own driveway to rule out the steering rack before you start tearing into the hub assembly. 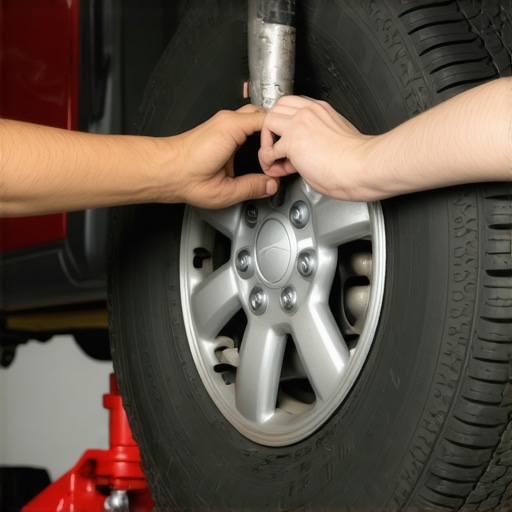
Why the Twelve and Six Rule Matters
Movement at the top and bottom of the tire is the smoking gun for a hub assembly that is physically coming apart. If you ignore this, the heat generated by the friction will eventually weld the bearing to the spindle, or worse, the wheel will depart the vehicle. While you are under there, keep in mind that a loose feeling at the 12 and 6 positions can occasionally be a shot ball joint. You can differentiate the two by having a buddy look at the control arm while you shake the tire; I have a full guide on how to spot a bad ball joint using a floor jack if the movement feels like it is coming from the suspension rather than the center of the wheel.
The Coil Spring Trick Professionals Swear By
There are times when a bearing is noisy but has zero physical play. These are the trickiest to find because the ‘shake test’ fails. This is exactly what happened to me with an old Subaru Outback. The cabin sounded like a jet engine taking off, but every wheel felt rock solid. That is when I learned the spring trick. With the car in the air, spin the wheel as fast as you can with one hand. With your other hand, lightly grab the coil spring. Because the spring is attached to the strut, which is bolted to the knuckle, it acts like a megaphone for vibration. If the bearing is pitted, you will feel a distinct ‘tingle’ or rhythmic hum through the spring. A healthy bearing will feel completely smooth, like the wheel is spinning on air.
Filter Out the Brake Drag Noises
Do not let the sound of brake pads dragging on the rotor confuse you. Almost every car has a slight ‘shhh’ sound when the wheel spins because the pads stay in light contact with the disc. This is normal. What you are looking for is a heavy, metallic growl. If the noise is more of a high-pitched squeak, you might just be dealing with a wear indicator on your pads, so check the ultimate guide to brake service for safety and performance to see if your stopping hardware is the real culprit. Using these how advanced vehicle diagnostics prevent costly breakdowns by catching the friction before it turns into a seizure is what separates a weekend mechanic from a parts-changer. If you find one bad bearing, check the other side immediately; they usually live the same life and die at the same time.
People often tell you that if one wheel bearing goes, the other is right behind it. While that is a safe bet for preventive maintenance, it is not a hard law of physics. I have seen many DIYers throw away a perfectly good hub assembly because they were told to always replace in pairs. If the other side is silent and passes the spring test, keep your money in your pocket. The real nuance lies in the installation, specifically the torque specs of the axle nut. I have fallen for the trap of thinking a loud noise was the bearing, only to realize I was dealing with brake service myths busted what really matters for safety like a warped rotor or a stuck caliper pin that mimics the sound of a bad hub.
Why does your brand new hub assembly fail within six months?
The most common mistake I see in home garages is the “uuga-duuga” method—using an impact wrench to tighten the axle nut. Over-torquing a bearing crushes the internal races, leading to rapid heat buildup and premature failure. Conversely, under-torquing allows the bearing to move inside the knuckle, which is just as destructive. According to experts at the Car Care Council, improper torque application is a leading cause of recurring hub failures. You need a calibrated torque wrench and the specific foot-pounds for your VIN, not a guessing game with a breaker bar.
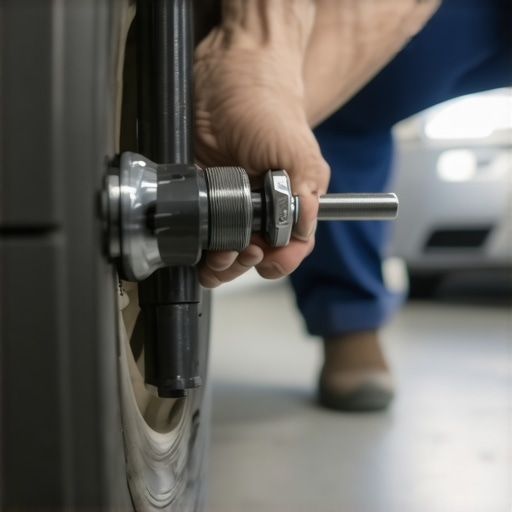
Another nuance involves the integrated electronics. Many modern bearings have the ABS tone ring built into the seal or the hub itself. If your dashboard lights up after a swap, it is often due to the sensor fault that turns on your abs light for no reason caused by a nicked wire or a magnetic ring contaminated by metal shavings. This is why I warn against the truth about using cheap aftermarket sensors in your engine and chassis components. You might save fifty dollars now, but you will likely be doing the job again in three months because of a failed seal or a weak magnetic signal. High-quality seals are the only thing standing between a long-lasting part and a seized mess. Even top auto repair tips to extend your vehicles lifespan emphasize that using OEM-spec parts for critical rotating components is the only way to ensure 100,000 miles of silence. Have you ever fallen into the trap of buying the cheapest part on the shelf only to have it fail before the next oil change? Let me know in the comments.
Upgrade Your Toolkit to Avoid Stripped Bolts
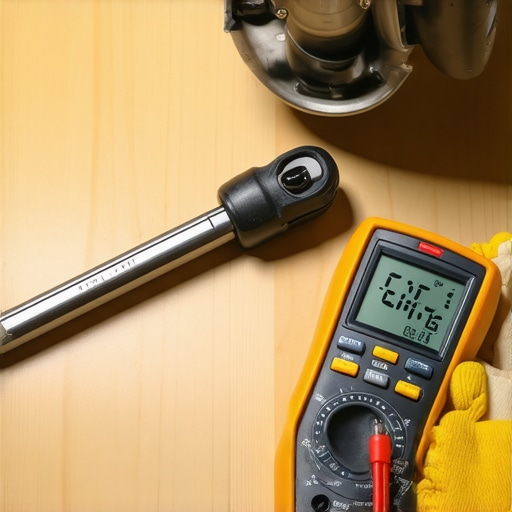
If you are serious about DIY, you need to stop using that generic click-style torque wrench from the bargain bin. I personally switched to a Precision Instruments split-beam wrench years ago. Unlike the cheaper versions, you don’t have to crank it back down to zero after every use to maintain calibration. This is critical when you are performing the ultimate guide to brake service for safety and performance because precise clamping force prevents rotor warping and ensures your hub assembly sits perfectly square. I have seen too many hubs fail early because a cheap tool was off by fifteen foot-pounds. Another non-negotiable for me is a high-impedance digital multimeter. Knowing how to find a parasitic battery drain with a basic multimeter has saved me hundreds in diagnostic fees at the dealership. It is about having the actual data in your hands rather than guessing which relay might be stuck.
How can I maintain my car’s health over the long haul?
Consistency is the boring answer, but the pro-level secret is laboratory oil analysis. I send a sample of my oil to Blackstone Laboratories every second oil change. They analyze wear metals in the parts-per-million range; if they see high copper, I know a bearing is wearing prematurely, and if they see traces of potassium, I catch a head gasket leak before it becomes a roadside disaster. These essential auto repair strategies for frequent drivers turn reactive repairs into proactive maintenance. When you combine this with oil change innovations technologies that save your engine, like high-efficiency synthetic filters and magnetic drain plugs, you aren’t just fixing a car; you are engineering its longevity. I also keep a close eye on the chassis; if I notice my suspension squeaks like a rusty gate over speed bumps, I do not just spray lubricant and hope for the best. I look for the torn boot or the dried-out bushing that signals a coming failure.
The Future of Garage Work is Data-Driven
We are moving away from the era of ‘listen and feel’ toward ‘monitor and predict.’ Modern telematics and how advanced vehicle diagnostics prevent costly breakdowns are starting to use AI to predict component failure based on vibration patterns and voltage fluctuations. Soon, your car might tell you that the alternator’s diodes are failing before the battery even drops a volt. It is an exciting time to be a home mechanic because the tools once reserved for professional racing teams are becoming accessible through OBD-II dongles and smartphone apps. Mastering decoding vehicle diagnostics what your car is trying to tell you is no longer optional; it is the core skill of the modern driver. I highly recommend picking up a Bluetooth OBD-II reader and checking your long-term fuel trims this weekend—it is the easiest way to see if your engine is struggling with a vacuum leak before a check engine light even appears.
The Hardest Lesson I Learned While Chasing Ghost Noises
I once spent an entire weekend replacing a passenger-side bearing because the sound seemed to come from that floorboard. It turned out to be the driver-side rear. The chassis is a master of deception, which is why these auto repair hacks like the slalom test are so vital. I learned that you should never trust your ears alone; trust the weight transfer. Another lightbulb moment was realizing that a bad bearing doesn’t always have “play”—sometimes they just get noisy because of micro-pitting. Finally, always clean the ABS sensor hole before installing the new hub. A tiny flake of rust can cause the sensor fault that turns on your abs light for no reason, forcing you to take everything apart again.
The Tools I Never Start a Hub Job Without
If you want to move beyond basic part-swapping, you need a few specific items in your drawer. First, a dedicated hub puller is worth its weight in gold; it turns a three-hour fight with a sledgehammer into a five-minute breeze. Second, while it seems unrelated, a high-quality multimeter is essential for checking wheel speed sensors. I used mine when I was learning how to find a parasitic battery drain with a basic multimeter and quickly realized it is the most versatile diagnostic tool you can own. Lastly, always keep a copy of your vehicle’s factory service manual handy. It provides the exact torque specs that prevent premature failure, which is the cornerstone of decoding vehicle diagnostics what your car is trying to tell you.
#IMAGE_PLACEHOLDER_E#
You Are Ready to Silence the Hum
Diagnosing a failing wheel bearing is one of the most satisfying “detective” jobs you can do as a car owner. It requires a blend of physical feel, careful listening, and a bit of mechanical intuition. By following these steps, you are not just saving hundreds of dollars in shop labor; you are ensuring your vehicle remains safe for the long haul. Take your time, use the right tools, and lean on these top auto repair tips to extend your vehicles lifespan to keep your ride smooth and silent. Have you ever misdiagnosed a wheel bearing noise only to find out it was something much simpler? Let me know in the comments below.