
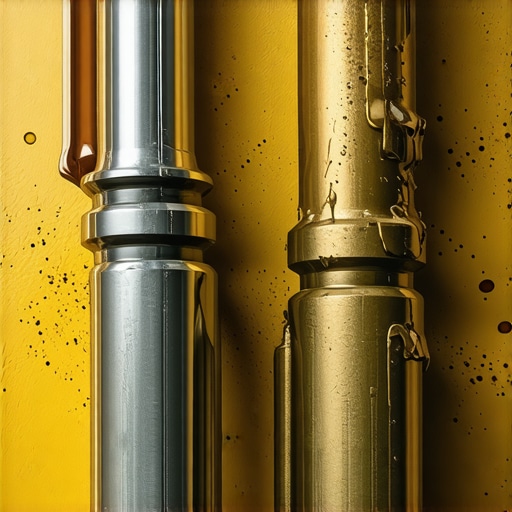
I was staring at the ground, heart sinking faster than my old Buick’s front end. A dark, viscous smudge had appeared on the concrete right next to the front passenger tire. My first thought? ‘Great, there goes another $800.’ I’ve spent years under hoods and wheel wells, yet that first sight of fluid where it shouldn’t be still gets my adrenaline pumping in the worst way. It’s that moment of car-owner paralysis where you wonder if you’re looking at a harmless splash of road grime or a total component failure that’s about to turn your commute into a pogo-stick ride. I’ve made the expensive mistake of rushing to the shop and demanding new parts before actually looking at the evidence. Today, I want to save you from that same repair-bill-induced headache. We’re going to figure out exactly how to tell if your shocks are actually leaking or if they’re just wearing the badges of a long, messy road trip.
Stop Panicking Over That Gunk on Your Wheel Well
One of the biggest blunders I made early on was assuming that any moisture on a shock absorber meant it was toast. I actually replaced a perfectly good set of struts on my first truck because I didn’t know the difference between ‘sweating’ and a ‘leak.’ It was a classic case of over-diagnosing a non-problem, and my wallet felt the sting for months. Before you start looking into essential auto repair strategies to fix a phantom issue, you need to understand what a healthy shock actually looks like after a few thousand miles. It isn’t going to stay pristine. According to the experts at Monroe, a slight film of oil on the upper body of the shock is often considered normal ‘misting’ rather than a failure. If you see a thick layer of oil dripping down the side or pooling in the spring seat, that’s when you have a real problem. But if it’s just a light coating mixed with dust, you might just be looking at road spray. Have you ever looked under your car and seen a wet spot that turned out to be nothing? It’s a nerve-wracking experience, isn’t it?
Is Replacing Your Shocks Actually Worth the Hype?
You might be wondering if it even matters. So what if they’re a little leaky? The car still moves, right? Well, ignoring a true leak can lead to some pretty hairy situations on the highway. I’ve seen drivers struggle with cars swaying in high winds or feeling like they’re losing control over simple bumps. If you’ve heard a clunking sound over speed bumps, it might not even be the struts themselves, but a failing shock will definitely make every pothole feel like a personal insult to your spine. We need to be sure before we start pulling bolts, because sometimes the source of that fluid is actually coming from further up, like when you’re trying to spot a leaking rack and pinion. Setting the stage for a proper diagnosis saves time and keeps you from throwing money at a problem that might just be a trip through a muddy puddle.
Scrub the Surface and Wait for the Evidence
To get a real answer, you have to play detective. Take a shop rag and some mild degreaser—even some simple dish soap and water often works—and wipe the entire body of the shock or strut until it is clean enough to reflect light. This is one of those auto repair hacks save money without sacrificing quality because it prevents you from replacing expensive components that are simply dirty. I remember working on an old Honda Civic; the owner was convinced his struts were dead because of a massive oil patch near the wheel well. I spent ten minutes cleaning the shock body to a shine and told him to drive for two days. When he came back, the shock was bone dry. The ‘leak’ was actually a messy oil change from a week prior where a technician had spilled a significant amount of oil that eventually migrated down the frame. If you clean the component and the oil returns within a few dozen miles, you have found a legitimate leak that requires attention. 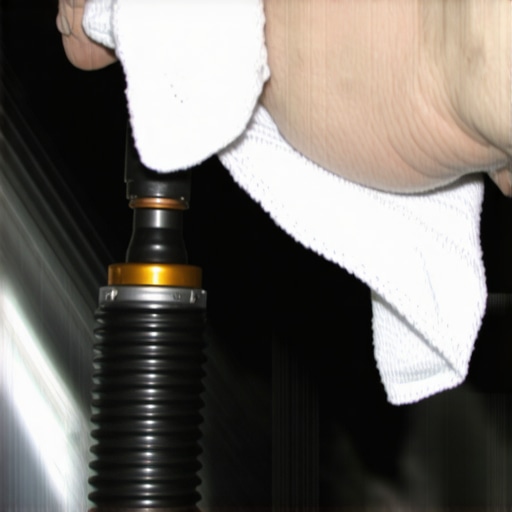
Put Your Body Weight Into the Bounce Test
Once you have visually inspected the fluid, you need to check the internal ‘muscle’ of the suspension. A shock absorber acts like a screen door closer; its job is to stop the spring from bouncing indefinitely after a bump. Walk to the corner of the vehicle you are worried about and push down on the fender or bumper with as much weight as you can muster, then let go quickly. If the car pops back up and settles immediately, your internal seals and valving are likely still doing their job. However, if the car keeps oscillating or takes more than one and a half bounces to stop, the hydraulic fluid has likely bypassed the internal piston. This physical check is a core part of essential auto repair strategies for frequent drivers who want to maintain safe handling and tire longevity. Even if the shock looks dry, a failed bounce test suggests the internal gas charge or fluid has failed, rendering the part useless.
Look Beyond the Shock for the Real Culprit
Sometimes the oily mess on your suspension is not from the shock at all, and misidentifying the source can lead to redundant repairs. You must inspect the surrounding neighborhood of the wheel well. A very common mistake is misidentifying grease for shock oil. It is vital to learn how to tell if your cv boot is torn before the joint fails, because a spinning CV axle can spray thick, dark grease in a 360-degree pattern, covering everything from the strut to the brake caliper. Additionally, check your brake lines and connections. If the fluid is thin, clear-to-amber, and has a distinct chemical smell, you are not looking at a suspension issue; you are looking at a dangerous loss of hydraulic pressure. While how advanced vehicle diagnostics prevent costly breakdowns in high-end modern vehicles, your own eyes and a bright flashlight are still the most reliable tools for this. If you still hear the clunking sound over speed bumps that isnt your struts, look at the sway bar links or control arm bushings. Gravity is your friend here; always trace the wetness to its highest point on the chassis.Moving past the surface grime, I see a lot of people fall for the ‘clean oil equals healthy engine’ trap. Everyone tells you to check the color of your oil to see if it is ‘bad,’ but in my experience, that is one of the most misleading metrics out there. While oil change innovations have improved fluid longevity, a golden dipstick can still hide the hidden sludge building up behind your clean dipstick. I have torn down engines that looked pristine on the stick but were choked with carbon deposits inside the valve covers. According to the experts at the Society of Automotive Engineers (SAE), oil color is primarily an indicator of additive activity and carbon suspension, not necessarily the oil’s remaining lubricity or the internal health of the metal components. If your oil stays perfectly clear for months, it might actually mean the detergent package is failing to keep contaminants in suspension where they can be filtered out. 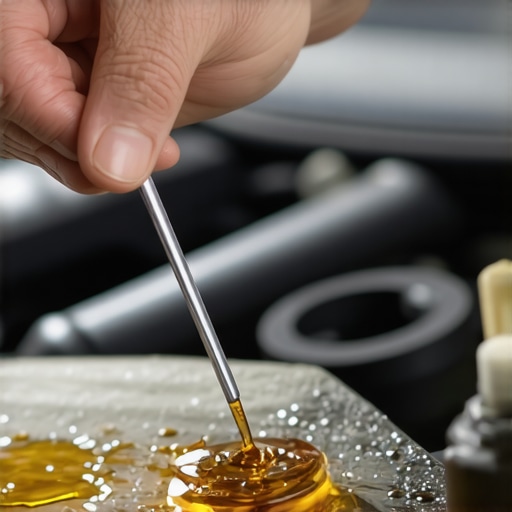
Why your synthetic oil turns black after just five hundred miles?
This is the advanced question that keeps many car owners up at night. They think they have a major engine failure or a ‘blown seal’ because their expensive synthetic fluid looks like midnight after a single week of driving. The reality? High-quality synthetics are aggressive cleaners. If you have any residual carbon from previous conventional oil changes, the new synthetic will scrub it off the cylinder walls and carry it proudly. It is doing exactly what it was designed to do. However, don’t let this visual ‘evidence’ distract you from decoding vehicle diagnostics to find the real issues. A common ‘oops’ factor I see with DIYers is focusing so much on the fluid color that they ignore the drain plug crush washer mistake that leads to slow, annoying drips. We often chase the complex ‘ghosts’ in the machine while ignoring the simple hardware failures right in front of us. This is why how advanced vehicle diagnostics prevent costly breakdowns by looking at data instead of just the ‘eye test.’ Have you ever replaced a part just because it looked dirty or dark, only to find the problem was still there? Let me know in the comments.Stop throwing the ‘parts cannon’ at your car whenever a light pops up on the dash. I’ve seen way too many DIYers waste hundreds of dollars on sensors when the real culprit was a loose ground wire or a corroded connector. To move from a ‘guesser’ to a ‘diagnoser,’ you need to invest in a few specific items. I personally never travel without that $20 tool every driver needs for basic electrical troubleshooting. A simple digital multimeter allows you to verify if a component is actually receiving power before you tear the whole engine bay apart. When you combine that with a decent OBD-II dongle, you start to see how advanced vehicle diagnostics prevent costly breakdowns by letting you catch a failing alternator or a lazy oxygen sensor long before you’re stranded on the shoulder of the interstate.
Stop Guessing and Start Probing
One tool I’ll never shut up about is the PowerProbe. While a multimeter is great for reading static voltage, the PowerProbe lets you safely apply power or ground to a circuit to see if a component, like a cooling fan or a fuel pump, actually works. This is one of those auto repair hacks save money without sacrificing quality because it cuts your diagnostic time in half. For instance, if your AC stops blowing cold, don’t just buy a new compressor. Use your tools to check the relay and the clutch engagement first. Technical documentation from Mitchell 1 emphasizes that over 30% of replaced electrical components are actually functional, meaning the failure was in the wiring or the control module, not the part itself. 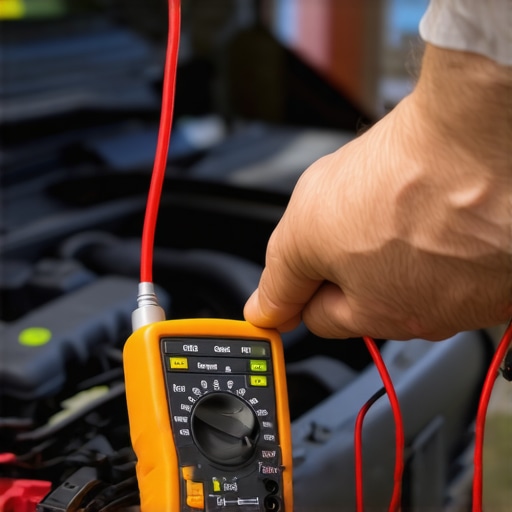
How to keep your vehicle alive for 300,000 miles?
Maintenance isn’t just about the big stuff; it’s the tedious details that keep a car on the road for decades. I make it a point to perform a deep-dive inspection every six months, regardless of mileage. This includes checking the ‘small’ things that lead to ‘big’ problems. You should definitely learn how to tell if your caliper slide pins are bone dry. If those pins seize, your brand-new brake pads will wear unevenly and your fuel economy will tank because the brakes are constantly dragging. Integrating this into your the ultimate guide to brake service for safety and performance ensures you aren’t just swapping parts, but actually maintaining the system’s integrity. These top auto repair tips to extend your vehicles lifespan only work if you stay disciplined with your schedule. Looking ahead, I predict we are moving toward a ‘predictive maintenance’ era where AI-driven sensors will monitor the specific vibration frequencies of your wheel bearings to alert you to a failure months before you hear a hum. Until then, your own hands and a good torque wrench are your best defense. I challenge you to grab a multimeter this weekend and check your battery’s resting voltage; it’s the easiest way to start decoding vehicle diagnostics on your own terms.
What I Learned After Wasting Thousands on Easy Fixes
The biggest lightbulb moment in my years of mechanical tinkering wasn’t found in a manual; it was the day I realized gravity is the ultimate trickster. A wet shock absorber doesn’t always signal a catastrophic seal failure. Often, it is just fluid migrating from a leak higher up on the chassis. One of the most effective auto repair hacks save money without sacrificing quality is to degrease the area thoroughly and re-check it after a few miles. I also spent way too much time panicking over fluid color until I understood why your synthetic oil turns black after just five hundred miles—it is often just a sign that your detergents are working hard to scrub the engine clean. Finally, never overlook the small stuff. I have seen countless owners replace entire struts when the real issue was knowing how to tell if your caliper slide pins are bone dry, which causes vibrations that mimic suspension failure.
The Gear That Actually Stays in My Toolbag
You do not need a professional-grade shop to keep your vehicle in peak condition, but you do need a few high-value items. First, never underestimate the power of the 20 tool every driver needs for basic electrical troubleshooting; it turns guessing games into hard data. Second, a simple OBD-II scanner is non-negotiable for performing vehicle diagnostics explained easy checks before your road trip. It’s like having a digital doctor for your engine in your glovebox. Lastly, I swear by a physical maintenance log. It is one of the most underrated top auto repair tips to extend your vehicles lifespan because it forces you to spot patterns in fluid loss or wear before they lead to a breakdown.
Build a Relationship with Your Machine
At the end of the day, your car is a complex machine, but it isn’t a mystery meant to bleed your bank account dry. By embracing essential auto repair strategies for frequent drivers, you shift from being a passenger in your own maintenance journey to being the expert of your driveway. Don’t be afraid to poke around with a flashlight and a rag this weekend—there is no greater satisfaction than solving a problem with your own two hands. What is the most confusing noise or leak you have ever discovered under your car? Let me know in the comments below!