
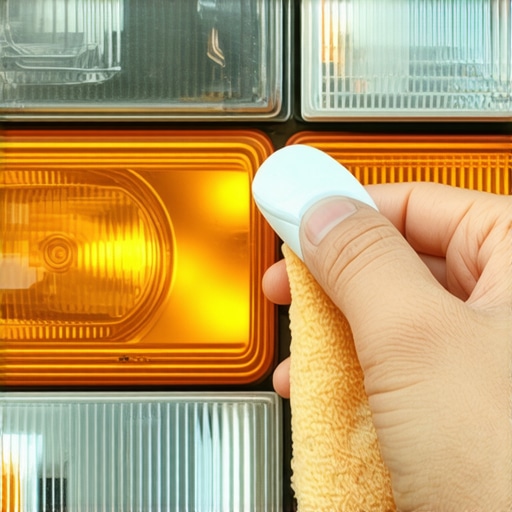
I remember pulling into my driveway last November, squinting through a windshield that was perfectly clean, yet the road ahead looked like it was being filtered through a dirty glass of milk. It was one of those lightbulb moments or rather, a no-bulb moment. My headlights weren’t burned out; they were just suffocating under a thick layer of crusty, yellow oxidation that made my nightly commute feel like a high-stakes guessing game. I’ve spent years tinkering under hoods, but I felt embarrassed that I was essentially driving blind because I didn’t want to drop forty bucks on a fancy restoration kit that probably wouldn’t work anyway. We are going to change that for you today by using simple things you already own. I am promising you that by the time you finish reading this, you will know how to get crystal-clear lenses for the price of a tube of toothpaste.
Why You Should Stop Ignoring Those Yellowing Lenses
It is easy to let the haziness slide, telling yourself you will get to it next weekend. But it is a massive safety hazard that most people underestimate. A study by AAA found that clouded headlights can reduce light output by nearly 80 percent compared to new ones, leaving you with a dangerously short view of the road. I used to focus only on things like essential auto repair strategies for frequent drivers, but none of those engine tweaks matter if you hit a deer you couldn’t see until it was ten feet away. Keeping your lights clear is just as vital as knowing the ultimate guide to brake service for safety and performance. It is about being proactive before a dim light leads to a real problem.
Can a basic household item really fix professional-grade oxidation?
I know what you are thinking because I was the same way. You are skeptical that something as simple as toothpaste can do what a power tool and three grades of sandpaper are supposed to do. Early on in my DIY journey, I made the huge mistake of trying to ‘scrub’ the oxidation off with a heavy-duty kitchen scouring pad. I ended up scratching the plastic so badly that the headlights looked like they had been through a sandstorm. It was a painful lesson in why grit matters. The truth is, the mild abrasives in whitening toothpaste are perfectly calibrated to polish away the thin layer of UV-damaged plastic without gouging the lens. It is one of those auto repair hacks that save money without sacrificing quality. Have you ever looked at your car in the sunlight and realized you can’t even see the bulbs anymore? If so, you’re exactly where I was. [image_placeholder_1]
Skip the Expensive Kits and Head to Your Bathroom
The beauty of this method is the simplicity. You don’t need a degree in chemical engineering or a specialized kit from the local big-box store. Most of those kits are just overpriced sandpaper and a bit of sealant anyway. We are going to use the same logic but with household supplies that cost pennies. When you understand the ‘why’ behind the cloudiness—which is just the sun’s UV rays breaking down the polycarbonate—you realize you don’t need a miracle; you just need a gentle polish. This approach is much like decoding vehicle diagnostics; once you have the right ‘translator,’ the solution is actually quite straightforward. Let’s get into the nitty-gritty of how to actually prep the surface so you don’t end up with a mess on your hands.Before you even touch the toothpaste, you need to protect the surrounding paint. Masking tape is your best friend here. I cannot stress this enough: if you skip this, you will be scrubbing dried white residue off your hood for hours. I learned this the hard way on my first truck. I thought I had a steady hand, but within five minutes, I had smeared gritty paste all over the rubber seals and the grille. It was a nightmare to clean up, and it taught me that top auto repair tips to extend your vehicles lifespan always start with proper preparation. Tape off the area twice as wide as you think you need. Once the perimeter is safe, give the lenses a quick wipe with soapy water to remove any loose grit. You do not want a stray piece of sand turning your DIY polish into a scratching session.
Protect the paint before you start scrubbing
Masking tape is the only thing standing between a clean headlight and a ruined paint job. Apply it generously around the edges of the plastic lens. It is similar to performing a brake service; if you do not secure the area properly, the actual work is irrelevant.
Pick a paste that actually works
Not all toothpastes are created equal. You want the old-school, white, gritty stuff—usually labeled as whitening. Avoid the fancy gels or anything with colorful swirls. The grit is what provides the mechanical exfoliation the plastic needs. If you find yourself wondering why your cars high beams arent working but the low beams are, it might just be that the oxidation is so thick it is blocking the more powerful bulb output. 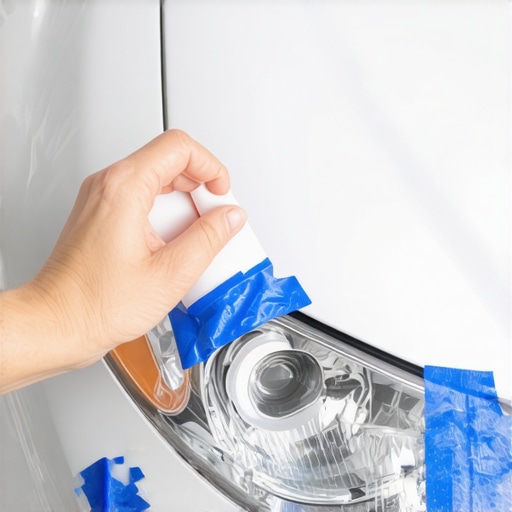
Apply the paste and get to work
Squeeze a healthy dollop onto a clean, damp microfiber cloth. Start working in small, circular motions with firm pressure. Think of it as a manual version of vehicle diagnostics explained; you are looking for those hot spots of heavy yellowing and giving them extra attention. After about five minutes of circular buffing, you will start to see the paste turn a dingy, brownish color. That is the dead plastic coming off. It takes some elbow grease—it is not a wipe on, wipe off miracle. You are essentially wet-sanding the lens at a microscopic level. It is one of those auto repair hacks that save money without sacrificing quality. When I did this on my neighbor’s beat-up sedan, we both thought it was a lost cause after the first pass. But after three rounds of fresh paste and steady pressure, the change was night and day. You could finally see the reflector inside the housing again. Rinse the lens frequently with clean water to check your progress. If the water beads and the lens still looks cloudy when dry, go back in for another round.Now, here is where most DIYers get it wrong. They see that clear lens, feel a sense of victory, and pack up their tools. But if you stop there, you have actually made your headlights more vulnerable than they were before. Most people think polishing is the final step, but in my experience, if you do not replace the protective UV coating, those lights will be yellow again before your next oil change. You have effectively stripped away the last remaining factory barrier. According to the Society of Automotive Engineers (SAE), polycarbonate plastic is highly susceptible to UV degradation, and without a stabilized coating, the oxidation process accelerates significantly under direct sunlight. This is a classic case of why auto repair hacks that save money without sacrificing quality only work if you understand the chemistry involved. You need to apply a dedicated UV-resistant clear coat or a high-quality sealant specifically designed for plastics. Without it, your hard work is a temporary fix at best. 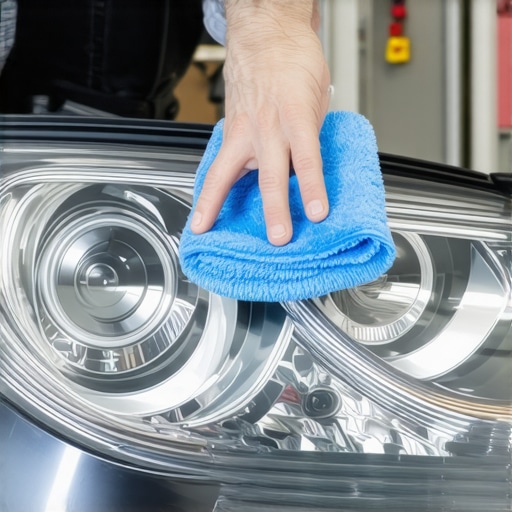
Why does the haze return so much faster after the first DIY polish?
When you use an abrasive like toothpaste, you are leveling the surface by removing the damaged material. However, this leaves microscopic pores and ridges in the plastic. These tiny imperfections trap contaminants and allow UV rays to penetrate deeper into the lens. It is similar to some brake service myths busted; people focus on the noise or the look but ignore the underlying integrity of the system. If you do not seal those microscopic gaps, you are essentially inviting the oxidation back in. I have seen folks try to use wax, but wax melts at high temperatures, and your headlight bulbs get surprisingly hot. You need a polymer-based sealant that can handle the heat and the sun.
Spot the underlying issues before they leave you stranded
While you are already focused on the front of the car, take the opportunity to look deeper. I always tell my friends that a cosmetic fix is the perfect time for a mini-inspection. Are your bulbs actually seated correctly? If you have been wondering why your cars high beams arent working but the low beams are, now is the time to check the connectors for corrosion while the area is clean. We often get so caught up in the hack that we forget about decoding vehicle diagnostics and the real health of the vehicle. It is the same reason you should look beyond the surface during an oil change. I once found a cracked radiator hose while I was just trying to wipe down a battery terminal. Being observant saves you thousands in the long run. Have you ever fallen into this trap where a simple fix revealed a much bigger problem? Let me know in the comments; I’d love to hear your DIY horror stories or victories.
Invest in a scanner that actually speaks your car’s language
If you are going to take your maintenance seriously, you have to move beyond just aesthetic fixes. I used to think I could diagnose everything by ear, but modern engines are far too complex for that. Every home mechanic needs a reliable OBDII scanner in their toolbox. I’m not talking about those generic $20 readers that only spit out a code; I’m talking about a bidirectional tool like the BlueDriver or an entry-level Autel. These devices allow you to look at live data streams, which is essential when decoding vehicle diagnostics. Last year, my truck started idling rough, and instead of throwing parts at it, I used my scanner to see that the oxygen sensor was sluggish. This level of precision is exactly how advanced vehicle diagnostics prevent costly breakdowns by catching a failing sensor before it ruins your catalytic converter. 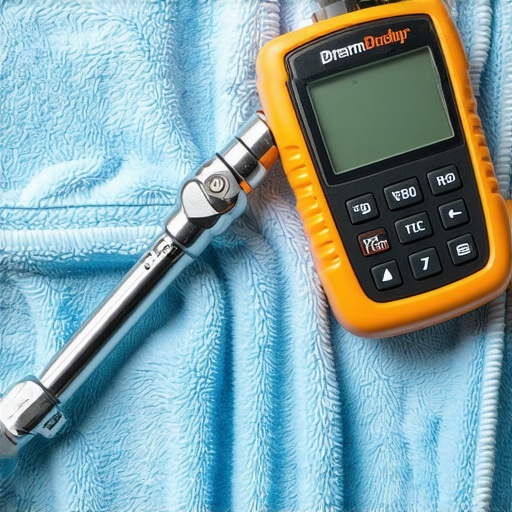
Stop guessing and start measuring with a torque wrench
One of the most common mistakes I see in the DIY community is the ‘tight enough’ method. Using a standard lug wrench to tighten your wheels is a recipe for warped rotors. If you are following the ultimate guide to brake service for safety and performance, a calibrated torque wrench is non-negotiable. I personally use a 1/2-inch drive click-style wrench for anything involving the suspension or wheels. When you apply uneven pressure to the lug nuts, you create ‘lateral runout’ in the brake disc. This is often why your car shakes when you apply the brakes at high speeds. Precision matters. According to the Car Care Council, consistent maintenance and using the correct torque specifications can prevent up to 70% of unexpected roadside breakdowns. It’s about doing the job once and doing it right.
How do I keep my car running like new for the next decade?
The secret isn’t just one big repair; it’s the aggregation of marginal gains. This means staying ahead of the curve. While an oil change is the foundation, you also need to be proactive about the small things. I make it a habit to perform a ‘visual sweep’ every time I’m under the car. I’m looking for the simple way to check your wheel bearings for play or looking for any signs of early corrosion on the brake lines. Looking forward, I predict we will see a massive shift toward software-defined maintenance. As vehicles become more like rolling computers, your ability to interface with the car’s ECU will be just as important as your ability to turn a wrench. We are entering an era where ‘preventative’ means monitoring data logs, not just checking a dipstick. If you want to stay ahead of the game, focus on top auto repair tips to extend your vehicles lifespan that combine mechanical skills with digital literacy. I challenge you to go out this weekend and actually check the torque on your lug nuts—you might be surprised at how loose (or dangerously tight) they actually are.
Hard Truths About DIY Lens Restoration
Over the years, I have realized that the biggest mistake isn’t the tool you use, but the haste you use it with. Most people give up after two minutes because their arms get tired, but professional-level clarity requires persistence. It is also vital to remember that while this is one of the best auto repair hacks that save money without sacrificing quality, it is only half the battle. Without a UV sealant, your work will fade faster than a cheap paint job in the desert. Always think about the long-term health of your car, just like you would when following top auto repair tips to extend your vehicles lifespan. Lastly, never underestimate the power of a damp cloth; keeping the surface wet prevents heat buildup that can actually melt the plastic back together in a cloudy mess, which is a lesson I learned the hard way on my first restoration project.
My Go-To Kit for Long-Term Clarity
I do not trust my safety to just anything. If you want to go beyond the toothpaste method, I recommend picking up a high-quality UV-resistant clear coat spray specifically for plastics—it is the only way to lock in the transparency. I also swear by 3M automotive masking tape; it leaves no residue on your paint, unlike the cheap stuff from the hardware store. Finally, keep a dedicated set of microfiber towels just for polishing. Mixing towels used for greasy engine work with your headlight cloths is a recipe for scratches. This mindset of precision will help you whether you are fixing a light or trying to find the simple way to check your wheel bearings for play. Proper tools make the difference between a job done and a job done right.
Take Back the Night with Confidence
Driving should not feel like a high-stakes guessing game in the dark. By taking these small, proactive steps, you are not just saving forty bucks; you are ensuring that you and your family are visible and safe on the road. Whether you are performing a deep dive into the ultimate guide to brake service for safety and performance or just scrubbing a lens with toothpaste, the pride of doing it yourself is unmatched. Don’t let a little oxidation stand in your way of a safer commute. Have you ever tried a weird household trick on your car that actually worked better than the expensive alternative? Let me know below!