
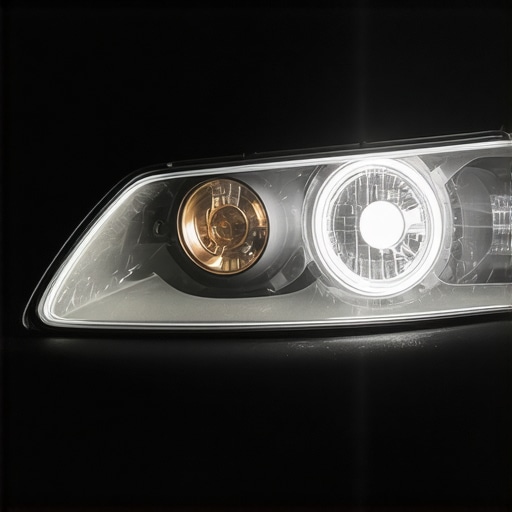
There I was, barreling down a winding backroad in the middle of a moonless night, trying to flick on my high beams to spot any deer lurking in the shadows, and… nothing. Total darkness beyond forty feet. My low beams were humming along just fine, casting that familiar pale glow on the pavement, but the high beams had completely checked out. It is a gut-sinking feeling. You feel blind. You feel vulnerable. And honestly, you feel a bit frustrated because how can half of the light system just quit while the other half stays perfectly fine? Today, we are going to figure out exactly why your car is giving you the cold shoulder when you pull that steering column stalk. We will look at the simple stuff you can fix in five minutes and the trickier electrical gremlins that might be hiding in your dashboard. Years ago, I made the classic rookie mistake. I assumed both high-beam filaments had somehow burned out at the exact same time. I ran to the store, spent forty bucks on premium bulbs, and spent an hour scraping my knuckles in a cramped engine bay. The result? Still darkness. I had not bothered with basic vehicle diagnostics first. Turns out, it was just a blown fuse. Have you ever been stuck on a dark highway with lights that just would not cooperate? Let me know in the comments.
Staring into the Abyss When Your High Beams Quit
It is easy to assume the worst when your visibility is cut in half, but cars are modular by design. Your low beams and high beams often live on entirely separate circuits. This is why you can have perfectly functional low beams while your high beams are essentially dead weight. If you have noticed that your headlights dim when you use the power windows, you might be looking at a broader electrical load issue, but a specific high-beam failure usually narrows the suspect list down significantly. Using a few top auto repair tips can help you isolate the problem before you pay a shop for an hour of labor.
Is this going to be an expensive electrical nightmare?
Not necessarily. According to data from the Car Care Council, nearly 70% of vehicle lighting issues are caused by simple maintenance oversights or minor electrical components rather than catastrophic wiring failures. Most of the time, the fix is under fifty dollars if you are willing to get your hands a little dirty.
The Usual Suspects Behind One-Way Lighting
When you pull that lever to activate your high beams, you are completing a circuit that runs through a fuse, a relay, and finally the bulbs themselves. If any of those links in the chain break, the party is over. Sometimes the issue is as simple as a corroded connector. Other times, it is the multi-function switch (that lever on your steering wheel) itself that has worn out internally. Since we are dealing with electricity, a little bit of patience goes a long way. Before you start tearing things apart, remember that keeping things simple is the best way to avoid frustration. Setting the stage for a systematic check will save you both time and your sanity.
How to Prove the Bulbs Aren’t the Problem
Many modern cars use a single bulb with two filaments—think of it like a two-way lightbulb in your living room. One filament handles the low beam, and the other handles the high beam. If that second filament snaps, the low beam stays on while the high beam goes dark. However, the odds of both high-beam filaments snapping at the exact same moment are about the same as winning the lottery. You should still perform decoding vehicle diagnostics by pulling the bulb and looking for a broken wire inside the glass. If the wire is intact, leave the bulbs alone and move to the power source.
Hunt Down the Right Fuse
Your high beams usually have their own dedicated fuse. In some vehicles, there are even separate fuses for the left and right high beams. If your dash light for the high beams doesn’t even turn on when you pull the stalk, the fuse is your primary suspect. This is where essential auto repair strategies for frequent drivers come into play: always keep a box of assorted fuses in your glovebox. I once helped a neighbor whose lights failed during a storm; a 10-cent fuse saved him a $200 towing bill. Pull the fuse and look at the metal bridge inside. If it is broken or there is a black scorch mark, you found the culprit. Check both the engine bay fuse box and the one inside the cabin, as manufacturers love to hide them in both spots.
Swap Your Relays to Save Money
If the fuses are good, the next gatekeeper is the relay. Think of a relay as a heavy-duty light switch that your car flips for you. When you pull the stalk, you are sending a tiny bit of power to the relay, which then clicks and sends a massive amount of power to the high beams. 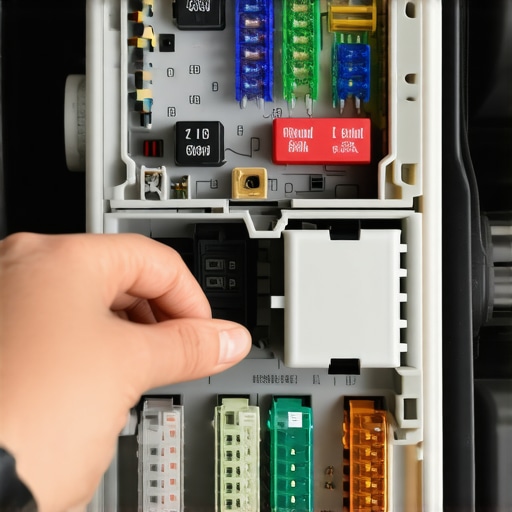 I remember a frustrating night with an old Jeep where the high beams wouldn’t engage. I could hear a faint click, but no light. I utilized one of my favorite auto repair hacks to save money: I found the relay for the horn—which was the same part number—and swapped it into the high beam slot. Suddenly, I had light. If your high beams work after a swap, you just need a ten-dollar part from the local store. If you find your cars horn stopped working suddenly after this test, you’ve confirmed the relay is dead.
Testing the Steering Column Switch
If the fuses and relays are perfect, the problem might be the physical switch you touch every day. Over time, the copper contacts inside the steering column stalk can wear down or get covered in a mix of dust and old grease. To test this without taking the steering wheel apart, you’ll need a basic multimeter. You are looking for continuity when the switch is pulled. If the switch isn’t sending a signal to the relay, the relay will never click. This is a bit more advanced, but it prevents you from throwing parts at a problem that requires a mechanical fix rather than an electrical one. Using the simple test to see if your battery is actually dead can also ensure your base voltage is high enough to even trigger these sensitive components in the first place.It is a common belief that if your low beams are shining bright, your electrical system is in peak condition. In my years under the hood, I have found that this is rarely the case when high beams start acting up. The high-beam circuit typically draws significantly more amperage. If your battery or alternator is on its last legs, you might see why your headlights dim when you use the power windows before the high beams give out entirely. Don’t fall for the ‘good enough’ trap; just because one part of the circuit works doesn’t mean the system is healthy under load.
Why do your high beams cut out only after ten minutes of driving?
This is the ultimate ‘phantom’ problem that drives most DIYers crazy. You turn the lights on in the driveway, and they work. Ten minutes down a dark road, they flicker and die. This usually indicates a heat-sensitive failure in the relay or a high-resistance connection. As electricity flows, a poor connection generates heat, which increases resistance, eventually choking off the power entirely. This is why how advanced vehicle diagnostics prevent costly breakdowns is so important; it’s about testing the car in its operating state, not just while it sits cold in the garage. According to a technical report from the Society of Automotive Engineers (SAE), high-resistance connections are the leading cause of ‘phantom’ lighting failures, often misidentified as faulty switches.
Stop assuming your new parts are always perfect
I once saw a frustrated owner replace his entire steering stalk because his high beams wouldn’t stay on, only to realize he had a loose grounding bolt near the radiator support. He could have found it if he knew the secret to finding a parasitic battery drain with a simple multimeter. Sometimes the issue isn’t what’s broken, but what’s resisting the flow of energy. If you’ve ever spent money on a part that didn’t fix the problem, you’ve fallen into the ‘replacement trap.’ 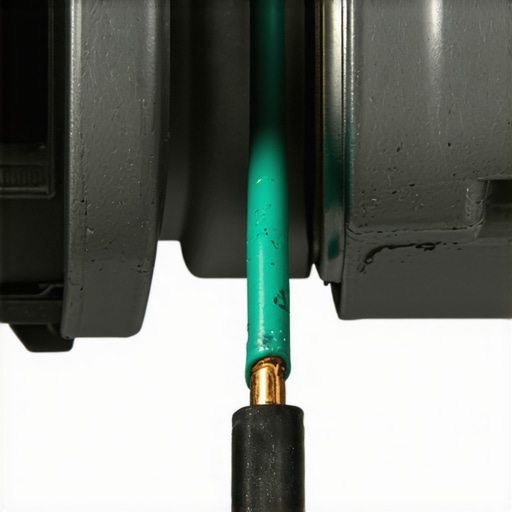
The sneaky way a bad ground mimics a dead bulb
The ‘Oops’ factor here is replacing a bulb without cleaning the socket. A tiny layer of oxidation acts like an insulator. If you just plug a new bulb into a dirty socket, you’re asking for a heat-related failure that could melt your wiring harness. I have seen this same logic applied to other maintenance areas, like why your brake pads are squealing even though they are new—it’s often the installation and the prep work, not the part itself. In the world of oil change innovations, we’ve learned that the smallest details, like a clean seal or a specific torque, outweigh the brand name on the box. Have you ever fallen into this trap? Let me know in the comments.
The One Tool That Stops You From Guessing
I have wasted more money on ‘maybe it is this’ parts than I care to admit. If you want to move past being a parts-changer and actually start doing vehicle diagnostics explained for real, you need a high-quality multimeter. I am not talking about the five-dollar one from the bargain bin that fluctuates when you sneeze. I use a Fluke 87V because it captures ‘min/max’ spikes that cheaper units miss. When your high beams flicker, it is often a momentary drop in voltage. A professional-grade meter lets you see that millisecond dip. It is the same logic I use when I’m trying to find the secret to finding a parasitic battery drain with a simple multimeter; precision is the difference between fixing the car and just getting frustrated. If you can verify 12 volts at the socket but the light is still dim, you have high resistance, and no new bulb will ever fix that.
Stop Your Connections from Rotting Away
Once you find the fault, you need to ensure it never comes back. Most people just plug the new part in and call it a day. That is a mistake. I always use a tiny dab of dielectric grease on the terminals. This is especially vital for high beams because they generate significant heat. According to the Automotive Electronics Council (AEC) Q100 technical standards, thermal cycling is the primary killer of automotive integrated circuits and connectors. By sealing out moisture and oxygen, you prevent the micro-corrosion that causes high-resistance heat. It is a simple step, much like how checking for the reason your brake fluid level is low but you see no leaks can prevent a catastrophic failure later. A little bit of chemical prevention goes a long way in keeping your night drives safe. 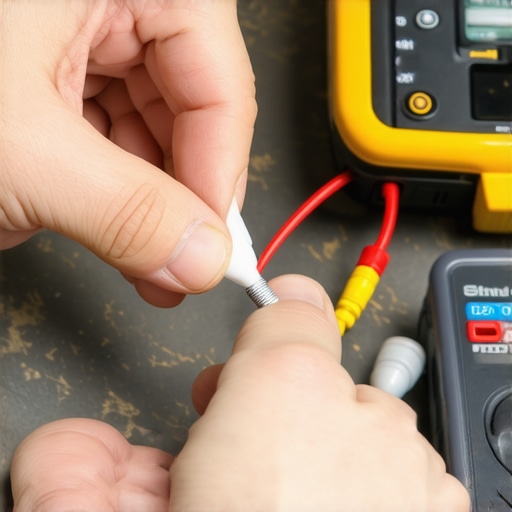
How do I keep my electrical system healthy for years?
Consistency beats intensity every time. Every six months, I do a ‘wiggle test’ on my main wiring harnesses while the lights are on. If they flicker, I know a connector is loose. I also keep an eye on my battery terminals. Acid vapor can travel up the wires, causing ‘wicking’ corrosion that eats the copper from the inside out. This proactive approach is the core of the top auto repair tips to extend your vehicles lifespan. If you treat your electrical system with the same respect you give your brake service for safety and performance, you will rarely find yourself stranded in the dark.
Will we even be fixing our own lights in ten years?
The trend is moving toward sealed LED matrices that are controlled by complex modules rather than simple relays. While this means better visibility, it also means that advanced vehicle diagnostics prevent costly breakdowns will become even more dependent on software. We are seeing oil change innovations that monitor chemistry in real-time, and lighting is following suit with self-diagnostic chips built into the headlamp assembly. If you haven’t yet, I strongly recommend trying one ‘wiggle test’ on your headlight harness tonight—you might just find a loose connection before it leaves you blind on a backroad.
The Hard Lessons That Saved My Night Drives
Over the years, I’ve realized that electrical issues are often more about patience than parts. Here are a few lightbulb moments I wish I had known before I started turning wrenches:
- Trust but verify with a meter: A fuse can look perfect to the naked eye and still be blown. Always use a test light or the secret to finding a parasitic battery drain with a simple multimeter to be 100% sure of the circuit’s health.
- Cleanliness is essential: I’ve seen dozens of supposedly broken systems fixed just by cleaning a ground bolt. Before you buy a expensive new switch, check for corrosion at the contact points.
- Heat hides the truth: If your lights work for a minute and then die, it is almost always a high-resistance connection or a relay that is failing under thermal load.
My Go To Gear for Taming Electrical Gremlins
If you want to stop guessing and start fixing, these are the resources and tools I keep in my own personal trunk:
- A Professional Grade Multimeter: I personally use a Fluke because it captures voltage spikes, which is essential for vehicle diagnostics explained properly.
- Contact Cleaner and Dielectric Grease: This is the secret sauce for long-term reliability. It prevents the oxidation that makes your dash lights flicker when you use the turn signal or when the high beams engage.
- Model Specific Wiring Diagrams: Don’t rely on generic internet advice alone. A dedicated manual for your vehicle is worth its weight in gold when you are hunting for a specific ground wire hidden behind the dashboard.
Take Back Your Visibility
There is a unique sense of pride that comes from fixing a complex electrical issue with your own two hands. It turns a stressful, dangerous situation into a manageable task. By applying these top auto repair tips to extend your vehicles lifespan, you aren’t just fixing a light; you are becoming a more capable vehicle owner. Whether you are dealing with a simple fuse or a tricky relay, remember that your car is just a mechanical puzzle waiting to be solved. If you can master these circuits, you can certainly handle your next brake service for safety and performance with total confidence. Keep those lights bright and stay safe out there.
Have you ever spent hours chasing a broken part only to find out it was just a loose wire? Let me know in the comments below!