

It’s late. You’re pulling into your driveway, and you reach for the window switch to grab the mail. As that glass slides up, your headlights dip just for a second. It’s subtle, but it’s there. That split-second dimming is enough to make any driver’s stomach do a little flip. I remember the first time it happened to me in my old sedan; I was convinced the car was going to leave me stranded on the side of the road by morning. In my panic, I rushed out and spent two hundred bucks on a brand-new alternator. Spoiler alert: it didn’t fix a thing. I fell for the classic trap of parts-cannon diagnostics without actually decoding vehicle diagnostics to see what the car was really trying to tell me.
That Annoying Flicker When You Touch the Window Switch
We’re going to get to the bottom of this “phantom” electrical drain today. It’s one of those quirks that feels like a massive repair bill waiting to happen, but often, it’s just your car’s way of complaining about a heavy load. Whether you’ve noticed why your power windows are moving slower than they used to or your dash lights join in on the flickering party, the cause is usually hiding in plain sight. I’ve spent more hours than I’d like to admit under the hood of various clunkers, and if there’s one thing I’ve learned, it’s that electricity is lazy. It takes the path of least resistance. When you ask your window motor to work, it’s like a sudden power surge in your living room—sometimes the lights dim because the system just can’t keep up for that microsecond. It is especially noticeable at a red light because your alternator isn’t spinning fast enough to provide full power, forcing the battery to pick up the slack. I’ve seen folks get quoted hundreds of dollars for electrical work when all they needed was a bit of contact cleaner and a wrench.
Is a little bit of dimming actually a reason to panic?
Honestly? Usually no. But it is a signal you shouldn’t ignore. Think of your car’s electrical system like the plumbing in an old house. If you flush the toilet while someone’s in the shower, the water pressure drops. Your windows use a surprisingly high amount of amperage to fight friction and gravity. According to the Battery Council International, a standard automotive battery is designed to handle short, intense bursts of power, but if the charging system is struggling with resistance, you’ll see it in the lights first. This resistance often comes from something as simple as the ground wire problem that mimics a bad starter motor. I once spent an entire Saturday scrubbing battery terminals when the real culprit was a loose bolt on the chassis that I’d overlooked. Have you ever sat in your driveway just clicking the window switch to see if the lights would dim, or am I the only one who gets that obsessed? Drop a comment below—I’d love to know if your car does the same thing. Before you go out and buy a new battery, let’s look at the simple test to see if your alternator is killing your battery or if it’s just a case of “old car syndrome.”
Start with the Low Hanging Fruit
Before you start ripping your door panels off, look at the source. Your car’s battery acts like a buffer; when the alternator can’t keep up with a sudden spike in demand, the battery fills the gap. If the terminals are covered in that white, crusty oxidation, it’s like trying to drink a milkshake through a pinched straw—the power just can’t get through fast enough. I once ignored a fuzzy terminal for months, thinking it was just aesthetic, until my car wouldn’t start at a gas station in the middle of a rainstorm. A quick scrub with a wire brush and some baking soda can be the secret to getting another year out of your car battery and might stop that flicker instantly. Check the physical connection first; if it wiggles by hand, it’s not tight enough. The secret to getting another year out of your car battery is often just maintaining these basic connection points.
Look for the Hidden Resistance
Electricity always wants to go home to the negative terminal. If the path back—the ground wire—is loose or rusted, the voltage has to fight to complete the circuit. This resistance creates heat and a significant voltage drop. Check the thick black wire that runs from your battery to the car’s frame. It’s a common culprit that many DIYers miss because they’re too busy looking at the hot wires. I’ve seen the ground wire problem that mimics a bad starter motor cause all sorts of weird light shows on the dashboard just because a single bolt was vibrating loose over the years. When you hit that window switch, a massive 20-amp surge hits that poor ground connection. If the connection is weak, the voltage drops across the entire system, causing your headlights to take the hit.
Is Your Alternator Keeping Up?
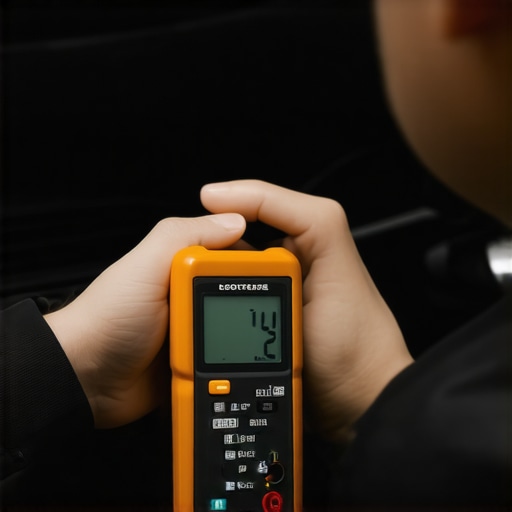
Grab a cheap multimeter and set it to DC volts. With the engine running, you should see between 13.5 and 14.7 volts. If you’re seeing 12.5 or lower, your alternator is essentially a paperweight. While you’re at it, check the belt tension. A slipping belt might not squeal, but it won’t spin the pulley fast enough to keep the lights bright when the window motor kicks in. Performing the simple test to see if your alternator is killing your battery takes five minutes and saves you from buying parts you don’t need. I remember a buddy who replaced his battery three times before realizing his alternator was only putting out 11 volts whenever he turned on the AC or the windows.
Lube the Tracks Before You Replace the Motor
If your windows are sluggish, the motor is working double-time. That extra strain translates to a massive amperage draw that makes your lights dip. You’d be surprised how much friction develops in those rubber channels over a decade of dust and rain. Instead of a new motor, try some dry silicone spray in the tracks. I did this on an old truck where the windows barely moved, and the light flicker vanished because the motor didn’t have to muscle the glass up anymore. Learning how to revive a sticky window motor with a silicone spray is one of those auto repair hacks that save money without sacrificing quality. If the glass still struggles after a good cleaning, you might need to investigate why your power windows are moving slower than they used to, focusing on the regulator assembly itself before it burns out your electrical system entirely.
Let’s dig deeper into why we often misdiagnose these electrical gremlins. Most people assume that if the lights flicker, the battery is dying. In my experience, throwing a new battery at a voltage drop issue is like putting a band-aid on a broken leg. The real culprit is usually a ‘bottleneck’ in the wiring. Think about brake service myths busted: what really matters for safety; it’s rarely just about the pads, but the entire hydraulic system. Similarly, your electrical system relies on a delicate balance of conductivity that ages poorly over time.
The High-Output Alternator Trap
Here is a contrarian take: buying a high-output alternator is often a waste of money if you haven’t addressed your factory wiring first. Everyone says ‘get more amps,’ but if your 10-gauge factory wire can only handle 60 amps safely, a 200-amp alternator won’t do a thing for your dimming lights except create heat. This is the ‘Oops’ factor many enthusiasts hit—they upgrade the pump but leave the tiny pipes. If you are decoding vehicle diagnostics to solve a flicker, you must look at the ‘Big Three’: the battery-to-chassis ground, the engine-block-to-chassis ground, and the alternator-plus-to-battery-plus cable. Upgrading these wires is often more effective than a brand-new alternator.
Why does the voltage still sag after a full charging system refresh?
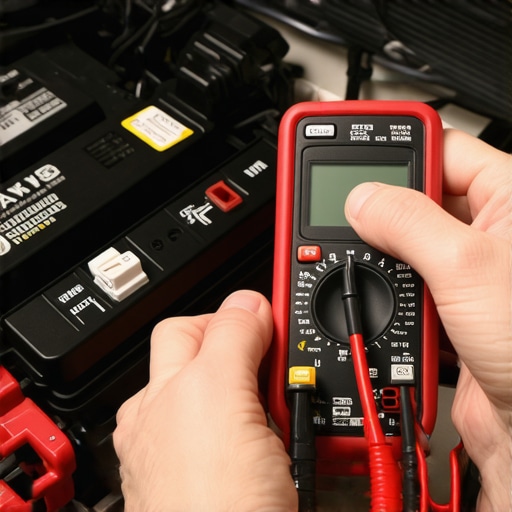
If you’ve replaced the battery and the alternator but the lights still dip, you’re likely dealing with ‘transient voltage drop’ within the window switch circuit itself. According to the Society of Automotive Engineers (SAE) Standard J1211, automotive electronics are built to survive these spikes, but the visual ‘flicker’ is caused when the resistance in the switch or the motor exceeds the circuit’s design. This is similar to the synthetic oil myth that costs you fifty dollars every visit; we are conditioned to replace the fluid (or the part) when the problem is actually the interval or the underlying hardware efficiency. If your ground is clean and your battery is fresh, that flicker is just the physics of an inductive load—the motor—demanding instant current that the narrow factory wires can’t deliver without a momentary drop.
The Hidden Nuance of Modern Charging
One thing people consistently get wrong about vehicle diagnostics explained for modern cars is the role of the ELD (Electronic Load Detector). Modern computers actually tell the alternator to stop charging sometimes to save fuel. If you hit the window switch during one of these ‘eco’ cycles, the dimming is even more pronounced. It’s not a failure; it’s a design feature. Have you ever fallen into the trap of replacing a perfectly good alternator because of a simple ground issue or a smart-charging system? Let me know in the comments—I’ve certainly been there. Before you spend another dime, ensure you aren’t ignoring why your car battery dies every three days, as parasitic draws often mask themselves as simple dimming issues.
The One Tool That Stops You From Guessing
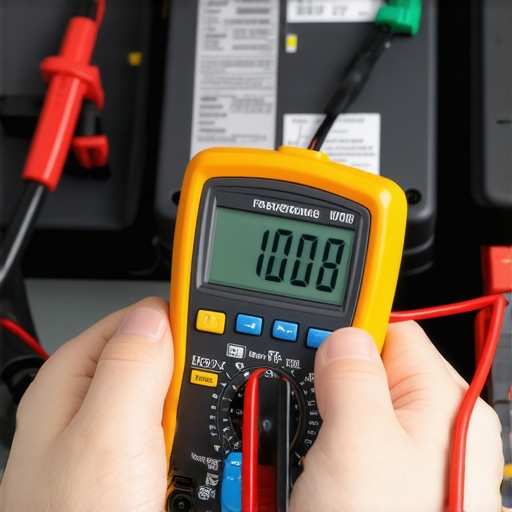
If you’re serious about moving beyond the ‘replace parts and pray’ method, you need a high-quality digital multimeter. I personally swear by the Fluke 87V, but even a mid-range unit from Brymen will do. The trick isn’t just checking if a battery has 12 volts; it’s performing a dynamic voltage drop test while the circuit is under load. When you see your headlights dim, you should be measuring the drop between the battery post and the alternator case. If that reading is higher than 0.2 volts, you’ve found your bottleneck. This is how how advanced vehicle diagnostics prevent costly breakdowns by catching high resistance before it melts a connector or kills a module. I’ve saved thousands over the years simply by verifying that the path for the electricity was clear before blaming the expensive components.
Why I Trust Live Data Over a Dashboard Warning
Modern cars are essentially rolling local area networks (LANs). A simple code reader is fine for basics, but a tool capable of reading ‘Live Data Streams’ is what you actually need to see why your voltage is sagging. I use a scanner to monitor the ‘Commanded Equivalence Ratio’ and the ‘Generator Field Control’ in real-time. According to the Bosch Automotive Handbook (10th Edition), quiescent current—the drain on your battery when the car is off—should typically not exceed 50mA in modern vehicles. If your car is drawing more, that dimming window motor is just the tip of the iceberg. Using these essential auto repair strategies for frequent drivers keeps you ahead of the curve, especially if you rely on your vehicle for long commutes.
How do I keep my car’s electrical system healthy for years?
Maintenance isn’t just about what you replace; it’s about what you preserve. Every time you perform an oil change, you should be inspecting your belt tensioner and cleaning your grounds. I’ve started paying attention to oil change innovations, technologies that save your engine, but I never forget that a dirty engine bay leads to electrical ‘tracking,’ where current literally leaks across a film of salt and grime. To stay ahead, I recommend a yearly ‘voltage health check’ where you clean every major ground point you can reach with a bit of sandpaper and some dielectric grease. This is one of those top auto repair tips to extend your vehicles lifespan that costs almost nothing but prevents the ‘phantom’ flickers from ever starting.
Where the Industry is Heading
The future of this niche is moving toward predictive, cloud-based diagnostics. We are already seeing vehicles that can ‘self-diagnose’ a failing alternator diode weeks before the driver notices a dimming light. However, as systems become more complex, the basics of good contact and low resistance become even more critical. AI can tell you a circuit is failing, but it can’t tighten a loose 10mm bolt for you. My advice? Grab your multimeter this weekend and perform a voltage drop test on your main battery ground. It’s the single most effective way to prove whether your car is actually broken or just needs a little bit of cleaning to run like new again.
The Hardest Lesson I Learned About Electrical Ghosts
After years of chasing gremlins, I’ve realized that the most expensive part you can buy is the one you didn’t actually need. Here are the insider insights I wish I had decades ago:
- Trust the numbers over your gut: A battery can look brand new and still fail a load test. Always verify voltage under load with a meter before buying parts.
- Grounds are 90% of the battle: Most flickers aren’t caused by a failing alternator but by a return path choked with rust or road salt.
- Heat is your best diagnostic tool: If a wire or connector feels hot to the touch after use, you’ve found your resistance. That’s where your voltage is disappearing.
- Consistency beats repair: Applying top auto repair tips to extend your vehicles lifespan, like cleaning terminals annually, prevents these headaches entirely.
My Go-To Gear for Diagnosing Voltage Drops
You don’t need a professional shop to find the source of your dimming lights. These are the specific tools I trust to get the job done right and avoid the parts-cannon approach:
- A True-RMS Multimeter: I personally swear by a reliable digital meter for checking the charging system. It’s the only way to see if your alternator is truly keeping up with the window motor’s demand.
- OBDII Scanner with Live Data: To understand vehicle diagnostics explained for modern cars, you need to see what the ECU sees in real-time, especially regarding the charging state.
- Wire Battery Brush and Baking Soda: This five-dollar combination is often more effective than a new battery when it comes to restoring proper current flow.
- Dry Silicone Spray: This is my secret weapon for sluggish windows. It reduces the physical strain on the motor, which in turn reduces the electrical load on your lights.
Master Your Machine Today
Don’t let a small flicker turn into a major source of driving anxiety. Most electrical issues in modern cars are manageable if you approach them with patience and use essential auto repair strategies for frequent drivers. By checking your grounds and performing your own decoding vehicle diagnostics, you can keep your car on the road longer without overpaying at the shop. Have you ever spent money on a brand-new battery only to find out a loose wire was the real culprit? Let me know your story in the comments below!