
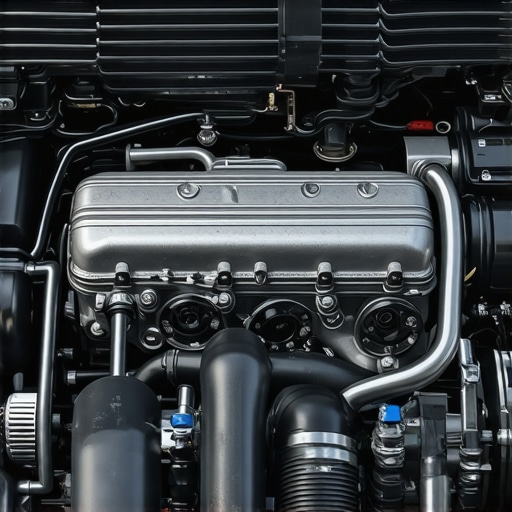
It was a freezing morning when I first heard that high-pitched whistling echoing beneath my hood. At first, I thought it was just my imagination or maybe the wind teasing around my engine bay. But as I stepped closer, my stomach sank—there it was again, that unmistakable squeal that sent a chill down my spine. That sound was more than just annoying; I knew it signaled something wasn’t right.
If you’ve ever experienced a similar sensation—your heart racing as the whistle grows louder, wondering if this is a minor glitch or a sign of something serious—you understand the frustration. That noise can be a confusing puzzle. You might worry about engine damage, decreased fuel efficiency, or worse, a costly repair down the line.
But here’s the good news: today, I promise to help you understand that mysterious whistle and, more importantly, how to identify if it’s a vacuum leak causing the problem. This is a common issue that many car owners overlook because it can be subtle and tricky to detect without knowing what to listen for.
Why That Whistling Might Be a Sign of Something Serious
When I first noticed the whistling, I almost dismissed it as normal engine noise. After all, engines are loud, and high-pitched squeals can sometimes be mistaken for normal operational sounds—especially if you’re not familiar with the telltale signs. But ignoring it can lead to bigger issues, like rough idling, poor acceleration, or even engine stalling.
The culprit? Often, a vacuum leak. According to automotive experts, vacuum leaks are among the top causes of a high-pitched whistle under the hood. They happen when there’s a tear, loose hose, or crack in the vacuum system, allowing excess air to enter the engine. This imbalance can cause the engine to run lean, setting off a chain of problems that affect performance and fuel economy.
Early on, I made the mistake of dismissing the noise as a minor fix or ignoring it altogether. That was a mistake. Small issues like this tend to grow if not addressed promptly, leading to more complex and expensive repairs. Trust me, understanding how to recognize an early vacuum leak can save you a lot of headaches—and money.
Before diving into the how-to, let’s cover some common doubts. Many skeptics wonder, “Is this whistling really worth the trouble?” or “Could it just be normal engine noise?” If you’re feeling unsure, you’re not alone. The next sections will clarify these doubts and show you simple techniques to diagnose the problem yourself.
Feeling frustrated because you can’t tell if that eerie sound is a sign of trouble or just a minor hiccup? You’re not alone. In fact, learning to decode these noises can become your best auto-saving tool. Plus, discovering early signs can prevent breakdowns and improve your car’s longevity.
So, if you’ve faced this kind of whistle—and I bet many of you have—stick around. We’ll explore practical steps to identify whether a vacuum leak is lurking under your hood, and how to fix it without emptying your wallet.
Gather Essential Tools and Prepare Your Workspace
Before starting, ensure your vehicle is parked on a flat surface, engine off, and cooled down. You’ll need a flashlight, disposable gloves, and a store-bought or homemade smoke testing kit. Having these will make the diagnosis smoother and safer. I recall the time I used a simple smoke pen from an auto parts store and was amazed at how quickly I found the leak—a small crack in a vacuum hose that was almost invisible to the naked eye.
Tackle Visible and Accessible Hoses First
Start by inspecting all the vacuum hoses connected to intake manifolds, throttle body, and other components. Look for cracks, tears, or loose clamps. Use your flashlight to illuminate dark corners. Gently wiggle hoses—loose or cracked ones will often show signs of deterioration or may detach easily. During my own check, I found a cracked hose near the throttle body, which explained the whistling and rough idling. Replacing this hose immediately resolved the issue, saving me from a costly repair.
Listen and Feel for Air Leaks While Engine is Running
Start the engine and listen closely around the vacuum lines for hissing sounds. Lightly spray soapy water or carb cleaner around suspect areas; a change in engine RPM indicates a leak. Be cautious: avoid spraying near hot or moving parts. Once I sprayed a soapy solution near a suspect hose, I noticed a noticeable RPM increase, confirming the leak’s location. Fixing small leaks here isn’t hard—simply replace cracked hoses or tighten clamps. For more tips on vehicle maintenance, check out top auto repair tips.
Use Smoke Testing for Hard-to-Detect Leaks
 Smoke testing is the most reliable way to identify elusive leaks. Introduce smoke into the vacuum system using your kit or a DIY method—like connecting a smoke bulb to the intake vacuum port. Watch closely for smoke escaping from any hose or gasket. I once tackled a stubborn leak in my friend’s vehicle by smoke testing; smoke seeped from a tiny crack behind the intake manifold, which was otherwise invisible. Once located, replacing or sealing that small crack restored proper engine function and eliminated the whistling noise.
Seal or Replace Damaged Components
After locating leaks, decide whether a simple sealant application or complete hose replacement is needed. For minor cracks, automotive sealant designed for vacuum lines can temporarily help, but replacing damaged hoses is more durable. Ensure all clamps are tight and hoses are seated properly. Remember, neglecting small leaks now can lead to engine performance issues later. Learn more about comprehensive vehicle care at decoding vehicle diagnostics.
Be diligent during each step, and don’t rush—vacuum leaks are often subtle but impactful. Proper diagnosis not only silences the whistle but also protects your engine health in the long run, making your vehicle more reliable and efficient. Regular inspections and timely repairs are your best allies; for periodic tune-ups and maintenance, review auto repair hacks.