
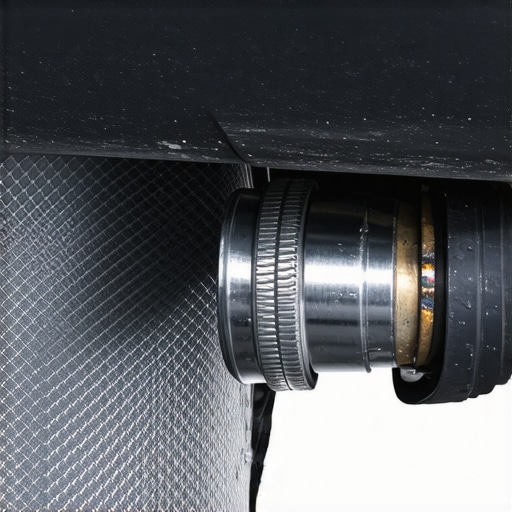
I was sitting at a drive-thru last Tuesday, trying to order a black coffee, when my car decided to make me look like I was driving a bucket of loose bolts. Every time the engine idled down, this rhythmic, metallic clack-clack-clack echoed off the brick wall. It was loud, it was embarrassing, and honestly, it sounded like my engine was about to drop onto the pavement. If you have ever felt that pit in your stomach when a new noise appears, you know exactly why decoding vehicle diagnostics is so important for your sanity. But here is the secret I have learned after years under the hood: that terrifying sound usually isn’t a dead engine. It is almost always a thin, rusted piece of aluminum called a heat shield that has finally vibrated loose from its mounting bolts. Today, I am going to show you how to silence that racket for the price of a cup of coffee.
Stop That Embarrassing Rattle Without Spending Hundreds at the Shop
Most mechanics will tell you that you need to replace the entire section of the exhaust or wait for a custom-ordered shield that costs a fortune in labor. I call bull on that. In my early days, I made the amateur mistake of trying to tack weld a rusted shield back onto the pipe, only to blow a hole right through the thin metal and make the problem ten times worse. I learned the hard way that auto repair hacks are only worth it if they actually respect the physics of the vehicle. By using a simple stainless steel hose clamp, you can provide a permanent, heat-resistant fix that often outlasts the car itself. It is one of those essential auto repair strategies every high-mileage driver should keep in their back pocket to avoid getting fleeced at the dealership.
Is a cheap hardware store clamp really a safe fix?
You might be worried about whether a plumbing part belongs on your exhaust system. It is a fair question. According to technical data from the Engineering ToolBox, exhaust manifolds and downpipes can reach temperatures exceeding 1,000 degrees Fahrenheit under heavy load. This is why plastic zip ties or duct tape will vanish into a cloud of toxic smoke in minutes. However, a high-grade stainless steel hose clamp is designed to withstand extreme environments without melting or stretching. It provides the exact tension needed to stop the vibration without damaging the exhaust pipe. Have you ever been told you needed a brand-new catalytic converter just because of a tiny rattle? Let’s dive into how you can identify the exact loose shield and secure it in under ten minutes.
Track Down the Noise Before You Reach for Your Wallet
Before you can fix the problem, you have to find it. Think of your exhaust system like a long, hot trombone that runs the length of your car. It is constantly vibrating, and these aluminum heat shields are bolted to the frame or the pipe itself to keep that heat from melting your floorboards. Over time, the hole where the bolt goes through the shield corrodes and widens until the shield is literally just sitting on top of the pipe, dancing around like a loose tin roof in a hurricane. To find the culprit, wait until the car is stone cold. Do not skip this part—exhaust pipes are second only to stovetops in their ability to ruin your afternoon. Slide under the car and give the exhaust pipe a firm tap with a rubber mallet or your fist. If you hear a ‘clack’ or a ‘zing,’ you have found the loose shield. This is the simplest form of performing a few easy checks that can save you a massive diagnostic fee at the shop. 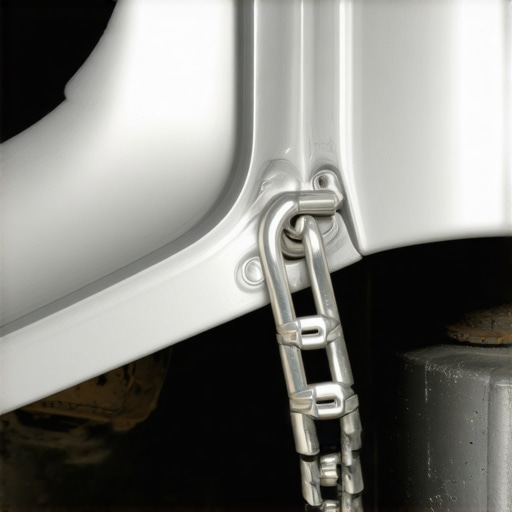
Grab the Right Size Stainless Steel Clamp
Once you have identified the loose shield, head to the hardware store and look for large stainless steel hose clamps (also called worm gear clamps). You want the ones big enough to go around the entire exhaust pipe. If the pipe is thick, like a 3-inch downpipe, you can actually link two smaller clamps together to create one giant loop. I remember a specific 2012 Altima that came into my driveway where the owner was convinced their transmission was failing because of a ticking noise that disappears after a few minutes. It was actually just the shield expanding with heat and finally wedging itself tight. We fixed it with two clamps and ten minutes of labor. This is one of those auto repair hacks that feels like cheating because it is so effective.
Secure the Shield to the Exhaust Pipe
Open the clamp fully so it becomes a flat strip. Wrap it around both the exhaust pipe and the loose heat shield. Thread the end back into the screw housing and start tightening it down with a 5/16 socket or a flathead screwdriver. The goal is to ‘sandwich’ the heat shield back against the pipe or its original mounting bracket. You are essentially creating a new, wider ‘washer’ that holds the shield in place. This method is far superior to trying to use new bolts, because the original threaded holes in your car’s frame are likely rusted beyond recognition anyway. Using this strategy is a great way to extend your vehicle’s lifespan without dumping money into non-critical components.
Don’t Over-Tighten and Crush the Metal
While you want the shield to be snug, remember that exhaust pipes expand when they get hot. If you crank that clamp down with the strength of a thousand suns, you risk crimping the pipe or snapping the clamp once the metal begins to grow from the heat. Tighten it until the shield no longer moves when you wiggle it with your hand, then give it one more half-turn. This creates a firm grip that allows for thermal expansion. If you have been struggling to stop the annoying rattle that seems to come from under your feet, this physical bond is usually the permanent solution. I have seen these clamp repairs last five years or more, surviving through salt-heavy winters and muddy backroads alike.While most enthusiasts are busy decoding vehicle diagnostics to find a sensor error, seasoned veterans know that structural failures are often the root of phantom noises. A common myth I hear is that you must use original equipment manufacturer (OEM) hardware to keep your car ‘factory spec.’ Here is the truth: factory hardware failed because of galvanic corrosion—a process where two different metals, like your aluminum shield and the steel bolt, essentially eat each other alive when salt and water are introduced. By switching to a high-quality stainless steel hose clamp, you are introducing a more chemically stable fastener for that specific environment. It is one of those auto repair hacks that is technically better than the original design for a high-mileage vehicle. 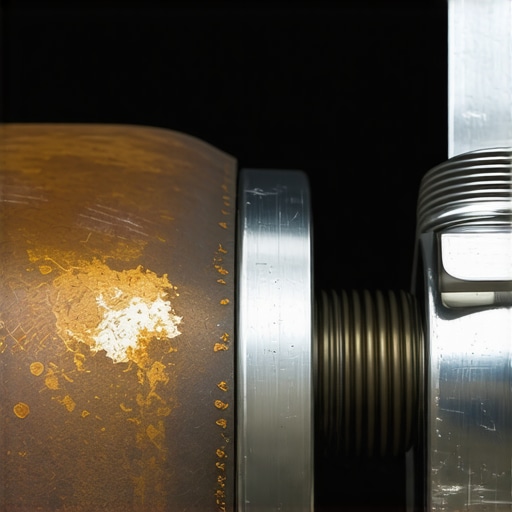
Could an over-tightened clamp actually lead to a cracked exhaust manifold?
It is a rare but real concern for the ‘more-is-better’ crowd. According to technical data from SAE International regarding thermal expansion in automotive exhaust systems, components can expand by several millimeters as they move from a cold start to operating temperature. If you clamp a shield across a flex-pipe section or a slip joint, you are fighting the engine’s natural need to grow. This resistance creates massive stress points. The ‘Oops’ factor here is simple: never bridge two separate sections of pipe with one clamp. You want to secure the shield to a single, solid run of pipe. If you ignore this, you might move from a simple rattle to needing to know how advanced vehicle diagnostics prevent costly breakdowns because you have now snapped a manifold stud from the tension. I have seen DIYers do this while trying to silence the metallic click you hear every time you turn the key, only to end up with a massive exhaust leak that costs five times more to fix. Another nuance involves the ‘path of least resistance’ for heat. If you remove a shield entirely because it is too far gone, you aren’t just losing a noise; you are potentially cooking your shift cables or brake lines. This is why essential auto repair strategies always prioritize heat management over just ripping the part off. Have you ever fallen into the trap of over-tightening a bolt or removing a ‘useless’ part only to have it bite you later? Let me know in the comments.Learning how to fix a rattle is a great start, but keeping a high-mileage vehicle on the road without it becoming a money pit requires a change in mindset. I used to think that as long as the car started, I was winning. But true authority over your machine comes from seeing problems before they make noise. For me, that meant moving past the basic socket set and investing in a few specific pieces of tech that most DIYers overlook. If you want to master vehicle diagnostics, you need to stop guessing and start measuring.
Why a Cheap Infrared Gun Is Your Best Diagnostic Friend
One of the best auto repair hacks I ever discovered wasn’t a wrench at all—it was a non-contact infrared thermometer. When I’m dealing with heat shields or suspected cooling issues, I don’t just touch things and hope for the best. I use the laser to map the temperature gradient of the exhaust manifold. According to engineering data from Thermo-Tec, high-performance heat barriers can reduce radiant heat by up to 70%, but only if they maintain structural integrity. I use my thermal gun to check if a shield is actually doing its job or if it’s allowing heat to soak into the brake master cylinder, which is a key part of any essential brake service. If the temperature on the ‘cold’ side of the shield is climbing above 300 degrees, I know the shield is failing internally, even if it isn’t rattling yet. 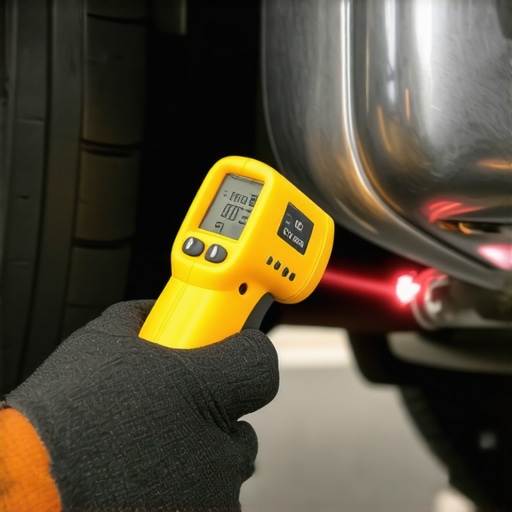
How do I maintain these mechanical fixes over time?
The secret to long-term success with DIY repairs is the ‘re-torque’ cycle. Metal expands and contracts constantly. Every time you perform easy checks before a road trip, you should put a wrench on your hose clamps and mounting bolts. I make it a habit to check my exhaust clamps every time I do an oil change. Since you’re already under there, it takes ten seconds to ensure that vibration hasn’t backed the screw out. This proactive approach is exactly how you extend your vehicle’s lifespan beyond the 200,000-mile mark. It turns a temporary fix into a permanent part of the car’s anatomy.
Prepare for the shift toward thermal battery management
Looking ahead, our DIY skills are going to shift from exhaust pipes to battery cooling. As more hybrids and EVs hit the secondary market, the ‘heat shields’ we deal with today will evolve into complex thermal management systems for lithium-ion packs. The same principles apply: managing heat and vibration to protect sensitive components. We are already seeing innovations that save your engine by using smarter lubricants and better cooling, and these will become even more critical. My challenge to you: Next time you are under the hood, don’t just look for what’s broken. Use a digital torque adapter to check your spark plugs or lug nuts to factory spec. Learning the ‘feel’ of proper torque is the difference between a mechanic and a hobbyist. If you can master the tension of a simple hose clamp today, you’ll be ready for the high-tech diagnostics of tomorrow.
Why I stopped ignoring the small sounds under the floorboards
The most expensive mistake I ever made under the chassis was assuming every rattle was just character for an old car. I once ignored a metallic ping because I didn’t want to crawl in the dirt, only to have a loose shield vibrate against a brake line until it rubbed a hole right through. Suddenly, my five-dollar fix became a full essential brake service job. The lesson here is simple: a noise is a warning, not a suggestion. I’ve learned that the best auto repair hacks aren’t about being lazy; they are about being smarter than the rust. If you can catch the corrosion before the hole gets too big, you save the part and your sanity. This is especially true if you have been trying to stop the annoying rattle that everyone else tells you to just live with. Trust your ears; they usually know when the car is crying for help.
My go-to kit for silencing phantom noises
For this specific job, skip the cheap plastic-coated clamps and look for 316-grade stainless steel. I personally swear by the Breeze brand for their heavy-duty worm gears—they don’t strip when you’re laying on your back in a cramped driveway. Beyond that, keeping a bottle of soapy water handy is a great way to find a slow puncture or an exhaust leak without fancy equipment. I also recommend a digital torque adapter; it turns a basic wrench into a precision instrument, helping you extend your vehicle’s lifespan by never over-tightening a critical bolt again. Having these items ready allows you to perform easy checks before a road trip so you never have to worry about a heat shield falling off on the interstate. #IMAGE_PLACEHOLDER_E#
Step into the role of your car’s personal doctor
There is a specific kind of pride that comes from pulling into a drive-thru and hearing nothing but the smooth hum of your engine instead of a bucket of bolts. Mastering vehicle diagnostics doesn’t happen overnight, but every time you identify a sound like that ticking noise that disappears when warm, you are becoming your car’s best advocate. Don’t be afraid of the grease or the learning curve. Your car is a complex machine that wants to run; it just needs a little help from someone who knows what to listen for. By taking ten minutes today to tighten a clamp, you are decoding vehicle diagnostics in the most practical way possible. Have you ever found a weird ‘life hack’ that fixed a major rattle on your car? Let me know in the comments below.