
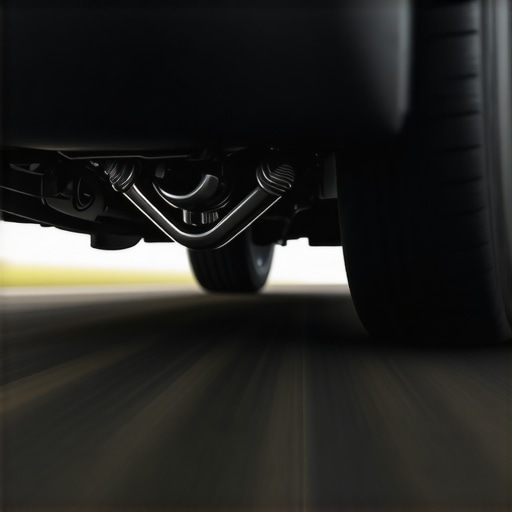
I will never forget the rainy Tuesday I was driving my old sedan down the highway when a rhythmic thud-thud-thud started echoing from the back. It felt like someone was hitting the floorboard with a rubber mallet. My first thought? The axle was about to snap and send me spinning into the median. I pulled over, heart racing, and checked the trunk. Nothing. No loose spare tire, no rolling groceries. I ended up panic-buying a whole set of shocks I didn’t even need because I didn’t know how to listen to what the car was telling me. Talk about an expensive lesson in essential auto repair strategies for frequent drivers. Today, I am going to save you from that same panic and help you pinpoint exactly why your car is making that annoying rear-end thumping sound. We will tackle everything from flat-spotted tires to worn-out bushings so you can stop guessing and start driving with confidence again.
Stop Guessing and Start Listening to Your Rear Suspension
Most people assume a noise from the back means the transmission is failing, but usually, it is something much closer to the pavement. Years ago, I made the amateur mistake of ignoring a soft thud because it only happened on bumpy backroads. By the time I took it seriously, I had destroyed a perfectly good tire because a worn strut was letting the wheel hop like a pogo stick. It is a similar mechanical cry for help to why your car makes a clunking sound when you go over speed bumps. The first thing you need to do is determine the tempo of the thump. Does it speed up as you accelerate? Or does it only happen when you hit a dip in the road? If it is speed-dependent, you are likely looking at a tire issue or a failing hub. You can actually use a simple way to check your wheel bearings for play at home with just a jack and your hands.
Is This Thumping Sound Going to Break My Bank Account?
I get it. Every time the car makes a new noise, your wallet starts to ache. You are probably wondering if you can just turn up the radio and ignore it for another month. However, the Car Care Council reports that neglecting minor suspension or tire issues can lead to costs doubling within months due to ‘consequential damage’ to other components. The good news is that many of these thumps are surprisingly cheap fixes—like a $20 rubber exhaust hanger or a loose spare tire nut—if you catch them before they snowball. Have you ever felt that sinking feeling when a mystery noise starts right before a big road trip? Let me know in the comments what your car sounds like right now, and let’s see if we can figure it out together.
Clear Out Your Trunk Before You Start Pulling Parts
I once spent an entire Saturday afternoon chasing a mysterious thud in my old hatchback, even going as far as unbolting the rear seats. It turned out to be a half-empty bottle of windshield washer fluid that had escaped its plastic crate and was rolling against the spare tire well every time I took a corner. Before you spend a dime on parts, empty every single item out of your trunk and the area under the floor mat. Even a loose jack handle or a slightly unscrewed spare tire wingnut can mimic a heavy suspension failure. If the noise persists when the car is bone-empty, you have officially ruled out the ‘ghost in the trunk’ and can move on to the mechanical suspects. This is one of those auto repair hacks save money without sacrificing quality because it costs zero dollars and saves hours of frustration.
Look for Scalloped Edges on Your Tread
Your tires are like the black boxes of an airplane; they record exactly what is happening to your suspension. If you feel a rhythmic thumping that changes speed as you go faster, run your hand along the inner and outer edges of the tire tread. If it feels like a saw blade or a series of waves, your tire is ‘cupping.’ This usually happens when a shock absorber is worn out, causing the wheel to bounce like a basketball instead of staying glued to the road. You might notice the reason your tires are making a humming sound on the highway is actually this uneven wear pattern hitting the pavement.
The Simple Test to Find a Dead Strut
To check your shocks or struts without a lift, use the bounce test. Walk to the back corner of your car and use your body weight to push down hard on the bumper three times, then let go. A healthy suspension will bounce up and settle immediately. If the car keeps oscillating like a boat on a wavy lake, those shocks are shot. Think of a shock absorber like the plunger in a bicycle pump; if the internal seals fail, there is no resistance to stop the spring from bouncing uncontrollably. This lack of control often leads to a heavy thud when the suspension ‘bottoms out’ against the frame. If you want to dive deeper into how sensors track these movements, check out how advanced vehicle diagnostics prevent costly breakdowns by catching these failures early.
Search for Torn Rubber and Leaking Fluid
Grab a flashlight and peer behind the rear wheels. You are looking for two things: wetness and torn rubber. Shocks should be dry; if you see oily grime caked around the top of the tube, the internal fluid has leaked out. Next, look at the bushings—the little rubber donuts that sit between metal suspension parts. If they look cracked, shriveled, or are missing chunks, the metal arms are likely clacking against the frame. It is a similar diagnostic process to how to identify a bad cv joint before it leaves you stranded. When that rubber cushion is gone, every pebble on the road becomes a hammer hitting your car’s chassis.
While identifying a worn strut or a cupped tire is a great start, the real expertise comes in recognizing when a symptom is actually a disguise. A common mistake I see even seasoned DIYers make is assuming that a rhythm-based thump is always a rotational issue with the tires or axles. In reality, I have seen dozens of cases where the culprit was actually the braking system mimicking a suspension failure. If you feel a vibration or hear a rhythmic beat that only intensifies when your foot is off the gas, you might be looking at a sticking caliper. This is one of the biggest brake service myths busted: new pads won’t fix a mechanical hang-up in the caliper hardware.
Why Does the Thump Return After You Just Fixed the Suspension?
It is incredibly frustrating to replace your shocks only to have that familiar ‘thud’ return two weeks later. This is what I call the ‘New Part Trap.’ When you install stiff, new suspension components, they place increased stress on the remaining old parts, like the control arm bushings or subframe mounts. This is why decoding vehicle diagnostics accurately requires looking at the car as a complete ecosystem rather than a collection of independent bolts. According to a study by the Society of Automotive Engineers (SAE), nearly 30% of secondary suspension failures occur because the initial repair didn’t address the underlying geometry changes caused by worn rubber elsewhere in the system. If you ignore the ‘consequential wear’ on neighboring parts, you are just throwing money at a symptom.
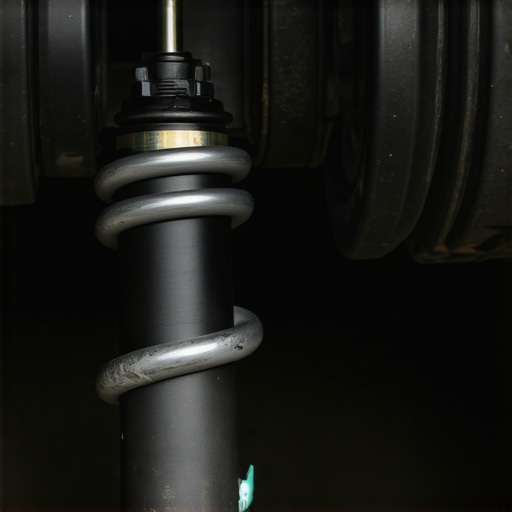
One nuanced mistake people often make is during a standard oil change or brake job. Most people believe that ‘more grease is better’ when it comes to brake slide pins or chassis fittings. However, using the wrong type of petroleum-based grease on rubber bushings can actually cause them to swell and disintegrate, leading to the very thumping sounds you were trying to avoid. In my experience, using a high-quality silicone-based lubricant is the only way to ensure longevity. This is part of the ultimate guide to brake service for safety and performance that most quick-lube shops completely skip to save time. Have you ever replaced a part only to have the noise get louder or change? Let me know in the comments what happened so we can avoid that trap together.
Another hidden nuance involves the ‘bedding-in’ process. If you have ever wondered the reason your brake pads are squealing even though they are new, it is often because the friction material hasn’t been properly transferred to the rotor through a series of controlled stops. Skipping this step can lead to uneven pad deposits, which creates a rhythmic ‘thump-thump’ that feels exactly like a flat spot on a tire. Before you go back to the tire shop for a re-balance, try a proper bedding procedure to see if that clearing the ‘ghost’ vibration. Staying ahead of these details is one of the most essential auto repair strategies for frequent drivers who want to keep their vehicle on the road for 200,000 miles and beyond. Have you ever fallen into the trap of replacing the same part twice? Let me know your story below.
I’ve learned the hard way that a generic socket set is just a ticket to rounded bolt heads and bruised knuckles. If you really want to graduate from ‘parts swapper’ to ‘diagnostic pro,’ you need a specialized kit. Personally, I never hunt for a suspension thump without my Lisle 52750 Mechanics Stethoscope. It sounds old-school, but being able to place a metal probe directly onto the shock body versus the control arm helps you hear the vibration at its source. This is where decoding vehicle diagnostics becomes a tactile experience. You can pinpoint exactly which bushing is screaming for grease or which bearing has developed internal pitting long before it starts to wobble.
How Can I Keep My Suspension From Thumping Ever Again?
Consistency is your best friend here. Every 5,000 miles, when you are performing your standard oil change innovations checks, you should be performing a ‘nut and bolt’ check on the rear subframe. I personally use a paint marker to draw a ‘witness mark’ across every major suspension bolt and its mounting surface. If the lines don’t match up during your next check, you know the bolt is backing out before it ever starts thumping. This is one of the most effective top auto repair tips to extend your vehicles lifespan because it prevents the ‘pounding’ effect that loose hardware has on aluminum frames.
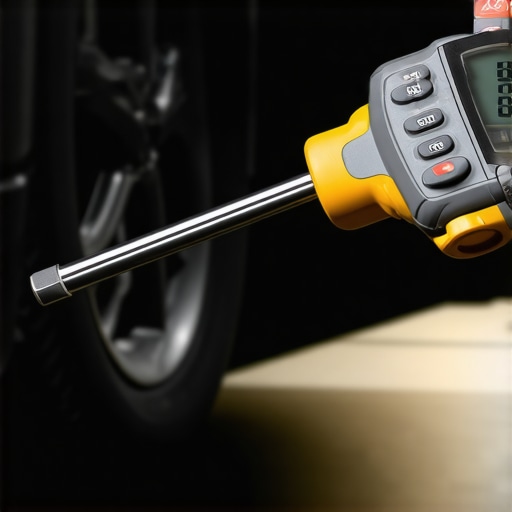
Furthermore, don’t overlook the impact of high-end diagnostic hardware. Even for older cars, a quality OBD-II scanner like a BlueDriver or Autel unit can provide real-time data on wheel speed sensors, which might reveal a warped hub or tone ring that you can’t see with the naked eye. According to Bilstein’s technical documentation, maintaining the integrity of the shock rod is paramount; even a microscopic nick from a pair of pliers during installation can tear the internal seals within 1,000 miles. Always use a proper strut rod tool rather than vice grips. This attention to detail is what separates a temporary fix from essential auto repair strategies for frequent drivers.
Say Goodbye to Reactive Repair
In the next decade, I predict we will see ‘smart’ bushings integrated into consumer vehicles. These components will use piezoelectric sensors to alert your dashboard the moment a rubber mount begins to degrade. We are already seeing how advanced vehicle diagnostics prevent costly breakdowns in the EV sector, where acoustic sensors listen for bearing wear long before a human ear can detect it. For now, however, your best bet is a thorough vehicle diagnostics explained session before every major road trip. If you really want to level up your garage game, my challenge to you is this: stop ‘snugging’ your bolts and start torquing them. Go find the specific torque spec for your rear shock mounts and use a calibrated torque wrench. You will be surprised how many ‘permanent’ thumps are just slightly under-torqued bolts. Give it a shot this weekend and let me know if it silenced your ghost in the trunk!
Three Hard-Won Truths from My Garage to Yours
What I’ve learned is that most thumping sounds aren’t catastrophic mechanical failures; they are often the result of small components crying out for attention. One major lightbulb moment for me was realizing that top auto repair tips to extend your vehicles lifespan often start with the simplest visual inspections rather than expensive computer scans. First, never assume a new part is a perfect part. I’ve seen brand-new shocks fail within a week because of poor quality control. Second, your ears are better than any computer if you know how to focus on the frequency. Truly decoding vehicle diagnostics involves feeling the rhythm of the thump through the seat of your pants, not just watching a dashboard. Finally, the best repair is the one you do once. Don’t skip the torque wrench; using ‘feel’ instead of specs is how bolts vibrate loose and create the very ghost noises you just spent your weekend trying to eliminate.
The Diagnostic Gear That Makes You Look Like a Pro
To move beyond the basic flashlight test, I highly recommend investing in a few specific resources that have saved me hundreds of hours. A set of Electronic Chassis Ears changed the game for me—these clips let you listen to different parts of the suspension in real-time while the car is in motion. I also swear by a high-quality digital torque wrench to ensure every subframe bolt meets factory specs. Before you head out on your next journey, I suggest performing vehicle diagnostics explained for your specific model by referencing a factory service manual rather than a generic guide. These aren’t just tools; they are the difference between guessing which part to buy and knowing exactly what is broken.
Your Weekend Mission to a Silent Chassis
It is easy to feel overwhelmed by a noisy car, but remember that every master mechanic started with a single wrench and a mysterious sound. By taking a systematic approach—clearing the trunk, checking the tires, and testing the struts—you aren’t just fixing a noise; you are building a deeper understanding of your vehicle. Implementing essential auto repair strategies for frequent drivers will give you the confidence to tackle any long-distance drive without the fear of a breakdown. You have the knowledge and the checklist; now it is time to get under the car and silence that thumping sound once and for all. Have you ever spent a fortune on parts only to find out the noise was something silly like a loose jack in the trunk? Let me know your most frustrating mystery noise story in the comments below!