
I remember pulling out of a grocery store parking lot three years ago, my trunk loaded with melting ice cream and a dozen eggs. Every time I turned the wheel to the left, I heard this rhythmic, metallic click-click-click. Being a bit stubborn, I told myself it was just a pebble stuck in the tire tread. I was wrong. A week later, that “pebble” turned into a snapped axle in the middle of a busy four-way intersection during rush hour. It wasn’t just embarrassing; it was a total safety failure that could have been avoided if I hadn’t ignored what the car was shouting at me. Learning the art of decoding vehicle diagnostics through sound and feel is the best way to save your wallet from a $1,200 towing and repair bill. Today, I’m going to show you how to spot a failing CV joint while it’s still just a minor nuisance, long before it leaves you waiting for a tow truck in the rain.
That Rhythmic Clicking is Trying to Tell You Something
Constant Velocity (CV) joints are the unsung heroes of your drivetrain. They transfer power from the transmission to the wheels while allowing the suspension to bounce and the wheels to turn. It is a lot of heavy lifting. When the protective rubber boot cracks, the specialized grease leaks out and road grit gets in. This creates a grinding paste that eats the metal internals. You might notice that your car pulls to one side only when you accelerate, or you might hear the clicking sound coming from your wheels at low speeds during a tight U-turn. Early on in my DIY days, I made the mistake of assuming a vibration was just an unbalanced tire. I spent money on a balance and alignment, only to realize the inner CV joint was actually bone dry and vibrating under load.
Is a little grease on the rim really worth the worry?
You might be tempted to think that a small tear in a rubber boot isn’t an emergency. However, once that lubrication is gone, the joint’s lifespan is measured in days, not months. According to the National Highway Traffic Safety Administration (NHTSA), mechanical failures involving the drivetrain and suspension components are a leading cause of “loss of control” accidents. If you see dark, thick grease splattered on the inside of your wheel or near the brake assembly, your CV joint is effectively on life support. Have you ever heard a strange clicking noise and just turned up the radio to ignore it? I’d love to hear your stories in the comments—we’ve all been there! Before you reach for the phone to call a pro, you can often do a quick visual check yourself, similar to how you would check your ball joints with basic tools. Let’s look at the specific steps to diagnose this in your own driveway.To start your driveway diagnosis, find a vacant parking lot. This is the ultimate stress test for an outer CV joint. Roll your windows down, turn the steering wheel all the way to one lock—either left or right—and slowly drive in a circle. If you hear a staccato, metallic clicking, you have found your culprit. Think of the CV joint like a human hip; it is a ball-and-socket design that needs to rotate while moving up and down. When the grease is gone, you are hearing bone-on-bone contact. If the clicking sound coming from your wheels at low speeds intensifies when you press the accelerator, the joint is struggling under the weight of the car’s torque.
Put Your Drivetrain Through the Figure Eight Test
If a simple circle does not give you a clear answer, try a series of tight figure-eights. This forces the axle to transition through its full range of motion. I once helped a neighbor, Dave, who was convinced he needed a new transmission because of a violent shake at 50 mph. He was already looking at a $3,000 bill. Instead of jumping to conclusions, we used some advanced vehicle diagnostics logic by checking the physical components first. I crawled under his car and found that while the rubber boot looked decent, the internal joint had completely dried out. A $150 axle replacement fixed the ‘transmission’ problem immediately. 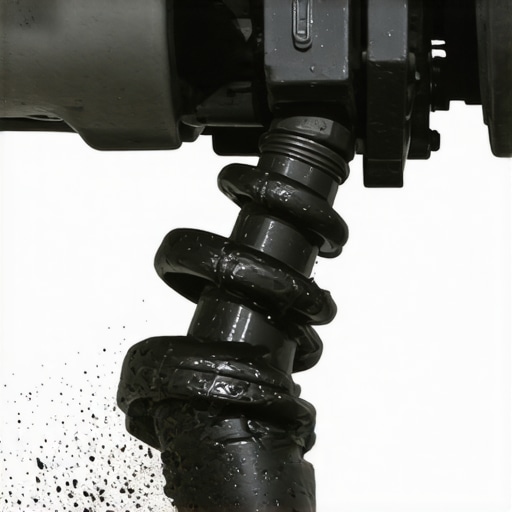
Look for the Tell-Tale Grease Splatter
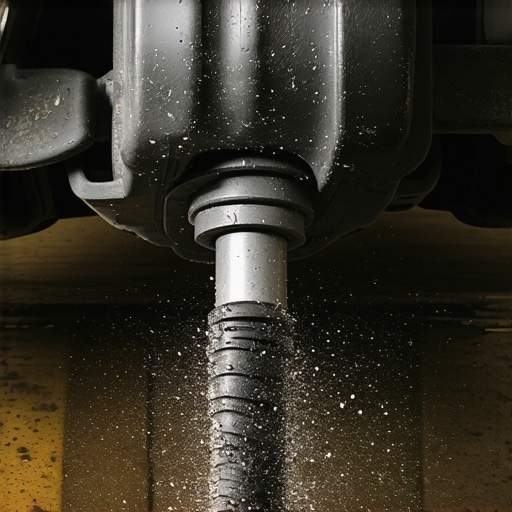
If the sound test is inclusive, it is time to get your hands dirty. Jack up the car and secure it with stands, much like you would if you were going to spot a bad ball joint using a floor jack. You are looking for ‘CV joint sling.’ This happens when the rubber boot develops a tiny tear. Centrifugal force takes that thick, dark grease and sprays it in a perfect line across the inside of your wheel, the brake caliper, and the wheel well. If you see what looks like a black slime explosion, that joint is on a countdown to total failure.
Is it a CV Joint or a Failing Wheel Bearing?
It is easy to confuse drivetrain noises. A failing wheel bearing usually produces a low-pitched growl or hum that changes tone as you veer slightly left or right at highway speeds. In contrast, a bad CV joint is almost always rhythmic and clicking. Knowing the difference between a bad wheel bearing and a noisy tire is crucial here; if the noise is a ‘click’ rather than a ‘drone,’ point your suspicion toward the axle.
Check the Inner Joint for Shudders
While the outer joint clicks, the inner CV joint—the one closest to the transmission—behaves differently. Instead of making noise during turns, a bad inner joint creates a side-to-side shudder during hard acceleration. If you notice the transmission shudder that disappears when you lift off the gas, it is rarely the transmission itself. It is likely the inner joint’s rollers vibrating within their housing. To verify this, grab the axle shaft (with the engine off!) and give it a firm shake. There should be almost zero vertical or horizontal play. If it clunks or moves more than a fraction of a millimeter, the internal tolerances are shot, and that axle needs to be swapped out before it snaps and leaves you with zero power to the wheels.I’ve seen too many people fall into the ‘new is always better’ trap. When it comes to CV axles, many of the ‘new’ units you buy at discount chains are actually lightweight replicas of the original equipment. They often lack the torsional dampeners that the factory axles used to reduce harmonic vibration. It’s a similar phenomenon to how the truth about using cheap aftermarket sensors in your engine often reveals they fail within months; a budget axle might look pretty, but it can introduce a high-speed wobble that wasn’t there before. In my shop days, I saw a dozen DIYers swear they had a bad tire balance when why your car shakes only when you hit 70 mph was actually caused by a cheap, out-of-balance axle they just installed.
Stop assuming every new part is actually good
Everyone tells you to just ‘buy a new axle’ because they’re cheap now. However, I’m a firm believer in keeping your original equipment whenever possible. If you catch a torn boot *before* the clicking starts, a simple boot kit and fresh grease will preserve a high-quality factory axle that is built better than 90% of what’s on the shelf at a parts store. But here is the nuance: if it is already clicking, do not waste money on a ‘reboot’ kit. Once the metal is pitted, grease won’t fix it. Professionals know that auto repair hacks save money without sacrificing quality, and that usually means knowing when to spend the extra $40 on a premium remanufactured part over a ‘no-name’ new one. It’s the same logic used when debunking brake service myths busted what really matters for safety; it’s about the quality of the friction and the metallurgy, not just the brand name.
Why does the steering wheel vibrate even with brand new parts?
This is the most common advanced question I get from people who just finished a driveway repair. If you’ve replaced your axle and now your steering feels ‘busy’ or vibrates during acceleration, you likely have a ‘dry’ joint from the factory or a part that wasn’t balanced properly. According to the National Institute for Automotive Service Excellence (ASE), a significant portion of ‘new’ part failures are actually traced back to manufacturing tolerances being too loose in budget-tier components. If you are chasing a ghost in your drivetrain, look at the newest part first—it’s often the culprit. This happens in other areas too, such as why your brakes squeak even though the pads are new, which is frequently caused by poor-quality shim material on budget pads. 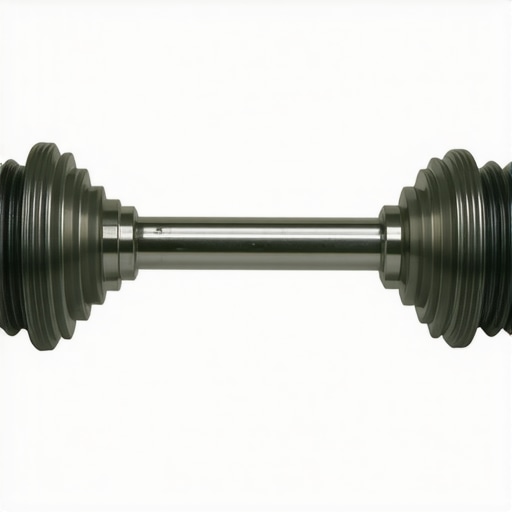
Avoid the Ham-Fisted installation trap
There is a specific ‘oops’ factor to watch out for when swapping an axle: the transmission output seal. It is a tiny rubber ring that often costs less than $10. If you are ‘ham-fisted’ when sliding the new axle into the transmission, the sharp splines on the axle shaft will nick that seal. You won’t notice it immediately, but three days later, you’ll have a red puddle of transmission fluid on your driveway. Much like how the synthetic oil myth that costs you fifty-dollars every visit distracts from real engine longevity, don’t let the excitement of a new axle distract you from the delicate seals that keep the fluid inside. If you’re going to pull the axle, spend the extra ten minutes and five bucks to replace the seal while you’re there. Have you ever replaced a part only to have it fail a month later, or accidentally broken something else while fixing the original problem? Let me know in the comments—I’ve certainly broken my fair share of clips and seals over the years!Speaking of breaking things, let’s talk about the gear that actually keeps you from making those expensive mistakes. I don’t care how strong you think your forearms are; you need a real torque wrench for axle work. If you guestimate the tightness of that massive 32mm hub nut, you’re essentially gambling with your wheel bearings. I personally use a 1/2-inch drive split-beam wrench because it doesn’t require me to wind the tension back down to zero after every use, which is a lifesaver when I’m tired and just want to get the car off the jack stands. When you are decoding vehicle diagnostics at home, having a dedicated breaker bar is also non-negotiable. Trying to use a standard ratchet to loosen an axle nut is a great way to earn a trip to the emergency room when the gear teeth finally shear off. 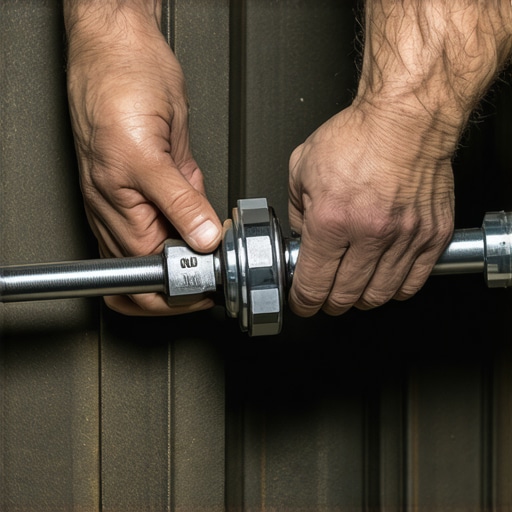
Stop Guessing and Start Measuring with the Right Tools
The right tools turn a stressful afternoon into a satisfying win. Aside from the torque wrench, a set of high-quality snap-ring pliers is vital if you ever plan to rebuild a joint instead of replacing the whole axle. Most people try to use flathead screwdrivers to pry those rings off, but that is how you end up with a flying piece of metal hitting you in the eye. Precision matters. As noted in the Bosch Automotive Handbook, the internal tolerances of a CV joint’s ball tracks are measured in microns—even a microscopic amount of dust can turn into an abrasive that ruins the surface hardening of the metal.
How Can I Keep My Drivetrain Healthy for Years?
The secret isn’t some magic spray; it’s the ten seconds you spend looking under the car every time you change the oil. I’ve made it a habit: every 5,000 miles, I grab a flashlight and squeeze the CV boots. If they feel brittle or crunchy, they are about to fail. Integrating this into your top auto repair tips to extend your vehicles lifespan is the difference between a $20 preventative measure and a $400 emergency. While you are down there, use the cardboard trick to find a tiny oil leak overnight to make sure your transmission seals aren’t weeping. If you’re a heavy commuter, you need essential auto repair strategies for frequent drivers, which include checking for play in the axle. Just grab the shaft and shake it; if it clunks, those internal tolerances are fading.
The High-Torque Future of Electric Axles
I am already seeing a massive shift in how we handle these parts as we move toward electric vehicles. EVs deliver 100% of their torque instantly, which puts a staggering amount of stress on the CV joints compared to a traditional gas engine. In the next few years, I predict we will see much beefier, liquid-cooled axle designs to handle that heat buildup. For now, don’t just take my word for it—get under there this weekend and check those rubber boots for any sign of grease spray. If you find a small tear early, you have just saved yourself a massive headache. Give that axle a firm shake and tell me what you find!
The Hardest Lessons I Learned at the Edge of a Breakdown
After years of wrenching, I’ve realized that the biggest mistake isn’t misdiagnosing a sound—it’s waiting too long to act once you hear it. I used to think I could squeeze another thousand miles out of a clicking joint, but metal-on-metal wear doesn’t follow a schedule. One lightbulb moment for me was realizing that auto repair hacks save money without sacrificing quality only when you apply them to high-quality components. Cheap, no-name axles are often out of balance right out of the box, leading to vibrations that feel like a bad tire. Always prioritize remanufactured OEM parts over the cheapest ‘new’ option at the local chain store. Also, never underestimate the power of a clean work environment; even a tiny bit of sand inside a new CV boot acts like liquid sandpaper on the internal races.
The Gear That Keeps My Drivetrain Silent
You don’t need a professional shop to handle these checks, but you do need precision. I never touch an axle nut without my 1/2-inch drive torque wrench—guessing on that torque spec is how you destroy wheel bearings prematurely. I also highly recommend keeping a dedicated diagnostic flashlight in your glovebox for quick checks during every oil change. #IMAGE_PLACEHOLDER_E# Following top auto repair tips to extend your vehicles lifespan often boils down to these small, consistent observations. If you’re looking to dive deeper into the technical side, the Bosch Automotive Handbook is the gold standard for understanding the physics behind constant velocity and drivetrain efficiency.
Take Control of Your Car’s Health Today
Don’t let a metallic click or a rhythmic vibration intimidate you. Your car is a machine that speaks a specific language, and once you start decoding vehicle diagnostics through your own senses, you take the power back from the repair shops. By catching a torn boot early, you’re not just fixing a part; you’re developing the intuition that separates a car owner from a true driver. Understanding how advanced vehicle diagnostics prevent costly breakdowns starts with that first look under your wheel well this weekend. You’ve got the tools and the knowledge—now go see what your car is trying to tell you! Have you ever tried the parking lot circle test and found a noise you didn’t expect? Let me know in the comments below!