
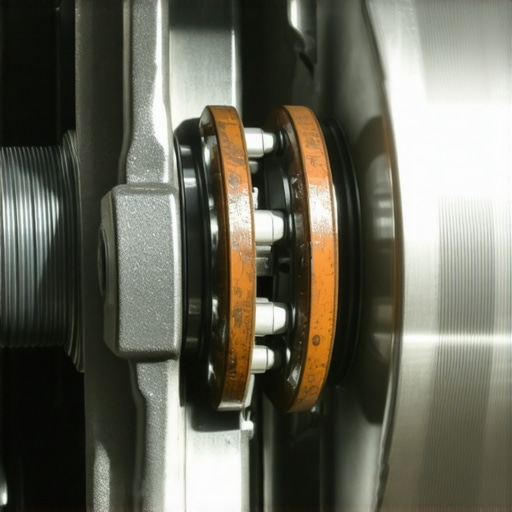
I remember the first time I tackled a brake job on my own. I was twenty, living on a shoestring budget, and absolutely determined to save the fifty bucks a local shop quoted me. I spent three hours in the driveway, successfully swapped the pads, and felt like a absolute legend. Then I pulled out for the test drive. Every time I touched the pedal, a piercing, high-pitched scream echoed off the neighborhood houses. It was humiliating. I had brand new parts, so why did my car sound like a dying freight train? If you have ever wondered why your brakes squeal even after you replaced the pads, believe me, I have felt that exact frustration. It is one of the most common headaches in the world of DIY auto repair, but the good news is that it is almost always a simple fix involving physics, not a failure of your mechanical skills.
The Embarrassing Sound of New Brakes Screaming
The noise isn’t just an annoyance; it is a signal that something in your wheel assembly is vibrating at a high frequency. When you press the pedal, the pads clamp onto the rotor, and if there is even a microscopic gap or a lack of lubrication, they start to chatter. This chatter is what you hear as a squeak. According to technical documentation from Akebono Brake Corporation, brake squeal is essentially “friction-induced vibration” occurring at frequencies humans can hear. It usually doesn’t mean your car won’t stop, but it does mean your brake service isn’t quite finished yet. Early in my journey, I made the classic mistake of thinking the little packet of grease included with the pads was optional. I figured metal-on-metal was fine as long as everything was tight. I was wrong. That grease is actually a dampener, and skipping it is like trying to play a violin with no rosin on the bow. Have you ever finished a repair only for the car to come out sounding worse than when you started? It is a humbling moment that every home mechanic faces at least once.
Is this just a sign of cheap brake pads?
While it is easy to blame the low-cost ceramic pads from the discount bin, even the most expensive performance parts can howl if the prep work was sloppy. Many people assume that “new” means “ready to go,” but there is a crucial step involving the rotors and the bed-in process that often gets overlooked. We are going to dive into how to fix this without needing a professional shop or fancy vehicle diagnostics. Today, I am going to walk you through the real reasons for that noise and how to use simple auto repair hacks to get the quiet, smooth stop you actually paid for.
Stop the Vibration Before You Bolt Everything Back Together
The secret to a silent ride isn’t just buying the most expensive parts; it is all about the preparation of the surfaces where those parts meet. Think of your wheel assembly like a drum kit. If the components are loose or dry, they are going to make noise. To prevent this, you need to treat the installation process with the same precision you would use during an oil change where every seal matters. Start by scrubbing the hub surface with a wire brush until it is shiny and flat. Any rust buildup here acts like a shim that throws the rotor out of alignment, causing a tiny wobble that translates into a massive squeak.
Clean the Hub and the Rotor Surfaces
I once spent an entire Saturday afternoon rushing a job on my old hatchback. I skipped the wire brush step on the caliper slides because I was hungry and losing daylight. It was a big mistake. Two days later, one pad stuck, overheated, and started that familiar nails-on-a-chalkboard screech. I had to pull it all apart again in a literal thunderstorm to do it right. If you want to learn how to stop your brakes from squealing without a mechanic, you must embrace the cleaning phase. Use a dedicated brake cleaner to strip away the protective shipping oil from the new rotors. If that oil stays on, it gets baked into the pad material, glazing the surface and creating a permanent howl.
Apply Grease Like You Are Painting a Masterpiece
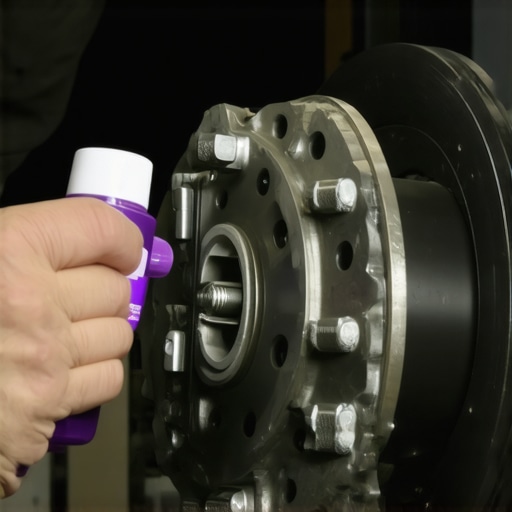 Once everything is clean, the next step is strategic lubrication. You are not just slapping grease everywhere; you are targeting the high-friction contact points. Applying high-temp silicone or ceramic grease to the back of the brake pads (where the piston hits) and the edges where the pads slide into the brackets is essential. Think of this grease as a shock absorber. It prevents the pads from micro-vibrating against the metal caliper. In the ultimate guide to brake service for safety and performance, we emphasize that skipping this step is the number one cause of post-repair noise. Be careful not to get any grease on the friction side of the pad or the rotor face, or you will be looking into vehicle diagnostics to figure out why your car won’t stop at all.
The Bed-In Ritual That Saves Your Ears
Even with perfect lubrication, your work isn’t done until you perform the bed-in process. This is the act of intentionally transferring a thin, even layer of brake pad material onto the rotor surface. Without this layer, the pad is constantly grabbing at bare metal, which is why your brand new brake pads are already squealing. Find a quiet road and perform five to ten aggressive slows from 40 mph down to 10 mph. Do not come to a complete stop, as this can leave an uneven deposit of material on the hot rotor. This ritual heat-cycles the components and seats them perfectly. It is the final touch in any professional-grade auto repair hacks toolkit, ensuring that your first real drive is as quiet as the day the car left the factory.Most people think a ‘lifetime warranty’ on brake pads is a stamp of ultimate quality, but in my experience, it is often a recipe for a noisy ride. These pads are frequently made of incredibly hard compounds designed to survive for years, not to provide a quiet or smooth stop. A study by SAE International on Brake NVH (Noise, Vibration, Harshness) highlights that pad stiffness is a primary contributor to high-frequency squeal. By choosing the hardest material possible to win that ‘forever’ badge, you are often sacrificing the dampening qualities of premium ceramic or semi-metallic blends. If you want to look beyond the marketing, checking out brake service myths busted will show you what actually impacts your safety and comfort.
Why Lifetime Warranties Might Ruin Your Quiet Ride
Another nuance that separates a pro job from a rushed DIY is the treatment of the hardware clips and slide pins. Many home mechanics think if the old clips aren’t broken, they are good to go. This is a massive mistake. Those thin metal clips lose their tension after thousands of heat cycles. When they get ‘soft,’ they no longer hold the pad firmly, allowing for the micro-vibrations we talked about earlier. Replacing them is as essential as ensuring you have the right oil change innovations to keep your engine running; it is a small part that prevents a much larger failure.
Why does the pedal feel soft even when the noise is gone?
If you have successfully silenced the squeal but notice the car doesn’t bite quite right, you might be dealing with air in the lines or a mechanical misalignment. This is where why your brake pedal feels spongy after a long drive becomes a critical diagnostic question. Even if you didn’t open the hydraulic system, compressing the caliper pistons can sometimes dislodge debris or highlight a failing master cylinder. To ensure a firm feel, you must master the trick for a perfect brake bleed every single time to remove any micro-bubbles that entered the system during the swap.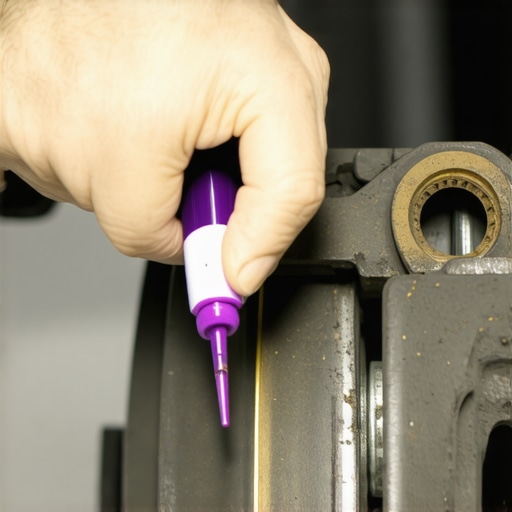
The Oops Factor: Grease That Destroys Rubber
The biggest ‘trap’ I see advanced DIYers fall into is using the wrong type of lubricant. If you grab a tub of standard chassis grease or petroleum-based anti-seize, you are asking for trouble. Petroleum products cause the rubber dust boots and slide pin bushings to swell and eventually disintegrate. Once those boots fail, water enters the slide pins, they seize up, and your brakes start dragging. Always use a dedicated high-temp silicone or ceramic-based brake lube. It is similar to how choosing the oil filter brand that causes low oil pressure lights can ruin an otherwise perfect engine; the wrong secondary component can sabotage the main repair. Have you ever fallen into the trap of buying the ‘forever’ part only for it to fail in other ways? Let me know in the comments.
The Tools That Saved My Knuckles and My Sanity
You cannot just eyeball a caliper bolt and hope for the best. For years, I relied on the ‘feel’ of my forearm, but after snapping a slide pin bolt on a Sunday afternoon when every parts store was closed, I learned my lesson. Now, I never touch a brake system without a high-quality digital torque wrench. Precision is not just for engine builders; it is one of the most essential auto repair strategies for frequent drivers who want to avoid warped rotors and uneven wear. Another game-changer for me was a dedicated multi-piston caliper compressor. I used to use a C-clamp and an old brake pad, but that often puts uneven pressure on the pistons, which can damage the internal seals. A proper ratcheting spreader ensures the pistons retract perfectly straight, every single time. According to technical documentation from Brembo, maintaining even pressure and correct torque values is critical because thermal expansion in high-performance braking systems can reach temperatures that soften cheap or improperly tightened fasteners. If you want top auto repair tips to extend your vehicles lifespan, start by investing in tools that take the guesswork out of the equation.
How do I keep my brakes performing like new for years?
Maintenance is not a one-and-done event; it is a habit. Every time you rotate your tires, you should be inspecting the thickness of your pads and the condition of your brake fluid. People often forget that brake fluid is hygroscopic, meaning it absorbs moisture from the air. Over time, this water content can boil during hard braking, leading to a spongy pedal and internal corrosion. You need to keep an eye out for the brake fluid color that means you need a flush immediately. If it looks like dark tea or maple syrup, it is already past its prime. I personally flush my system every two years, regardless of mileage, using a vacuum bleeder. It is a simple routine that ensures the ultimate guide to brake service for safety and performance remains more than just a guide—it becomes your vehicle’s reality.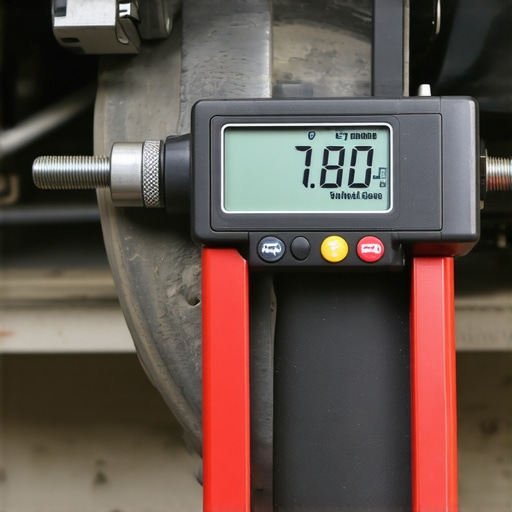
Software is the New Sockets
Looking ahead, the days of just turning wrenches are fading. We are moving into an era of brake-by-wire systems where the physical connection between your foot and the caliper is being replaced by sensors and actuators. This means that how advanced vehicle diagnostics prevent costly breakdowns is becoming the most important skill for a home mechanic to learn. You will soon need a tablet as much as a 10mm socket. Even now, many modern cars require a scan tool just to put the electronic parking brake into ‘service mode’ so you can change the pads. If you don’t have a way to talk to your car’s computer, you are going to find yourself stuck. I recommend getting a bi-directional OBDII scanner that can perform these resets. It is a bit of an investment, but it pays for itself the first time you don’t have to tow your car to the dealer for a simple pad swap. Before your next big trip, make sure you perform the vehicle diagnostics explained easy checks before your road trip to ensure your software and hardware are in sync. My challenge to you: next time you have the wheels off, don’t just look at the pads—actually use a torque wrench to verify your caliper bolts and check your fluid’s moisture content with a five-dollar test pen.
Hard-Earned Lessons from My Worst Driveway Disasters
Looking back at that screaming car from my twenties, I realize I learned more from that failure than any textbook could offer. First, I stopped viewing the little metal clips as ‘optional’ extras; they are actually spring-loaded dampeners that keep your pads from rattling like a bag of bolts. Second, I learned that more grease is not better. You only need a thin film on the contact points. Finally, I accepted that brake service myths busted by experience are worth more than any marketing slogan. If I could go back, I would tell myself that cleanliness is actually 90% of the job. Wiping down the hub and rotors isn’t just for aesthetics; it is the foundation of a true auto repair success story.
The Gear That Separates Rookies from Home Pros
You do not need a shop full of pneumatic tools to get professional results, but there are three things I never work without anymore. A digital torque wrench is my first ‘must-have’ because it prevents the uneven clamping force that leads to warped rotors. Next, I always keep a tub of high-temp silicone ceramic lubricant handy—not the cheap stuff, but the kind specifically designed for 1000-degree heat cycles. Lastly, I rely on a multi-piston spreader tool. It ensures the caliper pistons retract straight, which protects the internal seals and prevents the drag that causes why your brand new brake pads are already squealing. These aren’t just gadgets; they are essential auto repair strategies for frequent drivers who want to do the job right once and forget about it.
Taking the Fear Out of Your Next Brake Service
It is completely normal to feel a bit of anxiety when you are working on the system that stops your two-ton vehicle, but that respect for the machine is what makes you a better mechanic. By following a methodical process—cleaning the surfaces, lubricating the contact points, and performing a proper bed-in—you are doing better work than many high-volume shops that are just rushing to the next ticket. Every time you finish a job and hear nothing but silence as you pull up to a stoplight, you’ve earned a bit of that ‘legend’ status. Remember to check out the ultimate guide to brake service for safety and performance if you ever feel stuck. You have the tools, you have the knowledge, and now you have the secret to a silent ride. Have you ever completed a full brake swap only to have the noise drive you crazy the next day? Let me know your story in the comments below!