
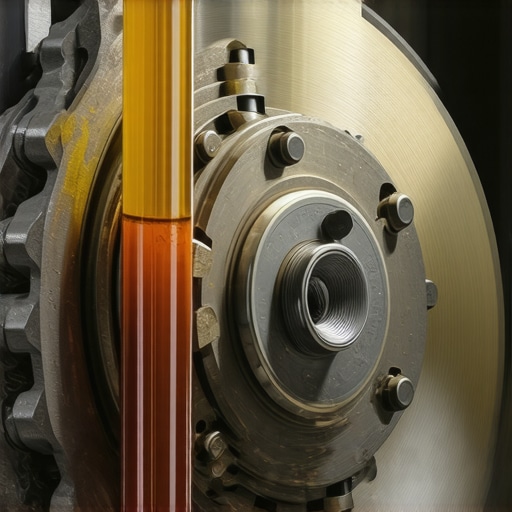
I’ll never forget the cold sweat that broke out on my forehead when I pulled out of my driveway after my first “successful” brake job. I reached the end of the block, tapped the pedal, and… nothing. My foot sank all the way to the carpet. My heart did a backflip. I had spent three hours pumping and screaming at my brother to “hold it down!” yet air was still mocking me from inside the lines. It’s a classic brake service disaster that almost everyone who picks up a wrench eventually faces. If you have ever felt that sickening mushiness under your foot, you know exactly what I am talking about.
Stop Fighting Air and Start Winning
The truth is, most of us were taught the wrong way to bleed brakes. We treat it like a cardio workout, pumping the pedal until our legs ache, but we often end up just churning the bubbles into a froth that’s even harder to get out. Today, I want to share the one trick that changed everything for me. It’s not about how hard you pump; it’s about understanding the physics of the fluid. According to the National Highway Traffic Safety Administration (NHTSA), brake system failures are a primary factor in many vehicle-related accidents, so getting this right isn’t just about convenience—it’s about staying alive. We are going to fix that spongy brake pedal once and for all using a technique that ensures no air stays trapped in the calipers. [image_placeholder_1]
Is a professional power bleeder actually worth the hype?
I used to think those pressurized tanks were just for shops with too much money. I struggled for years with a jar and a hose, making a mess and getting mediocre results. But after one particularly frustrating afternoon where I could not get a firm pedal no matter what I tried, I realized my biggest mistake: I was letting air back in through the threads of the bleeder screw every time I loosened it. It was a rookie move, but it taught me that the “seal” is more important than the “pump.” Have you ever gone through an entire bottle of DOT 4 and still felt like the brakes were weak? Send me a message if you’ve been there! Before you go out and buy expensive gadgets, let’s look at how you can achieve a professional result with a simple piece of clear vinyl tubing and a bit of gravity. You might even find that you can stop your brakes from squealing while you are at it by cleaning the hardware properly while the wheels are off.
Forget the Two-Person Dance and Grab a Bottle
The biggest mistake I see DIYers make—and I’ve made it myself a dozen times—is thinking you need a partner to stomp the pedal while you scream from under the wheel well. This “pump and dump” method often results in a pedal that feels like a sponge because air inevitably gets sucked back into the bleeder screw when your partner lifts their foot. Instead, use the “submerged hose” trick. Take a clean plastic soda bottle, pour about two inches of fresh brake fluid into it, and submerge one end of a clear vinyl tube into that fluid. Attach the other end to your bleeder valve. This creates a one-way liquid seal. When you pump the pedal, air and old fluid go out, but when you release, the tube only pulls back clean fluid, not air. It is one of those auto repair hacks that saves your sanity and your wallet.
Start with the Longest Line to Flush the System
Think of your brake lines like a plumbing system in a house. You want to clear the furthest point first to ensure no old fluid remains trapped in the longest runs. For most cars, that means starting at the passenger side rear wheel, then moving to the driver side rear, then passenger front, and finishing at the driver front. Before you crack that first valve, take a look at your reservoir. If you see dark, cloudy liquid, check out the brake fluid color that means you need a flush immediately. If it’s black, you aren’t just bleeding air; you’re cleaning out years of moisture and gunk that can eat your calipers from the inside out. I remember working on an old sedan where the fluid looked like coffee; the pedal didn’t just feel spongy, it was actually dangerous because the moisture was boiling under heat. 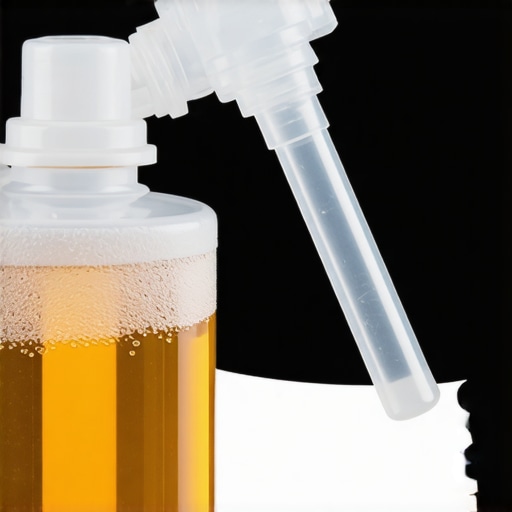
Keep the Master Cylinder Topped Off or Start Over
This is where the “speed” of the job can kill the “quality” of the job. Every time you pump that pedal and push fluid out of the bleeder, the level in your master cylinder drops. If it gets too low, the master cylinder sucks in a massive gulp of air, and you have to start the entire process from scratch. It’s a soul-crushing mistake that I’ve personally made while rushing to finish before a rainstorm. Check the level after every 5 or 6 pumps. This is part of the brake service myths often ignored—people think they can do the whole car on one reservoir fill. You can’t. While you’re under there, keep an eye out for other issues. If you’ve noticed why your brake pedal vibrates when you stop on a hill, now is the time to inspect your rotors for warping while the wheels are already off. These top auto repair tips are about being proactive, not just reactive.
Seal the Threads to Block Out Ghost Air
Sometimes you’ll see tiny bubbles in your clear tube that never seem to go away, no matter how much you bleed. This “ghost air” usually isn’t inside the lines; it’s being sucked in around the threads of the bleeder screw itself while it’s loosened. A quick fix is to unscrew the bleeder completely and coat the threads in heavy grease or a bit of Teflon tape. This creates a temporary vacuum seal that prevents outside air from entering the stream. I once spent four hours bleeding a truck only to realize the “air” I was seeing was just a loose fit on the nipple. It’s a frustrating loop that makes you think your master cylinder is failing when it’s really just a simple thread issue. If you still hear noise after all this work, you might need to investigate why your brakes squeal even after you replaced the pads to ensure your hardware is properly lubricated and seated.
Just as air in your brake lines can turn a simple stop into a nightmare, misunderstanding your car’s other vital fluids can lead to equally expensive ‘oops’ moments. Let’s talk about the biggest myth in the automotive world: the 3,000-mile oil change. Everyone tells you it’s the ‘gold standard,’ but in my experience, blindly following that sticker is just throwing money away. Modern oil change innovations and high-quality synthetic blends have made that interval nearly obsolete for most drivers. In fact, a study by the AAA found that synthetic oil provides 47% more protection than conventional oil, allowing for significantly longer intervals. If you are still religiously changing your oil every 3,000 miles without checking your manual, you might be falling for the synthetic oil myth that costs you fifty dollars every visit.
Trust the Algorithm Over the Windshield Sticker
Most people assume the ‘Oil Life’ percentage on their dash is just a simple timer, but it’s actually far more sophisticated. It uses an algorithm that tracks engine temperature, RPMs, and trip duration to calculate actual oil degradation. This is where decoding vehicle diagnostics becomes your best friend. However, the ‘oops’ factor comes when people ignore the physical hardware. You can have the best oil in the world, but how to tell if your oil filter is actually doing its job is a separate skill altogether. If the bypass valve in a cheap filter fails, that expensive synthetic oil is just bypassing the filter entirely and circulating grit through your engine. 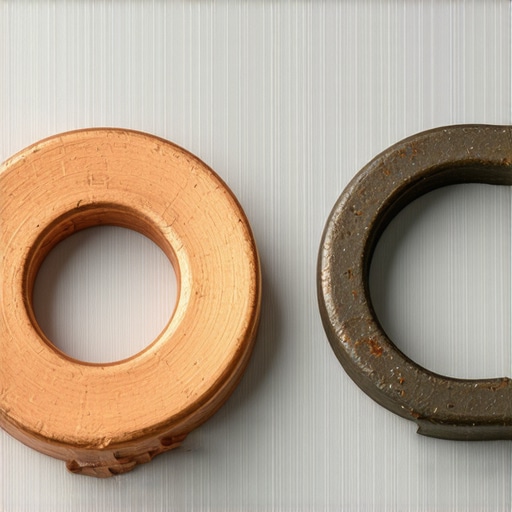
Does Your Car Really Know When the Oil is Dirty?
The short answer is no—it doesn’t have a ‘dirt sensor.’ It makes an educated guess based on your driving habits. If you do a lot of short trips where the engine never reaches full operating temperature, your oil will contaminate with moisture and fuel much faster. This is why the mistake of using the wrong oil viscosity in cold weather can be so damaging; the oil can’t flow properly to protect those tight tolerances during a cold start.
The Fifty-Cent Part That Saves Your Garage Floor
One of the most common advanced mistakes I see DIYers—and even some ‘express’ shops—make is reusing the drain plug gasket. It seems harmless, but why you should never skip the crush washer on your drain plug becomes clear the moment you see a drip on your driveway. These washers are designed to deform once to create a perfect seal. Once they are crushed, they lose their elasticity. Reusing them is a gamble that rarely pays off. It’s similar to how people react when their car goes into ‘Limp Mode.’ They panic and assume the transmission is toast, when often the solenoid failure that locks your car in limp mode is a relatively simple fix if you know how to read the codes. Have you ever fallen into the trap of over-maintaining or under-estimating a simple part like a washer? Let me know in the comments!
Stop Guessing and Start Talking to Your Car
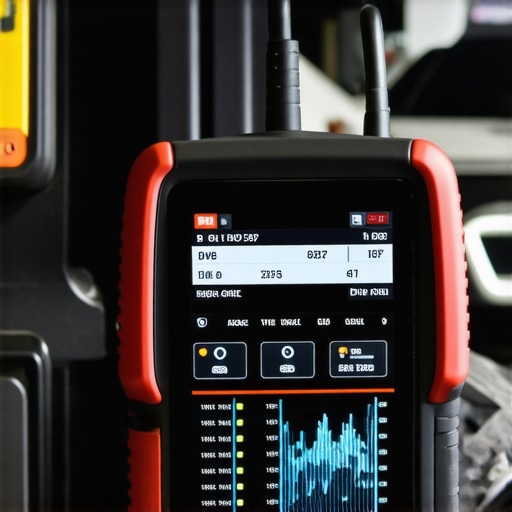
I used to think a twenty-dollar OBDII dongle was all I needed until I ran into a misfire that would not throw a code. That is when I realized that most cheap scanners are just “code readers”—they tell you the symptom, not the cause. If you want to move from “parts changer” to “technician,” you need a tool with bidirectional control. This allows you to manually trigger a fuel pump or a cooling fan to see if the hardware actually responds. As noted in the Bosch Automotive Handbook, modern Electronic Control Units (ECUs) process thousands of data points per second; if you are not looking at live data streams, you are basically working blind. Understanding how advanced vehicle diagnostics prevent costly breakdowns is the difference between a fifty-dollar sensor fix and a two-thousand-dollar engine overhaul.
The Long Game for Your Engine’s Life
Building a car that lasts three hundred thousand miles is not about luck; it is about a relentless focus on the “hidden” fluids. Most people forget about differential fluid, transfer case oil, or power steering flushes because they are not on the “main menu” at the quick-lube shop. These are the essential auto repair strategies for frequent drivers that separate the junkers from the legends. I personally keep a physical logbook in my glovebox because I do not trust apps to remind me of the small stuff. If you want the “secret sauce,” it is consistency. Following top auto repair tips to extend your vehicles lifespan means being proactive about things like rubber bushings and vacuum lines before they dry rot and cause a cascade of lean-condition codes.
How do I maintain my car’s complex systems over time?
The key is a “seasonal audit.” Every six months, regardless of mileage, I put the car on stands and do a nut-and-bolt check. I look for weeping seals, cracked boots, and any signs of corrosion on the brake lines. This is especially important before a big drive, so I always recommend performing vehicle diagnostics explained-easy checks before your road trip. Over time, you will start to “feel” when a wheel bearing is starting to hum or when the steering rack feels slightly heavier than usual. It is all about developing that mechanical sympathy where you and the machine are in sync.
Where the Wrench Meets the Wireless
Looking ahead, the era of the “grease monkey” is evolving into the era of the “data analyst.” We are moving toward a future where telematics will allow your car to transmit real-time health reports directly to your phone. We are already seeing this with manufacturers like Tesla and BMW, but soon, even aftermarket modules will give DIYers the same level of insight. If you are ever feeling overwhelmed by a flashing light or a weird noise, do not hesitate to contact us or drop a comment. My best advice? Next time your Check Engine light comes on, do not just clear the code—pull the “freeze frame” data. It tells you exactly what the engine was doing the moment the fault occurred, and that data is pure gold for a permanent fix.
What I Learned When a Ten-Cent Washer Ruined My Day
If there is one thing a decade under the hood has taught me, it is that the smallest part is usually the one that leaves you stranded. I once spent three days diagnosing a starting issue, replacing the battery and the solenoid, only to realize I had the ground wire problem that mimics a bad starter motor. It was a five-minute fix that cost me zero dollars, but only after I wasted two hundred. Another hard truth? Price does not always equal quality, but ‘too cheap’ always equals trouble. I have seen countless DIYers fight phantom codes because of the truth about using cheap aftermarket sensors in your engine. Stick to OEM or high-end brands for sensors, or you will be doing the job twice. [image_placeholder_final] Finally, respect the torque specs. Snapping a bolt is a rite of passage, but knowing how to remove a broken bolt without losing your mind is a skill you hope you never have to use twice.
The Three Tools That Actually Pay for Themselves
You do not need a shop full of expensive equipment to be a pro, but you do need three specific items. First, a real torque wrench—not a beam style, but a click-type that you keep calibrated. Second, a subscription to a real service manual; YouTube is a great starting point, but it does not know the specific tolerances for your exact VIN. Third, be picky about your consumables. I’ve learned the hard way that the oil filter brand that causes low oil pressure lights can make a perfectly healthy engine sound like a tractor. Investing in these will save you more money in the long run than any ‘budget’ hack ever could.
Take Back Control of Your Commute
At the end of the day, your car is more than just metal and rubber; it is your freedom. Mastering a proper brake service or finally understanding your car’s digital heartbeat gives you a level of confidence that no dealership can sell you. Don’t be afraid to get your hands dirty and make a few mistakes—that is where the real learning happens. Keep your fluids clean, your sensors genuine, and your ears open to what the machine is telling you. Have you ever spent hours chasing a problem only to find it was a simple loose wire or a cheap part? Let me know your biggest ‘a-ha’ moment in the comments below!