
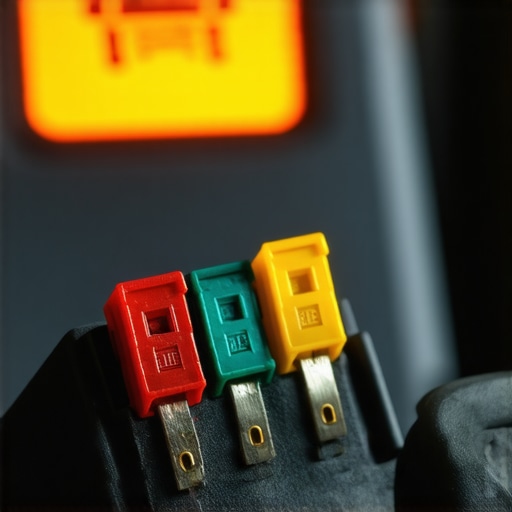
I remember sitting in the inspection line three years ago, palms sweaty against the steering wheel. My old sedan felt fine, and there wasn’t a single warning light on the dash, but the technician walked back with that sympathetic “sorry, pal” look that every car owner dreads. “Your OBD monitors aren’t ready,” he said. I had spent two weeks driving that car in circles, trying to complete a drive cycle, convinced I was headed for a massive repair bill. I even went as far as researching why catalytic converters are so expensive because I was sure mine was shot. It turns out, I was looking at the completely wrong end of the car. Today, I want to show you how a fifty-cent piece of plastic can be the only thing standing between you and a legal inspection sticker.
That Sick Feeling When the Inspector Shakes His Head
It is incredibly frustrating to fail an inspection when your car is running perfectly. One of the biggest mistakes I made early on was assuming that no Check Engine Light meant an automatic pass. I spent nearly $150 replacing oxygen sensors based on a guess, only to find out the car still wouldn’t communicate with the state’s computer. This is why decoding vehicle diagnostics is so critical before you start throwing parts at a problem. Most people don’t realize that the port the inspector plugs into—the OBDII port—is often on the same circuit as your cigarette lighter or accessory outlets. If you’ve ever dropped a penny into your charger socket and seen a spark, you might have just guaranteed an emissions failure.
Can a simple fuse really fail an emissions test?
You might be skeptical. How does a fuse related to a phone charger stop an engine from being ‘ready’ for a smog check? The truth is that many vehicles use that specific fuse to provide power to the Diagnostic Link Connector (DLC). According to the Car Care Council, roughly 10% of vehicles fail emissions not because they are polluting, but because of communication or readiness issues. If the inspector’s tool can’t get power from your port, they can’t verify the data, and you get an automatic rejection. Furthermore, some cars have a dedicated ‘keep alive memory’ fuse for the Powertrain Control Module (PCM). If that fuse is blown, every time you turn off the key, the car ‘forgets’ all the emissions testing it just did. Have you ever felt like you were doing everything right but the car just wasn’t listening?
One Tiny Piece of Plastic Saved Me Five Hundred Dollars
After wasting a weekend and way too much money, I finally checked my owner’s manual. I found a blown 15-amp fuse labeled ‘CIGAR’ or ‘AUX.’ I swapped it out, and suddenly my scan tool lit up like a Christmas tree. By ensuring that the computer has constant power and a clean communication line, you avoid the trap of advanced vehicle diagnostics that lead to expensive, unnecessary labor. If you are struggling with a car that refuses to ‘set’ its monitors, you need to check the fuse box before you visit a mechanic. We are going to dive into exactly which fuses to pull and how to tell if your car is actually ready to pass without wasting another trip to the station.
Start with the Fuse Box Under Your Dash
Think of your car’s Diagnostic Link Connector (DLC) like the charger port on your phone. If that port isn’t getting juice, it doesn’t matter how ‘healthy’ the battery is—nothing is going to communicate. In most vehicles, the OBDII port shares a circuit with the cigarette lighter or the auxiliary power outlets. I can’t tell you how many times I’ve seen people panic about a potential engine failure when the real culprit was a blown 10 or 15-amp fuse. Before you head back to the station, open your fuse panel—usually located under the driver’s side dashboard or behind a plastic panel in the footwell—and look for labels like ‘CIGAR,’ ‘AUX,’ or ‘PWR OUTLET.’ If you aren’t sure where to start, vehicle diagnostics explained in your owner’s manual will point you to the exact location of that ‘communication’ fuse. 
How to Spot a Blown Fuse Without Fancy Tools
You don’t need a degree in electrical engineering or a $200 multimeter to find the problem. Pull the fuse out and hold it up to a bright light. You are looking for a small ‘U’ shaped wire inside the colored plastic. If that wire is broken or if there is a dark smudge inside the plastic, the circuit is dead. This simple check is one of the most effective auto repair hacks that can save you a $100 diagnostic fee at a shop. I once helped a friend with a 2012 SUV that had failed three inspections. The culprit? Her toddler had dropped a penny into the rear 12V socket, shorting the circuit and killing power to the OBDII port. A thirty-cent fuse and a pair of needle-nose pliers fixed a problem that three different ‘drive cycles’ couldn’t touch.
Why Your Car Keeps Forgetting Its Emissions Data
There is another, sneakier fuse you need to worry about: the ‘Keep Alive Memory’ (KAM) fuse. Your car’s computer is constantly running mini-tests on things like the catalytic converter and the oxygen sensors while you drive. This data is stored in a temporary memory that requires a tiny, constant trickle of electricity from the battery. If the fuse for this memory circuit is loose or blown, the computer wipes itself clean every single time you turn off the engine. It’s like trying to write a book but having the computer delete your progress every time you hit ‘save.’ This is why decoding vehicle diagnostics often leads back to power issues rather than mechanical failures.
Verify Your Readiness Monitors at Home
Once you’ve confirmed your fuses are solid, you need to know if the car is actually ready for the state’s computer. You can buy a basic OBDII scanner for less than the cost of a tank of gas. Plug it in and look for a section called ‘I/M Readiness.’ If you see ‘INC’ (Incomplete) next to items like ‘EVAP’ or ‘Catalyst,’ you aren’t ready to pass. Understanding these essential auto repair strategies helps you avoid the ‘not ready’ rejection. You’ll need to complete a specific driving pattern—usually a mix of highway speeds and stop-and-go traffic—to get those monitors to flip to ‘Ready.’ If they keep resetting to ‘Incomplete’ after every trip, go back to that fuse box; your computer is likely losing its memory power.
I have seen so many DIYers panic the moment they pull the dipstick and see dark amber or black oil. They think their engine is sludging up, so they rush into an early change, convinced they are saving the vehicle. But here is the contrarian truth: if your oil stays perfectly clear for 3,000 miles, it is actually not doing its job correctly. Modern oils are packed with detergents designed to suspend soot and carbon. If the oil is black, it means those additives are successfully scrubbing your engine internals. The real ‘oops’ factor that most people miss isn’t the oil color, but the quality of the filter they choose. Many owners grab the cheapest canister on the shelf, not realizing that a poor-quality bypass valve can lead to dry starts and internal wear. This is one of those oil change innovations where the hardware matters just as much as the fluid.
Why does my engine tap only after an oil change?
This is a classic advanced-level headache that leaves many drivers baffled. You have just performed the ‘right’ maintenance, and suddenly you hear a rhythmic metallic clicking that wasn’t there before. Often, this happens because a low-quality filter lacks a proper anti-drainback valve, or the specific viscosity choice didn’t account for existing component wear. According to a comprehensive study by the AAA, synthetic oil outperformed conventional oil by an average of 47% in engine protection tests, yet many owners still believe the synthetic oil myth claiming it is ‘too thin’ for older engines. In reality, that superior flow is exactly what high-mileage seals and lifters need during a cold start. If you have noticed a new sound after a service, it might be the reason why your engine makes a tapping noise only after an oil change—a direct result of restricted flow from a sub-par filter or improper grade.
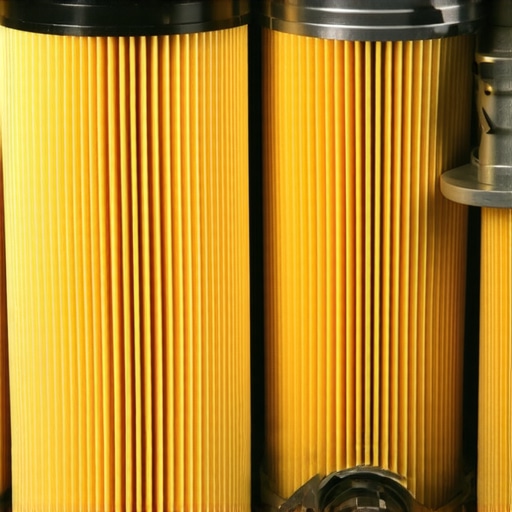
Have you ever fallen into the trap of buying the cheapest parts just to save ten bucks, only to have a new problem pop up? Let me know in the comments. We see a similar pattern in braking systems, where drivers focus solely on the pads but completely ignore the hygroscopic nature of the fluid. There are several brake service myths busted by the fact that moisture in the lines is often more dangerous than thin friction material. Whether it is diagnostics or basic fluid swaps, always look at the system as a whole rather than just the part that is easiest to reach. By looking past the surface-level advice, you can avoid the expensive repairs that ‘perfect’ maintenance is supposed to prevent.
If you really want to move from being a ‘part-swapper’ to a true diagnostic pro, you have to stop relying on the free code scans at the local auto parts store. Those tools are great for identifying a generic failure, but they rarely tell you why a component failed. I personally upgraded to an Autel MaxiCOM because it allows for bi-directional control, meaning I can tell the car’s computer to turn on the fuel pump or pulse an injector while I’m standing right there. This level of how advanced vehicle diagnostics prevent costly breakdowns is what separates a thirty-minute fix from a three-day headache. When you can see live data streams of your short-term fuel trims in real-time, you aren’t guessing anymore; you are actually decoding vehicle diagnostics like a scientist.
Upgrade Your Toolkit Beyond a Basic Wrench
Most DIYers stop at a socket set and a jack, but the real magic happens when you invest in specialized measurement tools. For example, I never perform a brake job without a digital micrometer to check rotor thickness. Using the ultimate guide to brake service for safety and performance as a baseline, I’ve found that even rotors that look ‘okay’ often have lateral runout that leads to annoying pedal pulsations later. Another tool I swear by is a brake fluid moisture tester. It looks like a thick pen and costs less than twenty bucks. Since brake fluid is hygroscopic—meaning it literally sucks moisture out of the air—testing it twice a year is one of the most essential auto repair strategies for frequent drivers. If that little LED turns red, I know I need a flush, regardless of what the mileage says.
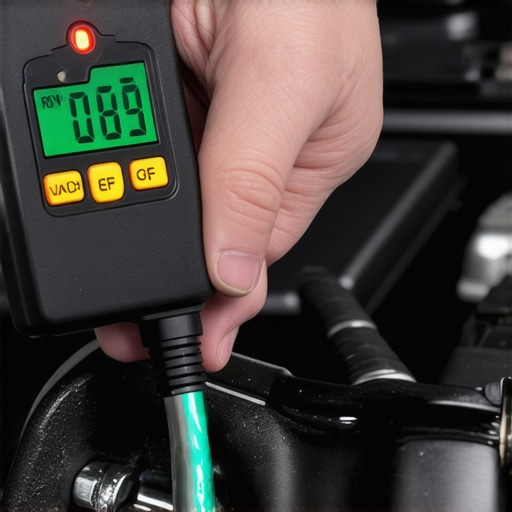
The One Fluid Test You Are Probably Skipping
We’ve talked about oil color and filters, but the ultimate authority on your engine’s health isn’t your eyes—it’s a lab report. Every third oil change, I send a sample to Blackstone Laboratories. They provide a detailed breakdown of the wear metals in your oil. If they find high levels of copper, I know my bearings are wearing prematurely. If there’s silicon, I have an intake leak. This scientific approach is the gold standard for top auto repair tips to extend your vehicles lifespan because it catches catastrophic failures before they happen. According to technical documentation from the Society of Automotive Engineers (SAE), oil analysis can identify engine stress patterns that no physical inspection could ever reveal. It turns your maintenance schedule into a data-driven plan rather than a series of guesses based on a sticker on your windshield.
How do I make these repairs last for a decade?
Long-term reliability comes down to ‘scaling’ your maintenance—doing the small things frequently so the big things never happen. I predict that in the next five years, we will see a massive shift toward consumer-level telematics where your car sends these diagnostic reports directly to your phone via 5G. Until then, you have to be the interface. Consistency is more important than using the most expensive brand of parts. I have seen cars hit 300,000 miles on conventional oil simply because the owner never missed an interval and always used a high-quality bypass filter. I strongly encourage you to try one advanced tip this weekend: buy a dedicated brake fluid tester and check every car in your driveway. You might be shocked at how ‘wet’ your fluid actually is. Stop assuming your car is healthy just because the dash is dark and start measuring the reality under the hood.
Stop Chasing Ghosts and Start Testing Circuits
The biggest mistake I made early on was treating every warning light like a replacement order. I learned the hard way that a computer is only as good as its power source. If you find yourself stuck, remember that diagnostics start with electricity. I once spent days researching how to tell if your mechanic actually changed the oil when my only real issue was a corroded ground wire. Always verify that your OBDII port has power before you assume your catalytic converter is dead. Often, the solution is a fifteen-cent fuse, not a five-hundred-dollar sensor.
Another hard truth: consistency beats premium brands every single time. You don’t need the most expensive racing oil; you need the right viscosity and a high-quality filter that won’t fail its bypass valve. If you aren’t sure about your current setup, checking the oil filter brand that causes low oil pressure lights can save you from a terrifying flickering light on the highway.
The Tool Cabinet That Actually Pays for Itself
You don’t need a professional garage to get professional results, but you do need three specific items that most people skip. First, a digital multimeter is non-negotiable for checking battery health and fuse continuity. Second, a dedicated brake fluid moisture tester is the only way to know if your safety is compromised. Following the brake fluid color that means you need a flush immediately is a good start, but the pen-style tester gives you the data you need to be certain.
Lastly, keep a notebook in your glovebox. Tracking your own maintenance intervals and data points from your OBD scanner creates a history that no shop can match. This simple habit is one of the most top auto repair tips to extend your vehicles lifespan because it removes the guesswork from your Saturday morning projects. I trust these tools because they move me away from ‘part-swapping’ and toward actual problem-solving.
Your Next Project Starts Under the Hood
Taking control of your car’s health is one of the most empowering skills you can develop. It’s not just about saving money; it’s about the peace of mind that comes from knowing exactly why your vehicle is running the way it is. Whether you are hunting down a communication error or performing a precision brake bleed, remember that every auto repair you complete builds your confidence for the next one. Don’t be afraid to get your hands dirty—most of the ‘scary’ problems are just small issues waiting for a curious mind to find them. Have you ever had a simple fuse or a loose wire cause a major headache during an inspection? Let me know in the comments below!