
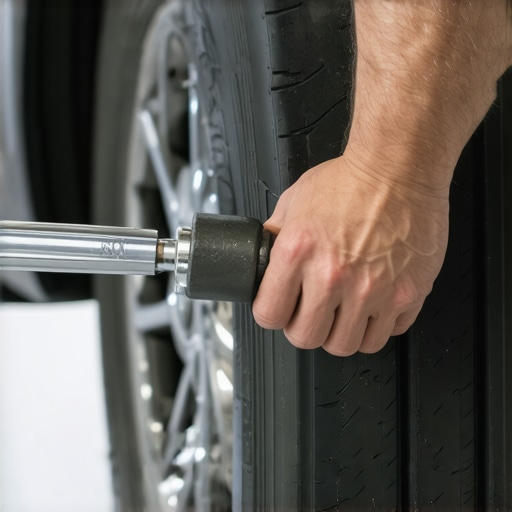
I was cruising down a backroad last summer when every tiny ripple in the pavement started sending a jarring thud through my floorboards. It wasn’t just annoying; it felt like the front wheel was debating whether it really wanted to stay attached to the car. I’ve been under enough hoods to know that the clunking sound you hear when driving over speed bumps usually points to one thing: a ball joint that has checked out of its job. It’s a visceral feeling, like the steering wheel is loose or the car has a mind of its own during a turn. If you’ve ever felt that shimmy, you know exactly the pit in your stomach I’m talking about.
Stop the Clunk Before Your Wheel Falls Off
Early in my DIY days, I made the classic mistake of assuming a little noise was just a suspension squeak like a rusty gate. I sprayed some grease on the bushings and called it a day. Big mistake. Two weeks later, I was on the shoulder of the highway with a collapsed wheel because the ball joint literally popped out of its socket. I felt like a total amateur. It was a terrifying lesson in why essential auto repair strategies are about more than just saving money—they’re about keeping your family safe. Today, I’m going to walk you through the absolute simplest way to diagnose this yourself using nothing more than a basic pry bar and a bit of leverage.
Is a DIY suspension check actually safe for a beginner?
I get it. Tinkering with the components that hold your wheels on feels like high-stakes surgery. But here is the secret: you don’t need a degree in mechanical engineering to spot a failing part. In fact, checking your ball joints is one of the most straightforward vehicle diagnostics you can perform at home. According to data from the National Highway Traffic Safety Administration (NHTSA), mechanical failures involving tires and suspension are a leading cause of catastrophic loss of control accidents. By catching a loose joint early, you aren’t just saving your tires; you’re preventing a total breakdown. Have you ever heard that clunk and just turned up the radio hoping it would go away? Trust me, we’ve all been there.
The Power of Proper Leverage
Before we dive into the how-to, you need to understand that ball joints are the pivot points between your wheels and your suspension. They are essentially industrial-grade ball-and-socket joints. When they wear down, the ball starts rattling inside the socket. You can’t always see this with the naked eye when the car is sitting on the ground because the weight of the vehicle keeps the joint compressed. That’s where the pry bar comes in. It allows us to simulate the forces of the road while the car is safely lifted. If you’ve already learned how to spot a bad ball joint using a floor jack, adding a pry bar to your routine is the next logical step to confirm your suspicions. [IMAGE_PLACEHOLDER]
Get the Wheels off the Ground Safely
To start, you need the weight off the suspension, but not in the way you might think. For most cars, you will want to jack up the vehicle by the frame or the designated jacking point so the control arms hang free. This unloads the joint, allowing you to see movement that is otherwise hidden by the car’s weight. I remember trying this on an old pickup where the rust was so thick I could not find the jack point; I ended up using a block of wood to protect the metal, a classic move among auto repair hacks that every DIYer eventually learns. Once the wheel is an inch or two off the concrete, give it a good shake at the 12 and 6 o’clock positions. If it wobbles, you are looking at a potential ball joint issue or perhaps a hub problem. This is the first step in decoding vehicle diagnostics before you even touch the tools.
The Secret Spot for Your Pry Bar
Now, grab your pry bar. You want to wedge the tip between the lower control arm and the steering knuckle. Think of the pry bar as a magnifying glass for movement. If you just pull with your hands, you might not feel the microscopic gap, but with the mechanical advantage of a two-foot bar, that gap becomes a distinct clack. One time, I was working on a buddy’s SUV that had a subtle steering rack failure vibe, but the pry bar showed the lower ball joint jumping like a live wire. 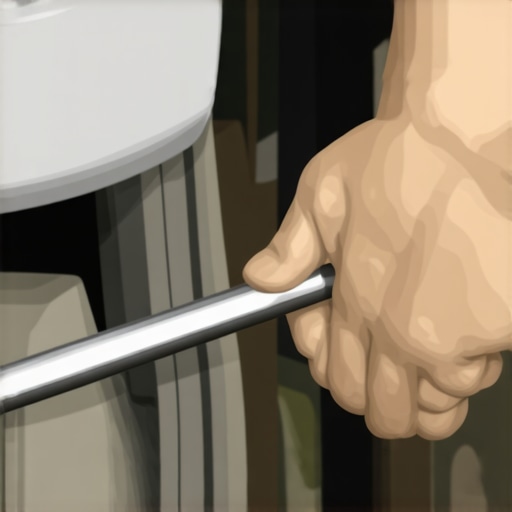
Feeling for the Play That Kills Tires
Push down and pull up on the bar with firm, controlled bursts. You are not trying to snap the metal; you are looking for vertical movement. Any visible up and down play inside that socket means the internal nylon or metal seat has disintegrated. This is exactly how you prevent a tire wear pattern that eats through a expensive tire in three months. If you see horizontal movement instead, you might need to learn how to identify which wheel bearing is actually failing, as those two symptoms can often mimic each other. While you are under there, it is a great time to verify other top auto repair tips, like checking for torn CV boots or leaking struts.
Don’t Ignore the Smallest Clicking Sound
Sometimes the movement is so slight you cannot see it, but you can hear it. Place your hand on the control arm while you pry with the other. If you feel a click through your palm, the joint is toasted. I once ignored a tiny click on a road trip, thinking it was just a loose heat shield. By the time I reached my destination, my clunking sound had turned into a full-blown metal-on-metal grind. Understanding how advanced vehicle diagnostics prevent costly breakdowns starts right here, with your hands on the components.
Most people assume that if the rubber boot on a ball joint isn’t ripped, the part is perfectly healthy. In my experience, that is one of the most dangerous myths in the DIY community. I’ve pulled apart joints that looked brand new on the outside but were completely dry and pitted on the inside. This “invisible wear” is exactly why decoding vehicle diagnostics requires more than a quick glance. If you only look for tears, you are going to miss the subtle “memory steer” or the way the car darts toward the crown of the road when you hit a bump.
Stop Trusting Your Eyes and Start Trusting the Physics
The real nuance that many mechanics miss is that a failing joint doesn’t always clunk. Sometimes, it seizes. A seized joint won’t give you that “play” we looked for earlier, but it will make your steering feel heavy and unresponsive. You might think you’re dealing with a pump issue, but how advanced vehicle diagnostics prevent costly breakdowns is by recognizing that mechanical resistance in the pivot points is just as bad as looseness. According to a study by the Car Care Council, nearly 25% of vehicles on the road have at least one worn or neglected suspension component, often because the owners were looking for the “wrong” symptoms. Have you ever replaced a part only to find the problem was still there? Let me know in the comments.
Is the ‘sealed for life’ design actually better for modern cars?
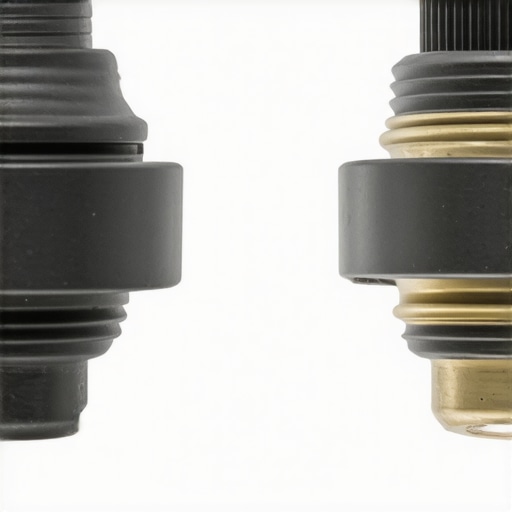
This is a hot-button issue. Traditionalists swear by “greasable” joints with Zerk fittings, but many modern high-performance vehicles come with sealed units. The “oops” factor here is over-greasing. If you pump too much grease into a joint, you can actually rupture the internal seals, creating a path for road salt and grit to enter. I’ve seen enthusiasts ruin a brand-new set of components in one afternoon by being too aggressive with a grease gun. This is why essential auto repair strategies for frequent drivers often prioritize high-quality sealed units that maintain their integrity without human error.
The Dangerous Trap of One-Sided Repairs
Another classic mistake is only replacing the one joint that failed. If the left side is toasted, the right side is likely right behind it. They’ve traveled the same miles and hit the same potholes. Changing just one can lead to an uneven tire wear pattern that reveals a bent control arm or a misaligned geometry that eats through your tread. It’s tempting to save the fifty bucks, but top auto repair tips to extend your vehicles lifespan always include doing things in pairs. Plus, you’ll only have to pay for one alignment afterward instead of two. Don’t fall for the trap of using the cheapest components you find online either; the truth about using cheap aftermarket sensors in your engine applies to suspension too—inferior metallurgy can lead to a snapped stud when you least expect it. Focus on the nuances, and you’ll keep your car on the road instead of the tow truck.
The Gear That Separates Amateurs From Pros
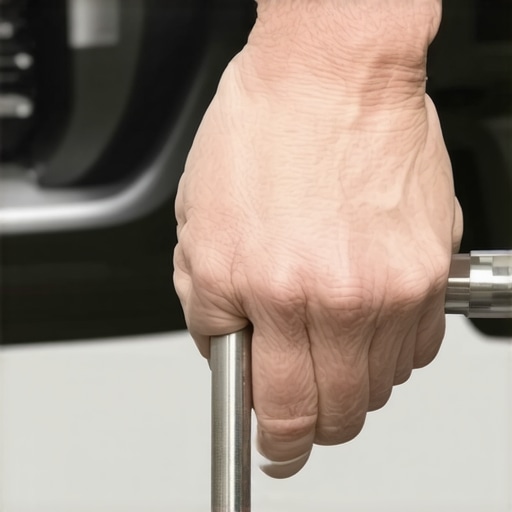
If you are serious about your own vehicle diagnostics, you need to move beyond the basic kit that came with your socket set. Personally, I never step under a car without my 36-inch heavy-duty pry bar. People ask why I don’t just use a standard screwdriver, and the answer is simple: physics. A shorter tool won’t generate the displacement needed to see a ball joint settle into its socket under load. I also swear by a high-quality digital torque wrench. Most people ‘hand-tighten’ suspension bolts, but that is a recipe for a steering rack failure or a snapped bolt. Following factory torque specs is one of the most essential auto repair strategies I can offer. When you tighten a ball joint nut to exactly 65 foot-pounds instead of ‘close enough,’ you are ensuring the metal doesn’t stretch and weaken over time.
How do I keep my front end tight for the next 100k miles?
Maintenance isn’t a one-and-done event; it’s a rhythm. Every time I do an oil change, I spend five minutes with a flashlight inspecting the rubber boots on my ball joints and tie rod ends. According to technical documentation from SAE International (Standard J491), the service life of these pivot joints is almost entirely dependent on the seal’s ability to keep out contaminants like road salt and pressurized water. If I see even a hairline crack in that rubber, I’m ordering parts. This proactive approach is the secret to how advanced vehicle diagnostics prevent costly breakdowns. It is much easier to swap a joint in your driveway on a sunny Saturday than to deal with a snapped stud in the middle of a rainstorm. You should also consider a brake system flush during these checks; using the right brake fluid color as a guide can save your calipers from seizing.
Why Precision Diagnostics Are the Future of Car Care
I predict that within the next decade, we will see ‘smart’ ball joints equipped with internal wear sensors that alert your dashboard long before you ever hear a clunk. Until then, we have to rely on our tools and our senses. Using auto repair hacks like the pry bar method gives you a level of intimacy with your machine that a computer can’t yet match. It allows you to feel the difference between a minor vibration and a catastrophic failure. If you want to extend your vehicles lifespan, stop waiting for things to break. Next time you have your wheels off for a brake service, grab your pry bar and test every joint for play. You might just catch a problem that could have ended your next road trip before it even started.
What I Learned After Nearly Losing a Wheel on the Freeway
Experience is a brutal teacher, but it is also the most thorough. One of the biggest lightbulb moments I had was realizing that a visual inspection alone is almost useless when it comes to steering components. If you do not apply mechanical pressure to the joint, you are just guessing. I also learned that the sound of a failing part often travels; what sounds like a ball joint might actually be a bad bushing, which is why the pry bar is the only way to isolate the movement. Finally, never underestimate the power of cleanliness. Wiping away old grease and road grime allows you to see the exact point where the socket has separated from the ball, giving you 100% certainty before you spend a dime on parts. This level of detail is exactly what we discuss when decoding vehicle diagnostics to understand what your car is trying to tell you.
[IMAGE_PLACEHOLDER]
The Tools That Never Leave My Garage Bench
To get professional results, you need a few specific items that go beyond the standard wrench set. I always keep a 36-inch heavy-duty pry bar nearby because shorter bars simply do not provide the torque needed to reveal hidden play in heavy SUV suspensions. I also recommend a high-quality digital torque wrench to ensure every bolt meets factory specs, preventing the dangerous over-tightening that leads to metal fatigue. For those wanting to dive deeper into system health, checking out how advanced vehicle diagnostics prevent costly breakdowns is a game-changer for long-term reliability. Lastly, don’t forget a set of bright LED work lights; you cannot fix what you cannot see accurately under the chassis.
Your Journey Toward Mechanical Mastery Starts Now
Taking the time to inspect your own suspension isn’t just about saving a trip to the shop—it’s about developing an intuition for your vehicle’s health. When you combine these hands-on techniques with essential auto repair strategies, you transition from being a car owner to being a car caretaker. Whether you are prepping for a cross-country trip or just doing your weekend vehicle diagnostics, that peace of mind is worth every second spent under the chassis. Using auto repair hacks like the leverage method keeps you safe and keeps your wallet full. Don’t be afraid to get your hands dirty; every clunk you solve yourself is a badge of honor in the DIY world.
Have you ever tried the pry bar test and found a part that looked perfectly fine but was actually toast? Let me know in the comments below!